


Putting your sourdough starter on hold
By: RedmanShop | January 28, 2025
For best long-term storage, dry it
Sourdough baking is endlessly fascinating, isn’t it?
First-time sourdough bakers, excited by the starter they’ve created, happily explore the huge realm of possibilities for its use.
More seasoned sourdough aficionados, having mastered the basics, work at fine-tuning techniques, learning to use fermentation temperatures to bring out (or tone down) certain flavors in sourdough’s rich, multilayered profile.
But one thing most of us have in common: at some point, we need to put our sourdough baking on hold. Maybe we’re going on vacation; perhaps the schedule is just too crowded at the moment for the ritual feeding/discarding/feeding/baking process.
Whatever the reason, there comes a time when we need to put our sourdough starter to bed for awhile.
What’s the best way to keep your starter happy, healthy, and vibrant, when you know you won’t be using it for an extended period?
Refrigerate it and hope? Freeze it and forget it?
Neither of the above. The best way to preserve your starter – for a couple of weeks, a month, or even years – is to dry it.
Let’s see how the process works.
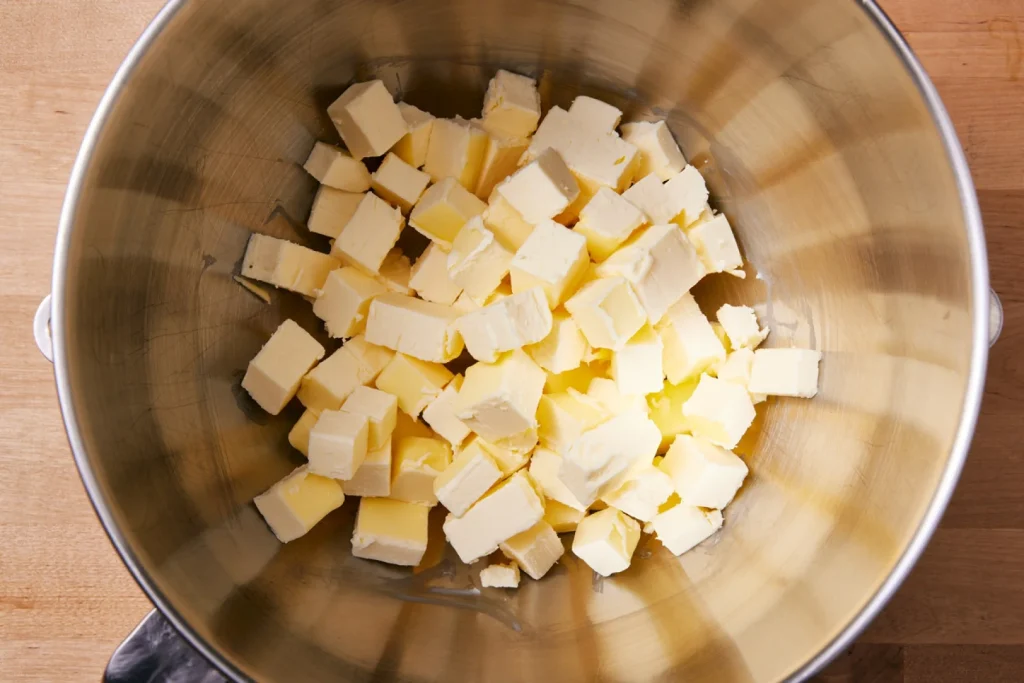
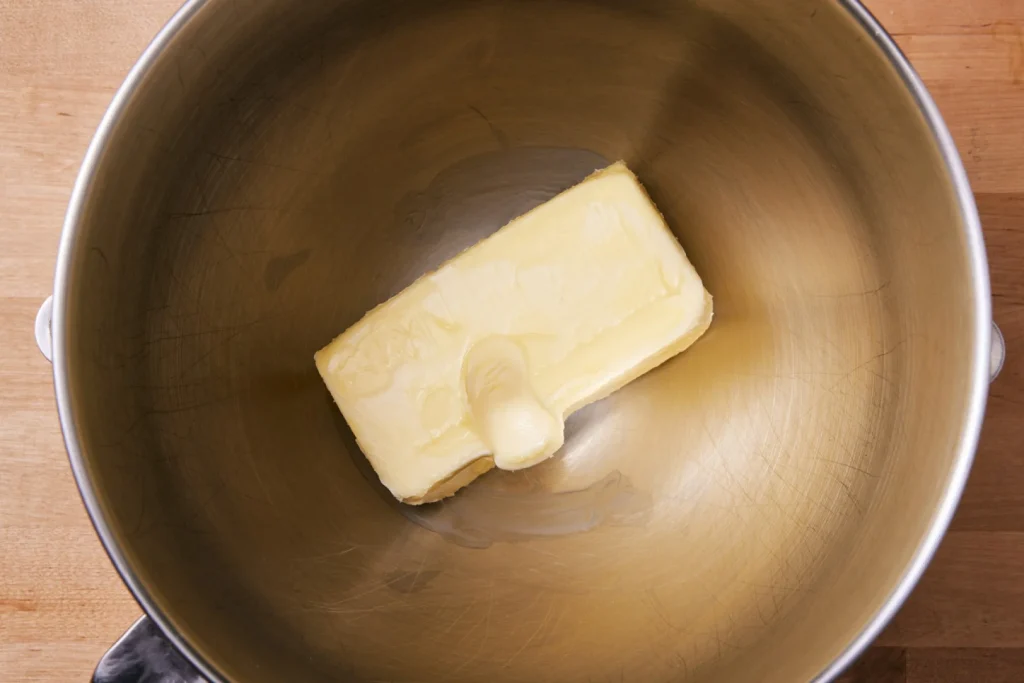
1. Ready your sourdough starter for storage.
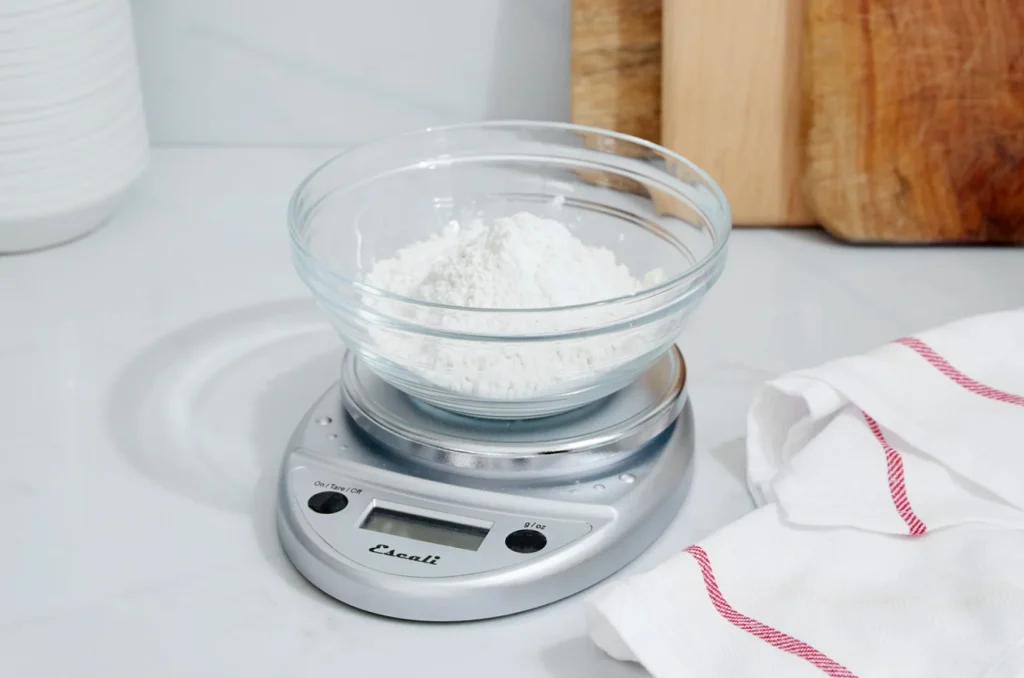
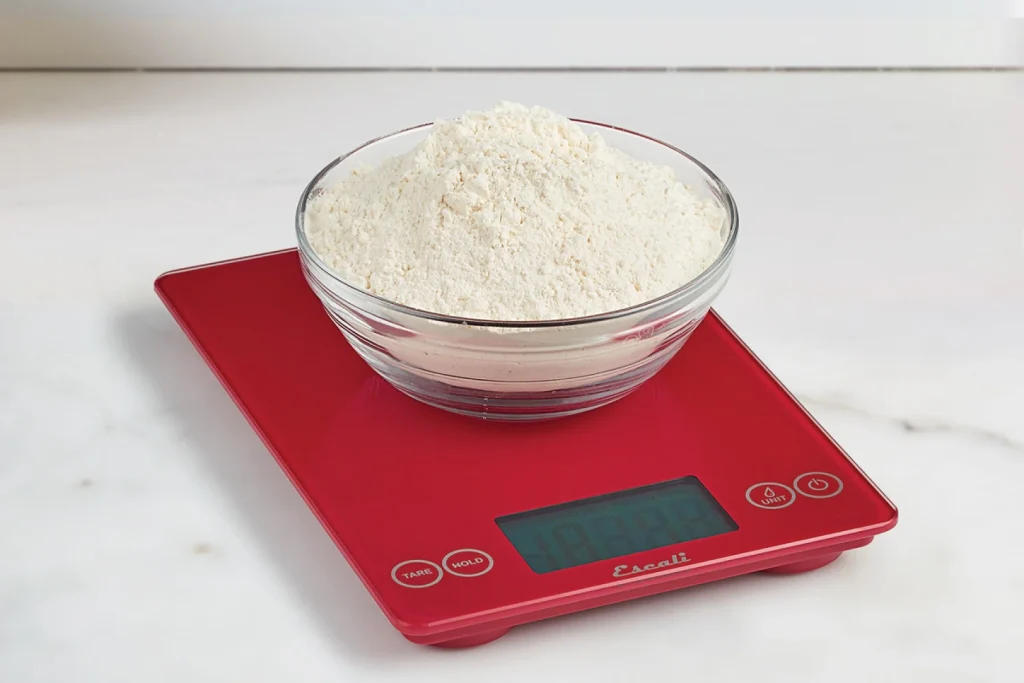
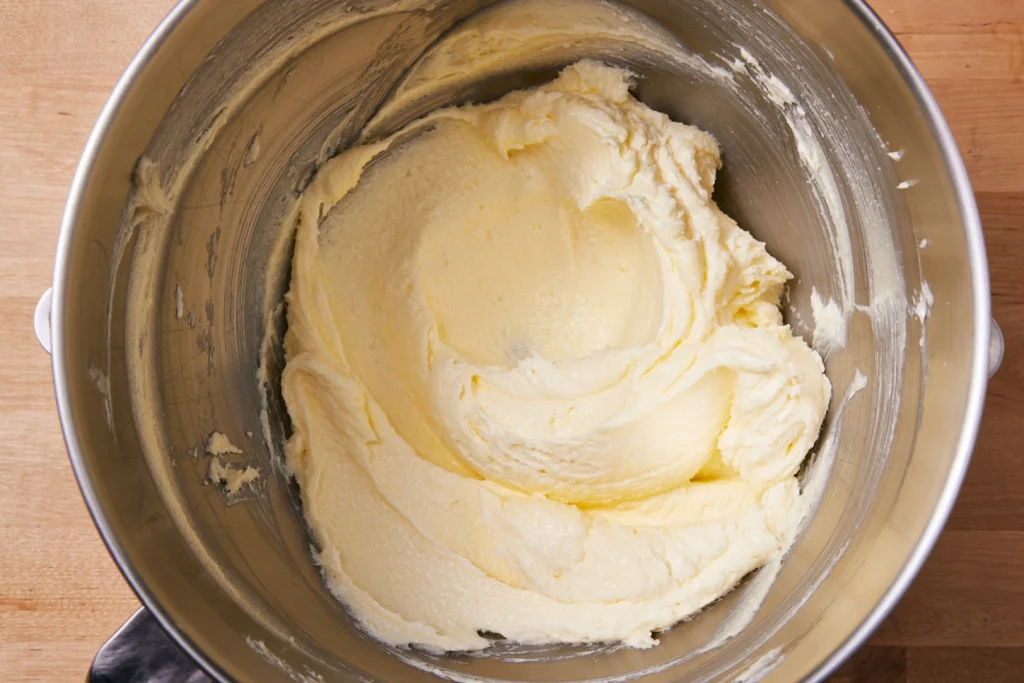
First, feed your starter as though you were going to bake with it. If it’s been stored in the fridge, take it out, and feed it with equal parts unbleached all-purpose flour and lukewarm water. Let it rest, covered, until it becomes very bubbly and healthy looking.
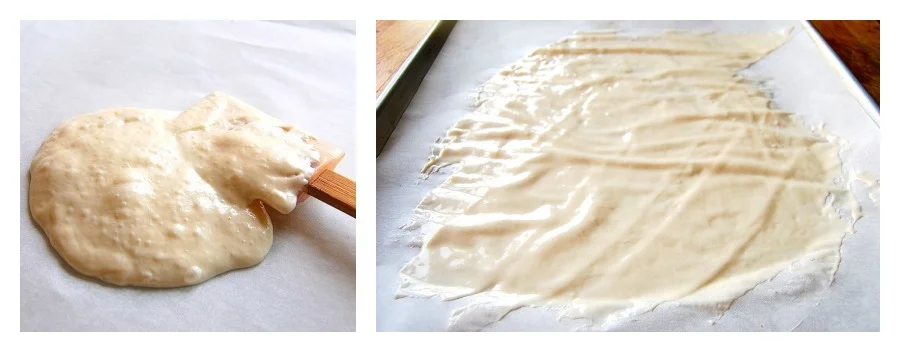
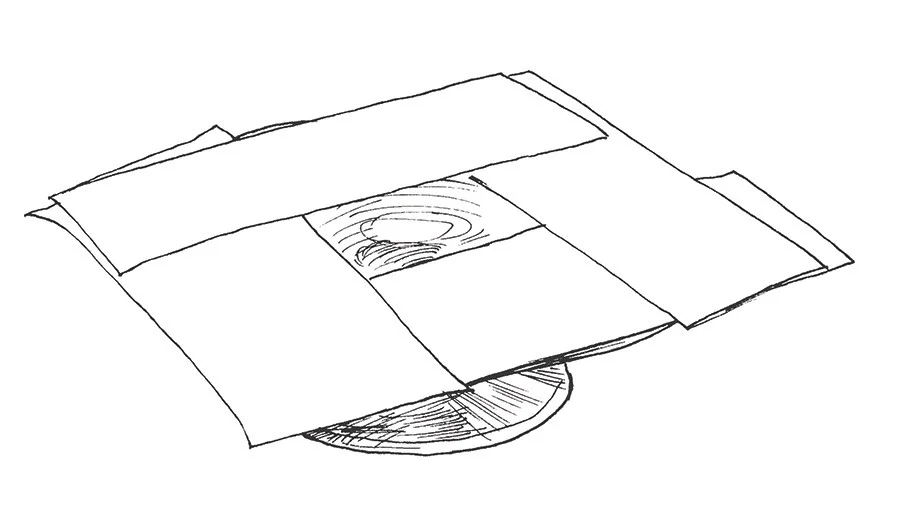
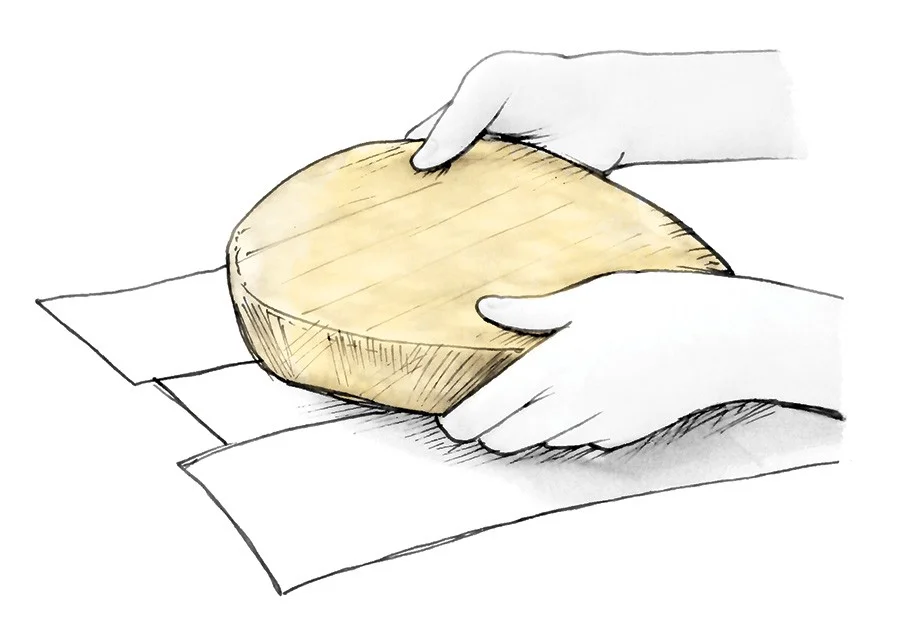
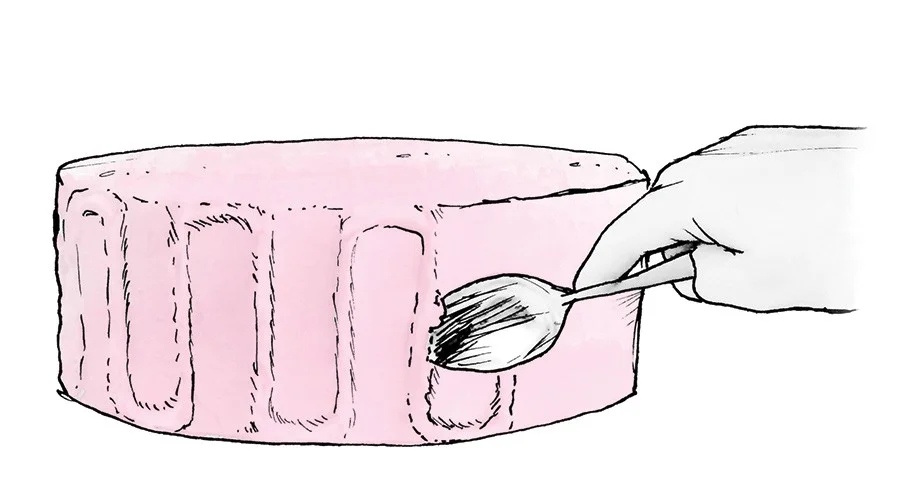
2. Spread it out to dry.
Next, spread it – all of it* – onto two pieces of parchment. It helps to set each piece of parchment on a baking sheet, simply for ease of transportation.
*Don’t want to dry all of it? See the end of this post for advice.
The starter should be spread as thinly as possible; use a spatula, an offset spatula, or a bowl scraper to help the process along.
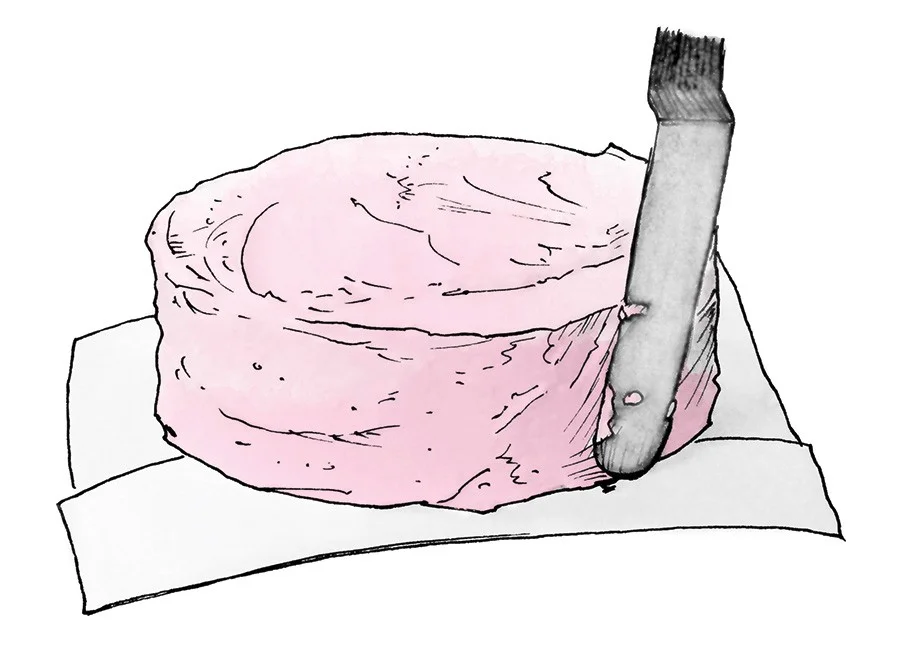
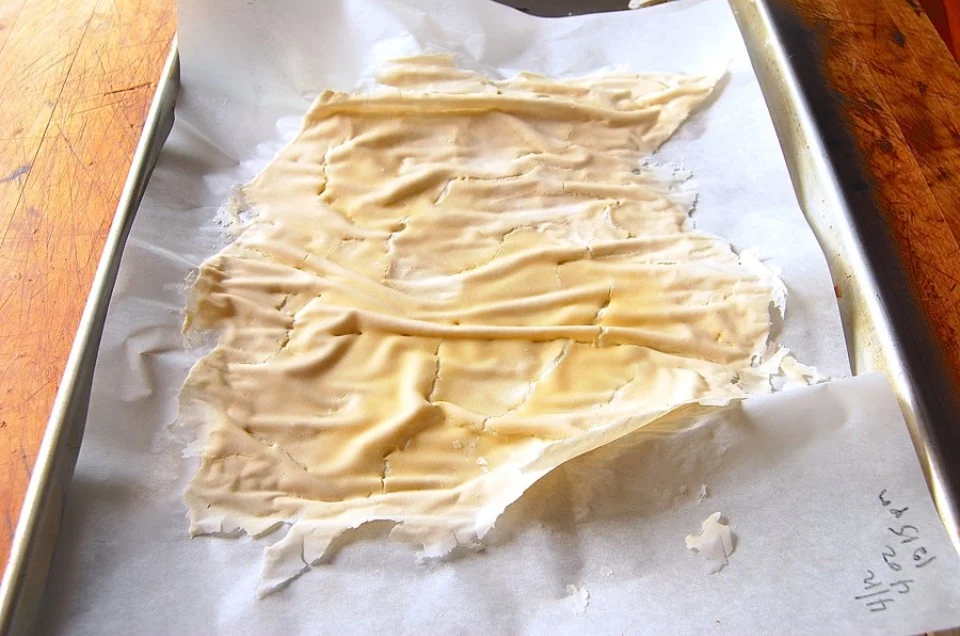
3. Dry the starter completely, until it’s brittle.
Let the starter dry at room temperature until it’s completely and utterly dry. This will take a day (if you live, say, in Arizona, in a house without air conditioning); or up to three, four, five days – it totally depends on the weather. In Seattle, in winter? Count on a long dry.
If you live somewhere humid, can you dry your starter in the oven? Yes; but be careful. Rather than turning the oven on to warm it, I’d advise using only your oven’s electric light, which will produce very gentle, even heat. You don’t want to risk turning the oven on and accidentally making it too hot, which would kill your starter. (See step #8, below.)
Completely dry starter should peel easily off the parchment; when you pick a piece up, it will be brittle and easily snap between your fingers. If you have a scale, weigh it; if you started with 4 ounces starter on your parchment, it should weigh 2 ounces (or very close) when it’s completely dry.
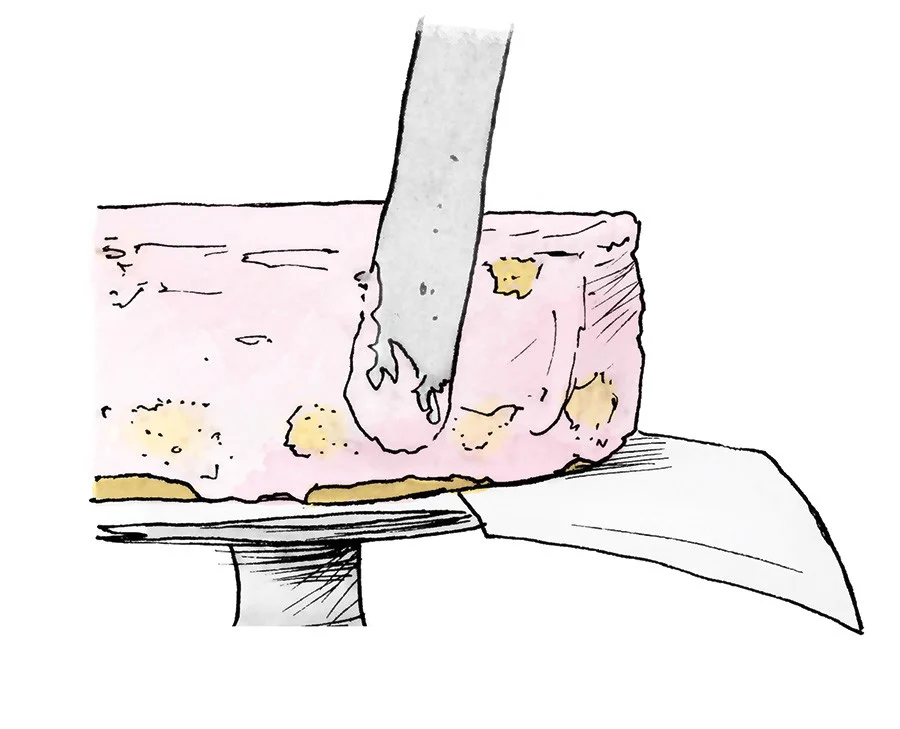
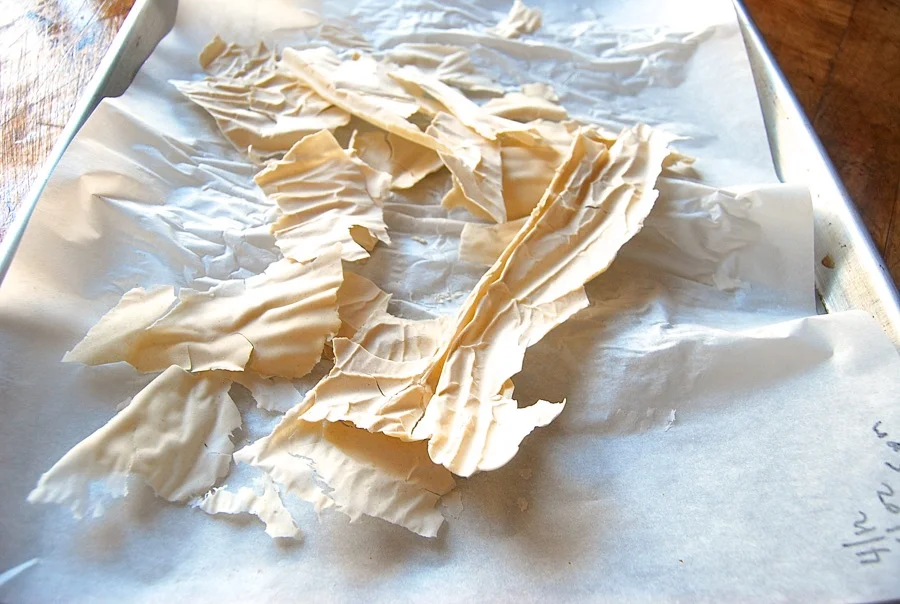
4. Break it into pieces.
Break the starter into small chips with your hands; or place it in a plastic bag and pulverize it with something heavy.
Can you run it through a food processor? Yes, but it’s not necessary; just break it into chips as best you can.
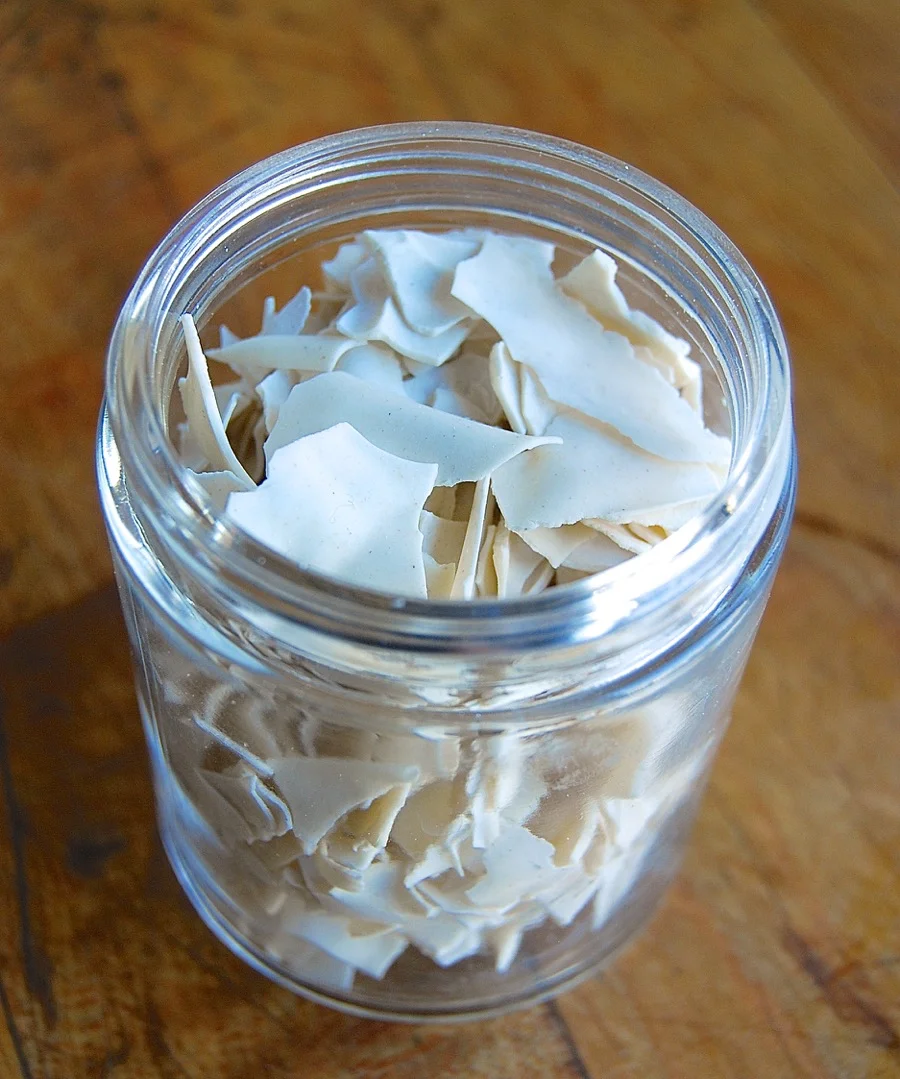
5. Store it airtight.
Store the starter airtight, preferably in a glass container. You want something totally inert, with an airtight cover; a glass jar is perfect. Date the jar and label it; you don’t want someone throwing it away during the course of some pantry spring cleaning.
Keep the jar of dried starter in a cool, dark place, if possible. Not cool as in refrigerator; just not sitting in the hot sun, or over your woodstove. Be sensible.
6. Bring your sourdough starter back to life.
When you’re ready to revive the starter, measure out 1 ounce (or about 1/8 of it, if you’d been following a regular feeding pattern and had about 8 ounces starter on hand at the beginning of the drying process).
Don’t have a scale? Well, depending on the size of your chips, this will be between 1/4 and 1/3 cup.
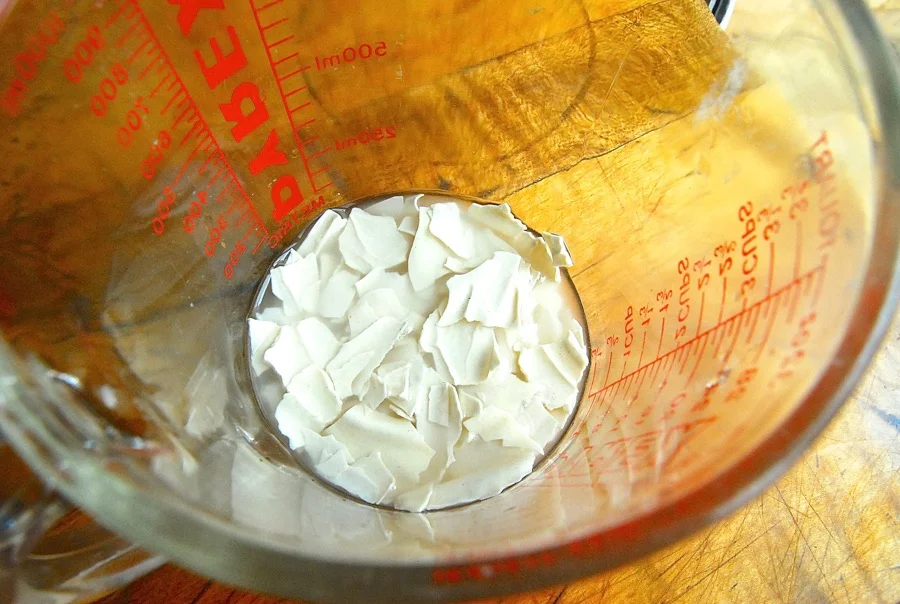
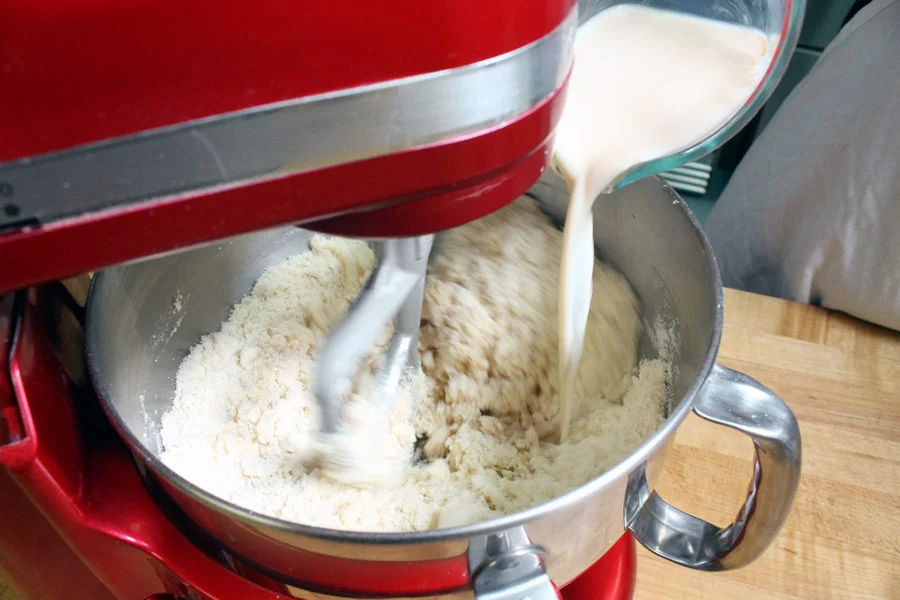
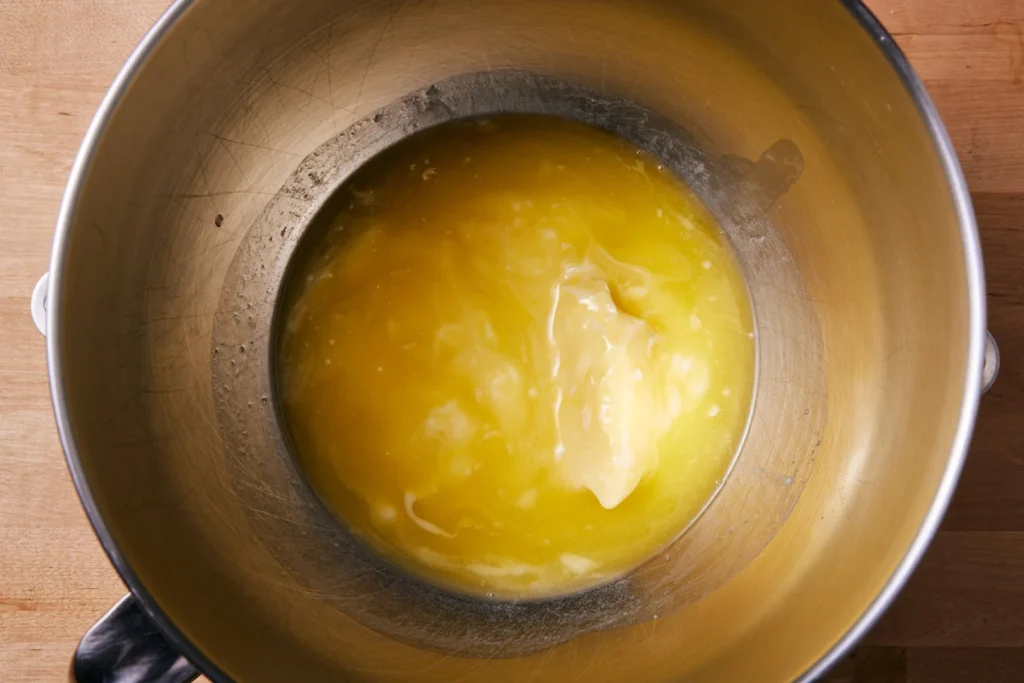
7. Mix the starter with lukewarm water.
Place the dried starter chips in a large (at least 1-pint) container. Add 2 ounces (1/4 cup) of lukewarm water. The water should barely cover the chips; tamp them down, if necessary.
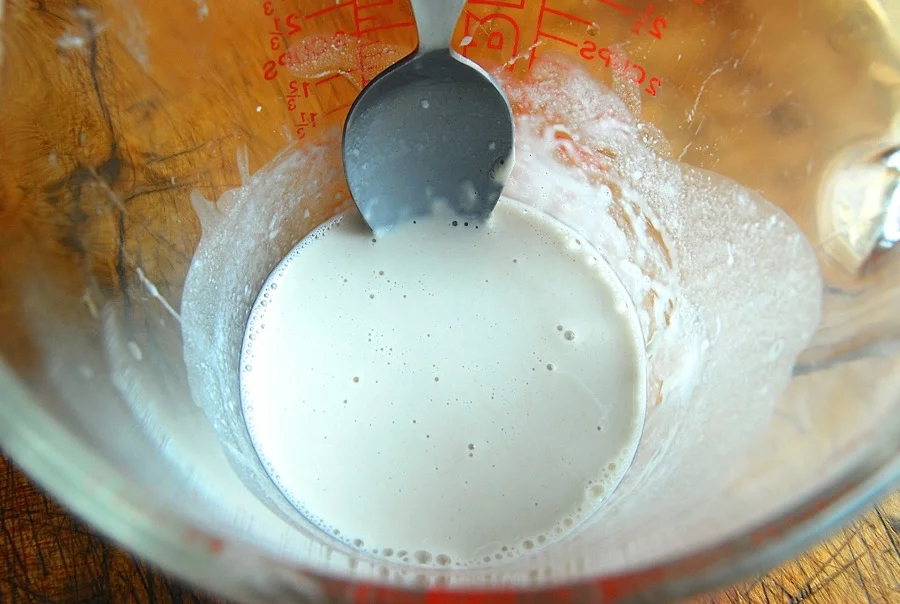
Stir the chips/water occasionally; it’ll take 3 hours or so, with infrequent attention, to dissolve the chips.
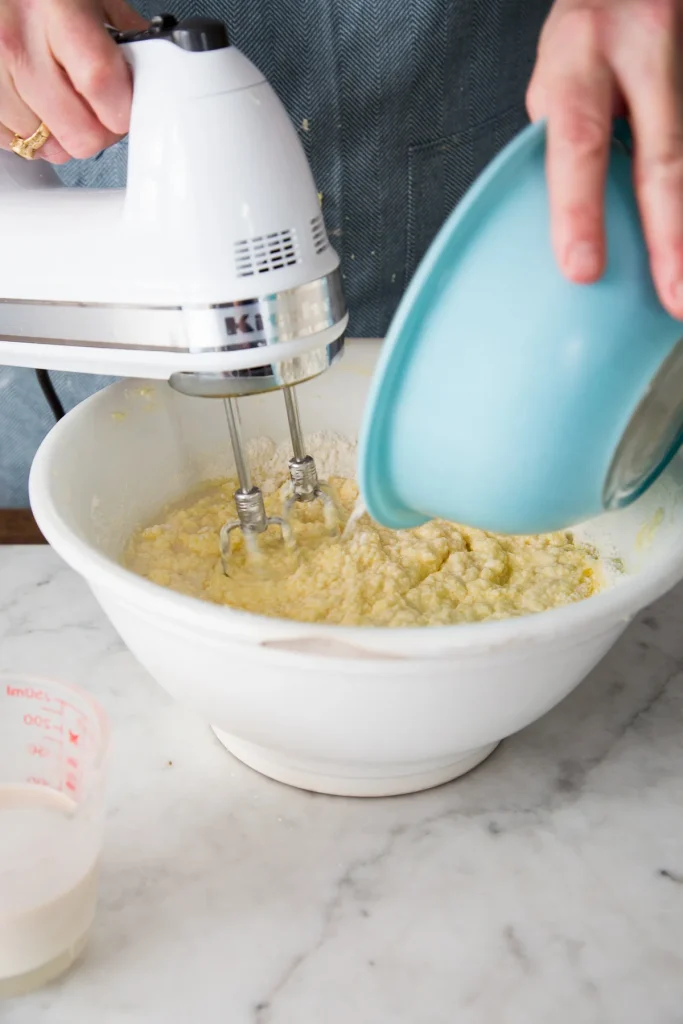
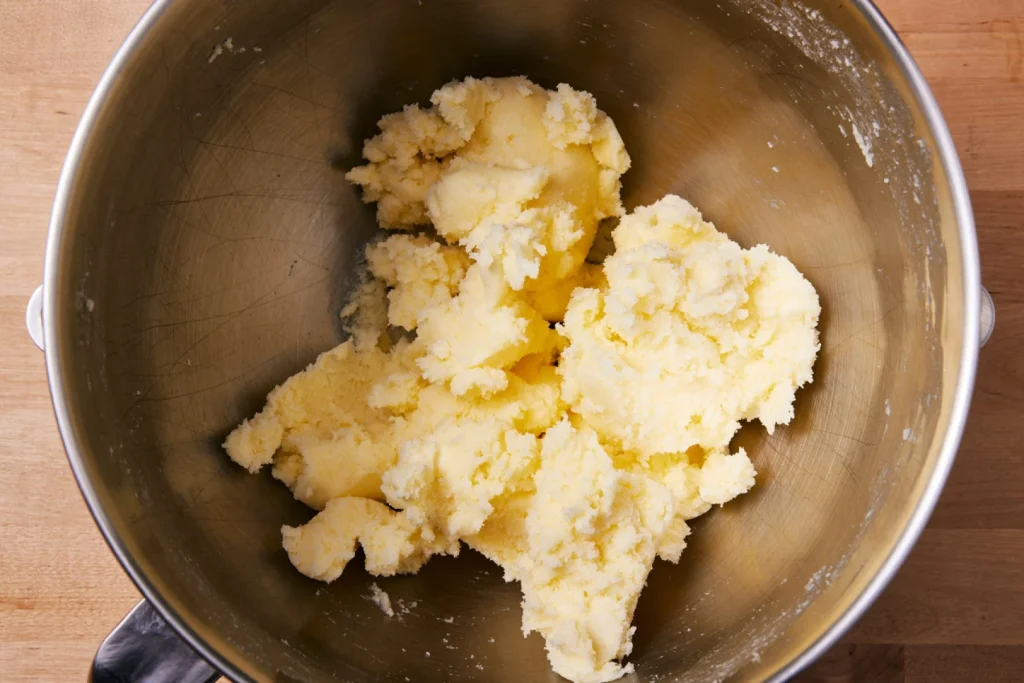
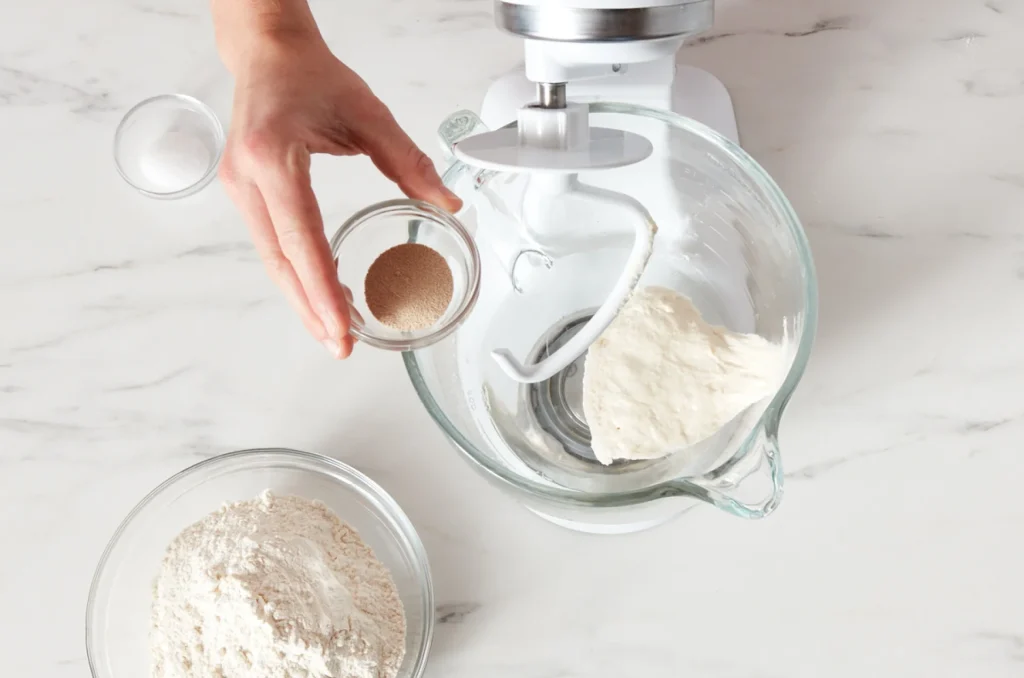
8. Feed it with flour.
Once the mixture is fairly smooth/liquid, with perhaps just a couple of small undissolved chips, feed it with 1 ounce (about 1/4 cup) of unbleached all-purpose flour. Cover it lightly (a shower cap works well here), and place it somewhere warm.
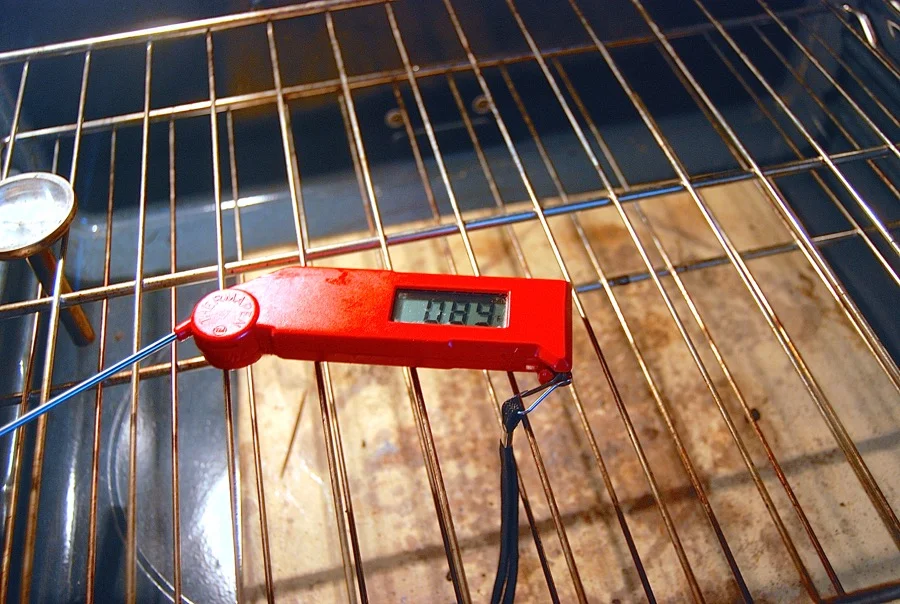
I like to use my electric oven with the light turned on. Even without ever turning on the heat, it holds a constant temperature between 85°F and 90°F.
You can certainly keep your starter out of the oven, at room temperature; just understand that this whole process, as I’ll describe it, will take longer. The cooler the room, the longer it takes sourdough starter to work.
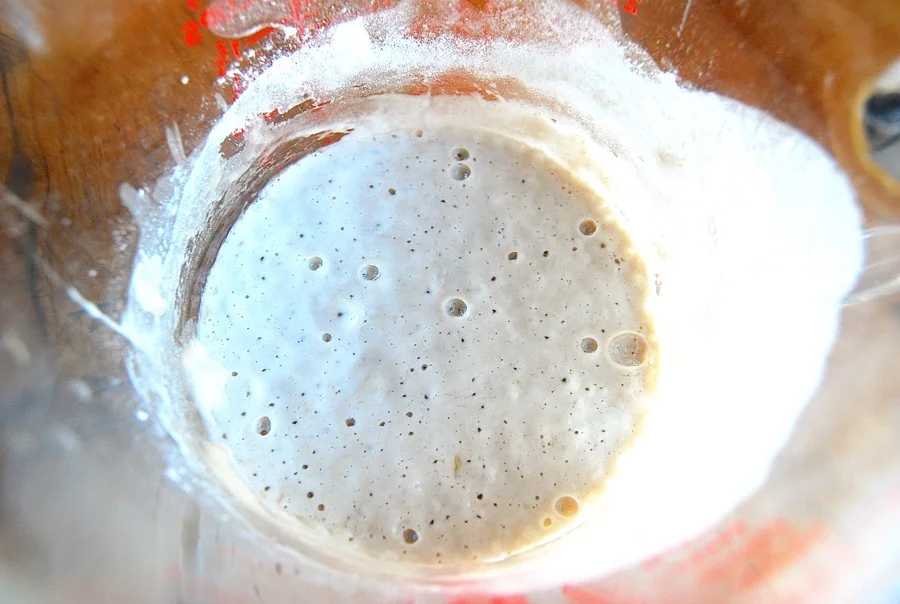
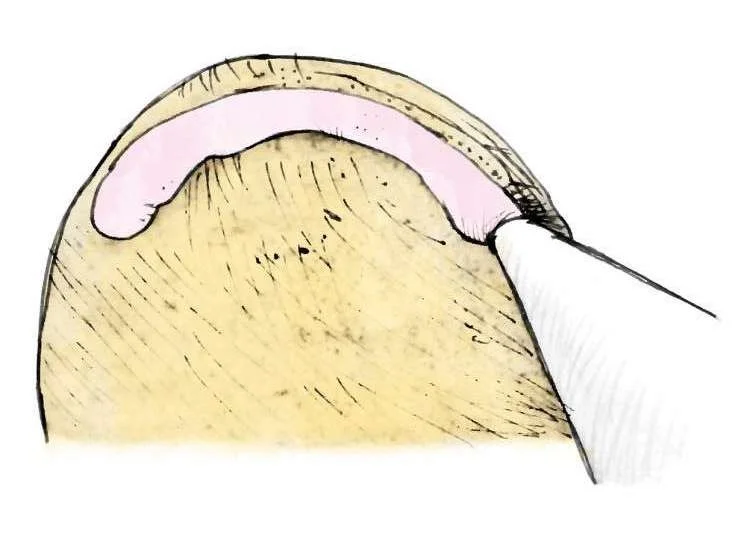
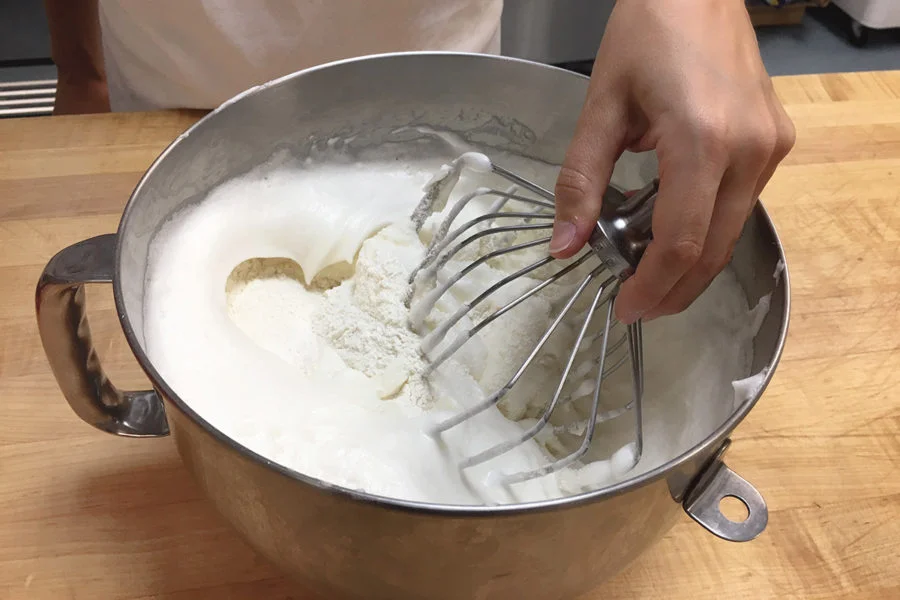
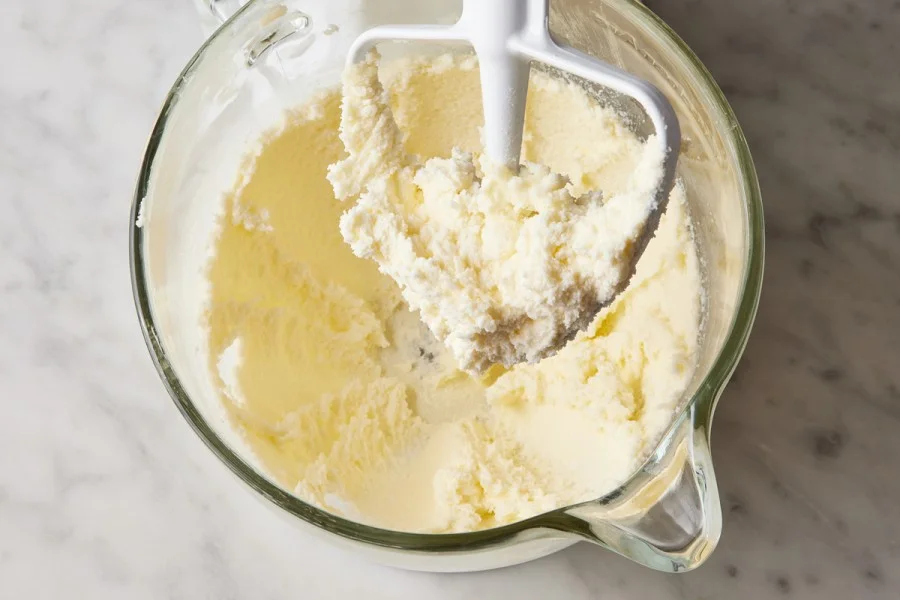
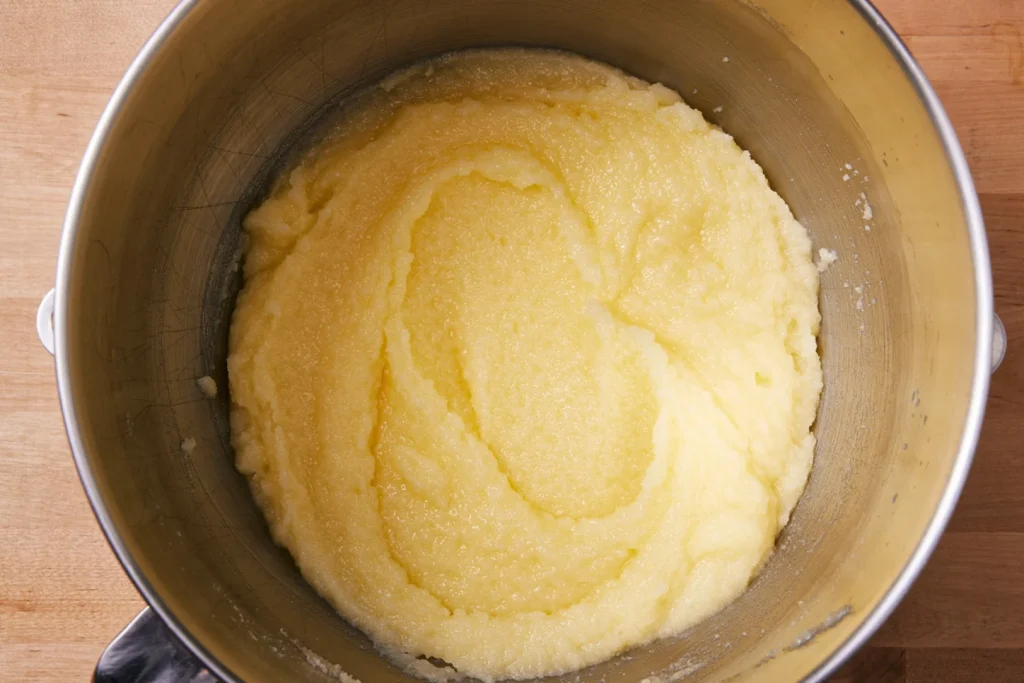
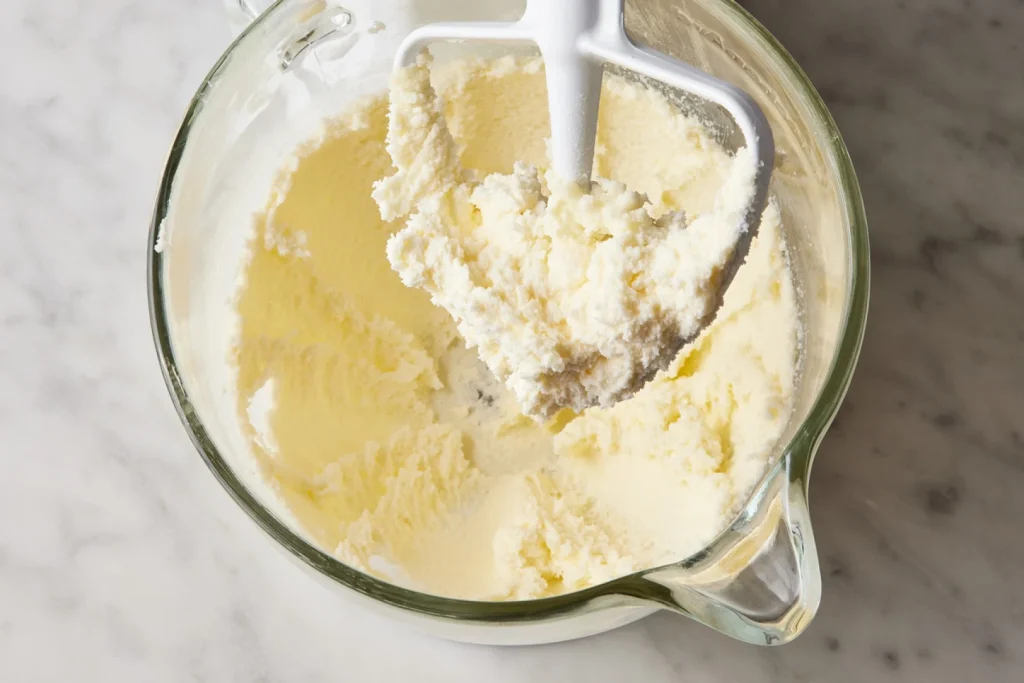
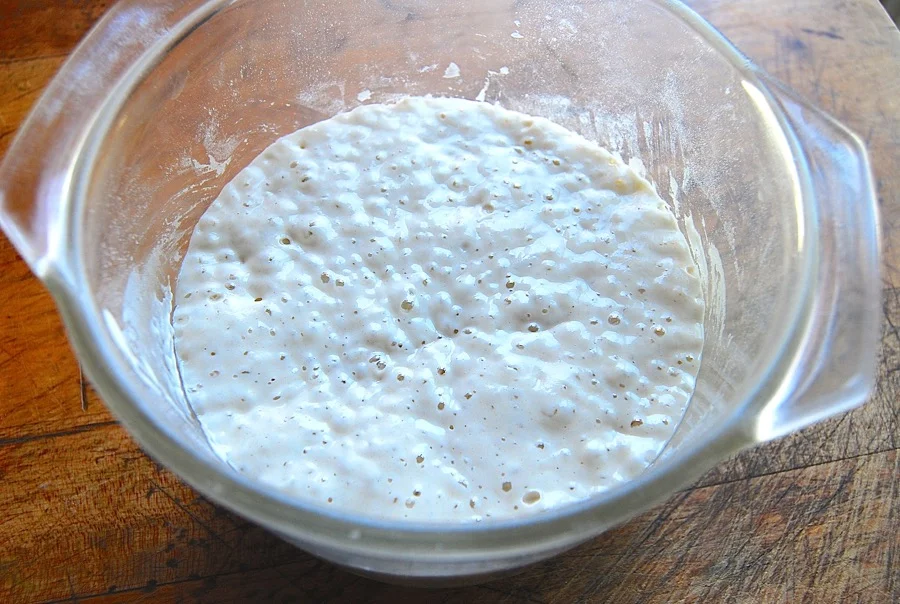
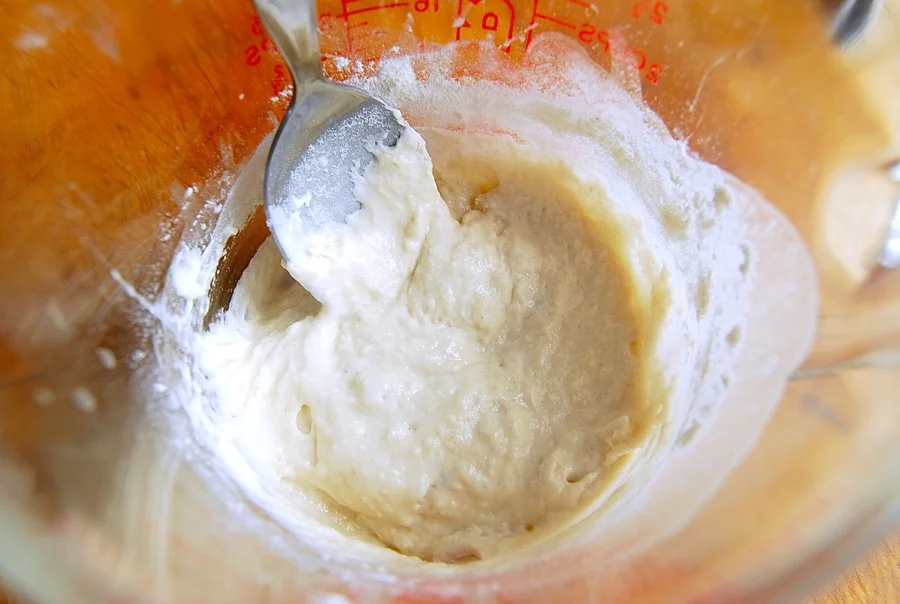
9. Let it rest somewhere warm until it bubbles.
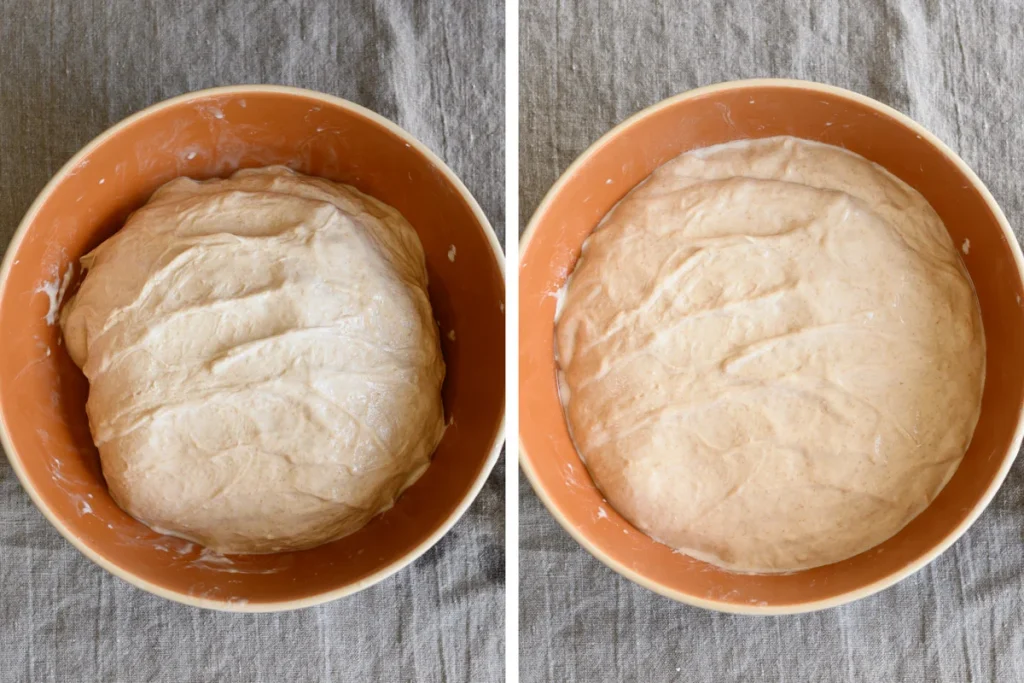
Let the starter work for 24 hours. At the end of that time, you should see some bubbles starting to form. Remember, this is at about 85°F; if your temperature is lower, this will take longer.
How much longer? Totally depends on temperature. Once you do this process once – in your kitchen, in your climate, accounting for your weather – you’ll have a better idea.
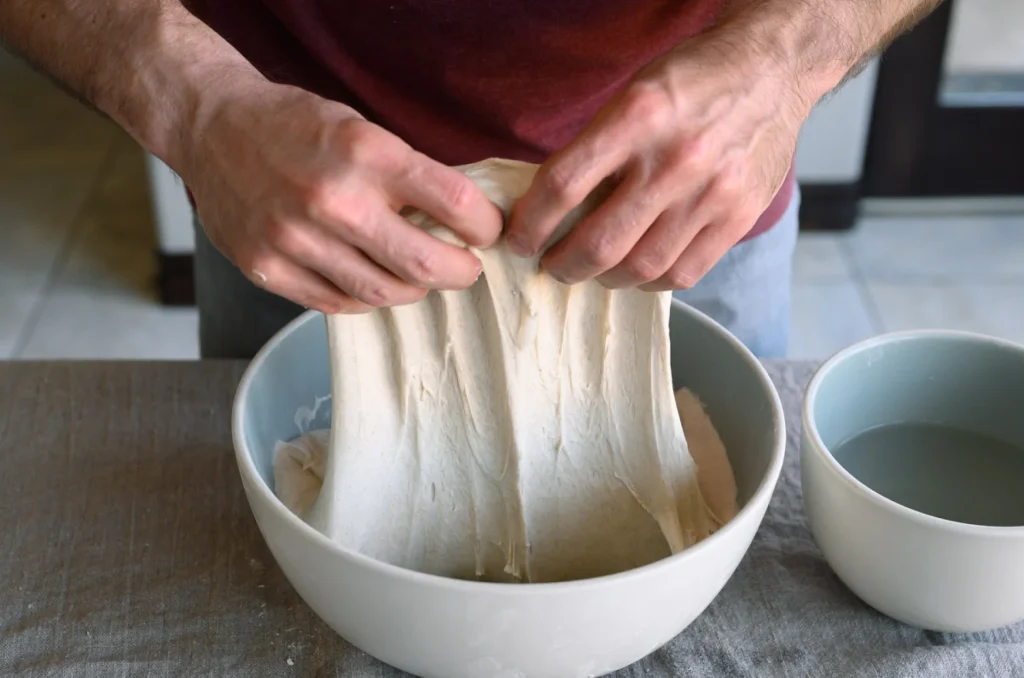
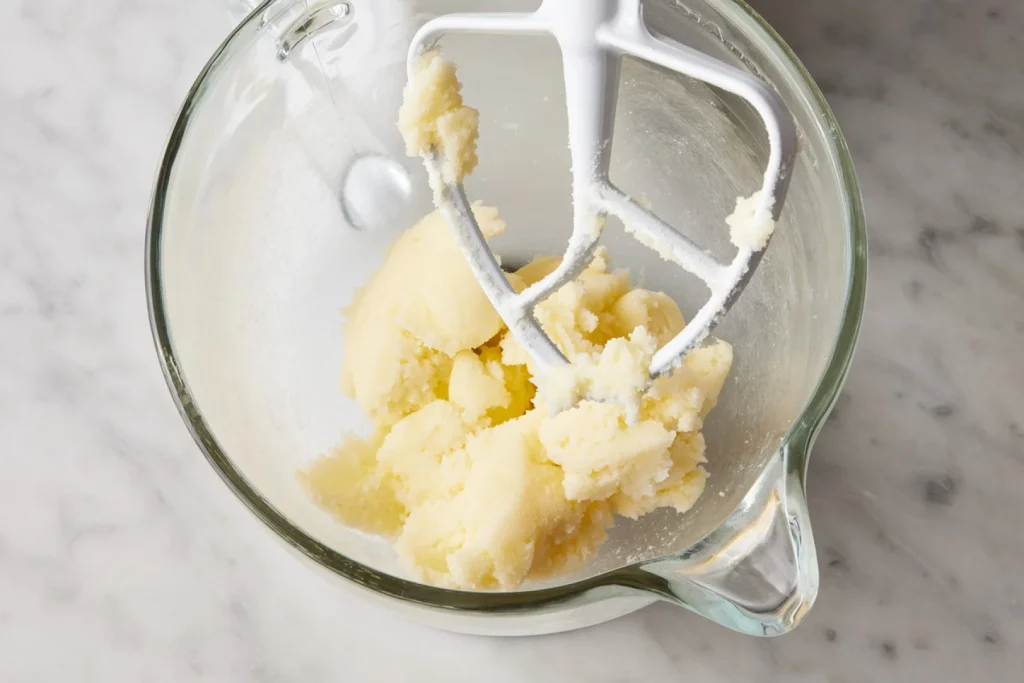
Sourdough isn’t one of those things you can be all engineering about. Forget your timer; just wait until your starter looks like the picture above.
10. Feed the starter again.
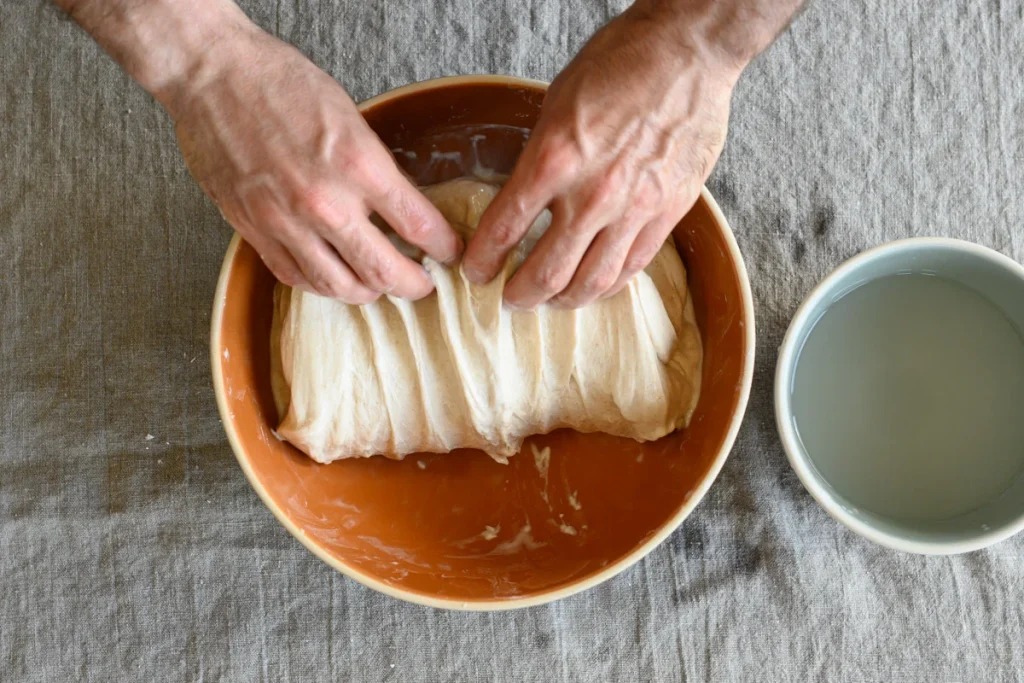
WITHOUT DISCARDING ANY OF THE STARTER, feed it with 1 ounce of lukewarm water, and 1 ounce of flour. Cover, and put back in its warm spot. After “X” hours (depends on your kitchen), you should see some serious bubbling; mine took eight hours to become nice and bubbly.
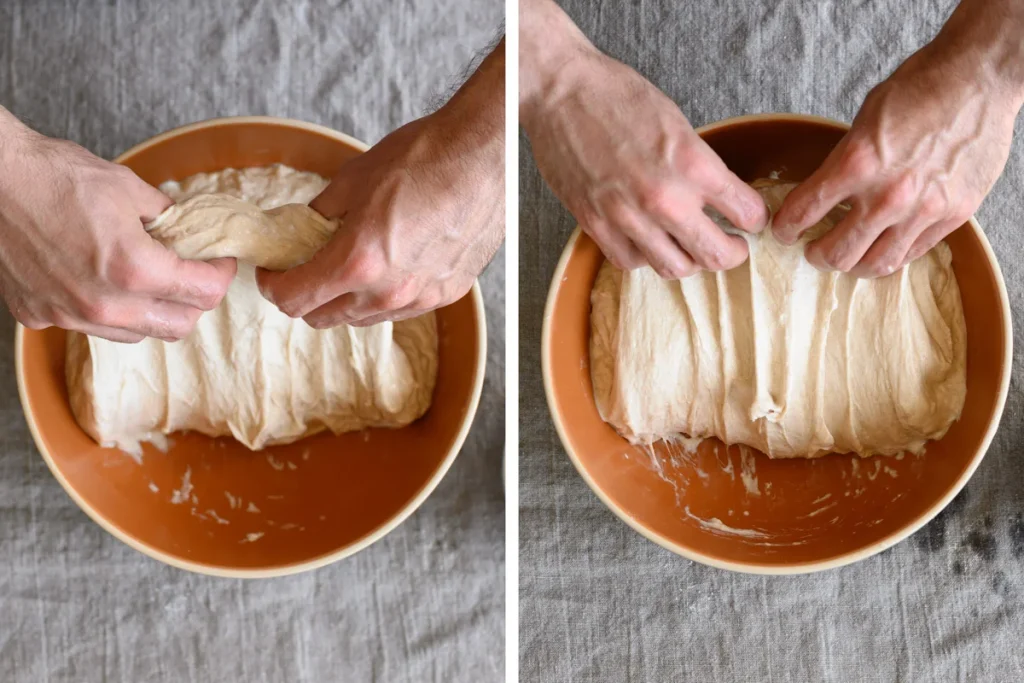
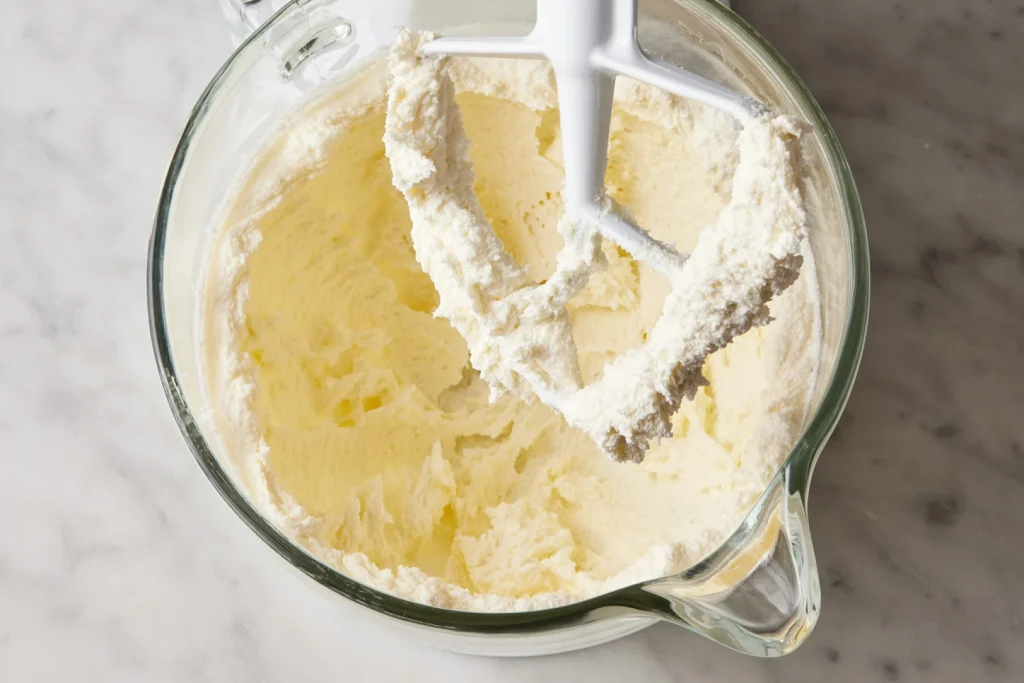
11. And again.
Feed the starter again – 1 ounce of lukewarm water, 1 ounce of flour – cover, and wait. Again, you’re not discarding any at this point.
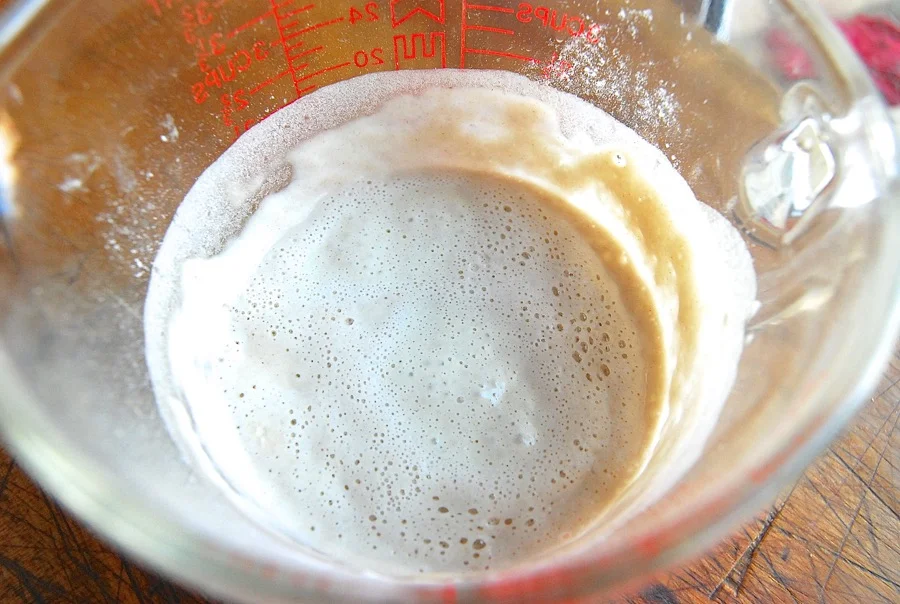
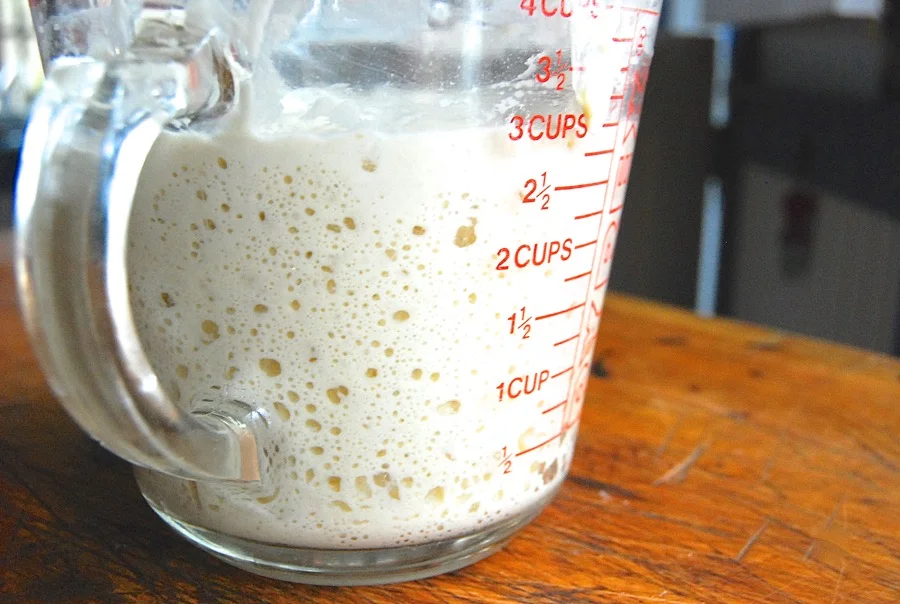
Here’s my starter 12 hours later. It’s exhibiting a host of tiny bubbles, and has expanded. You may also notice, from the side of the container, that it’s risen, and then fallen; this is completely natural.
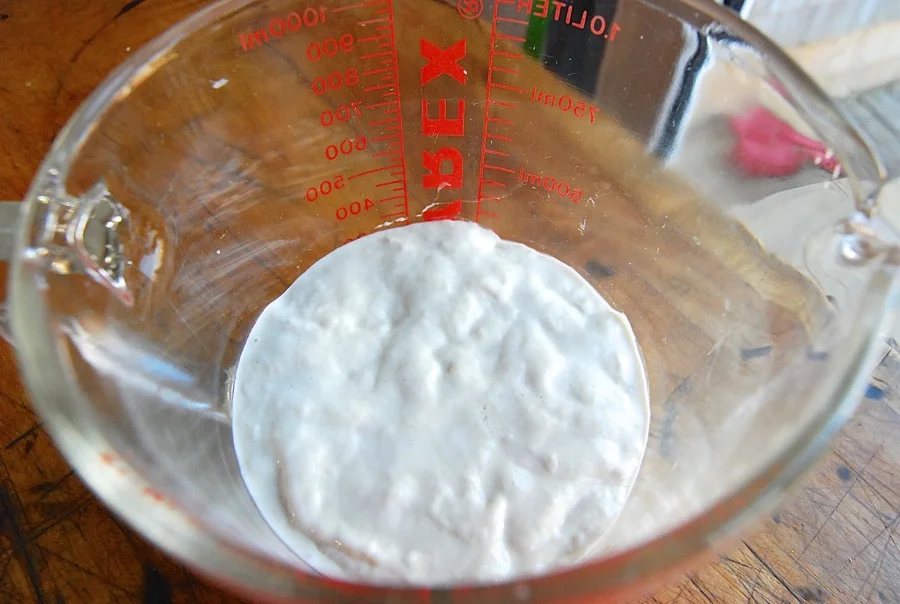
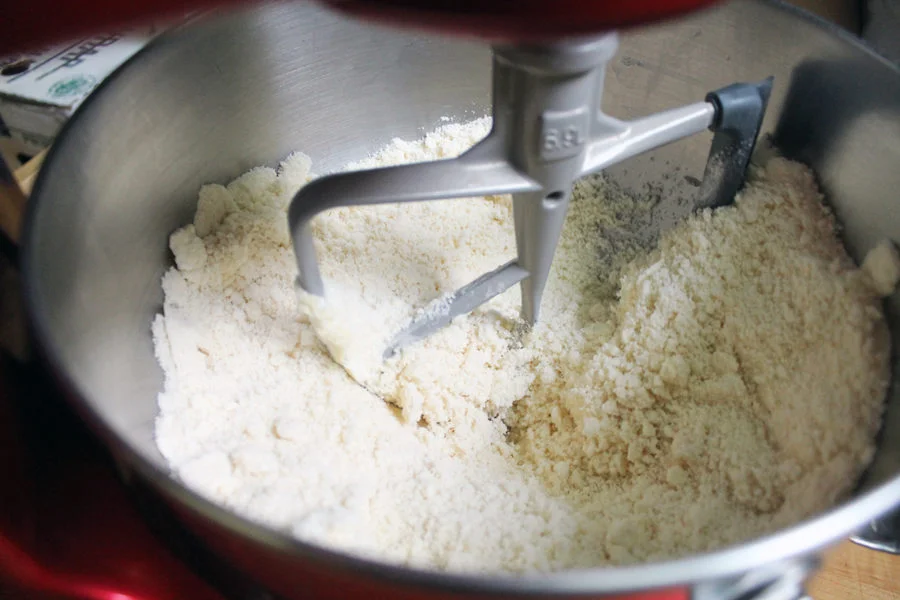
12. Put the starter back on its regular feeding schedule.
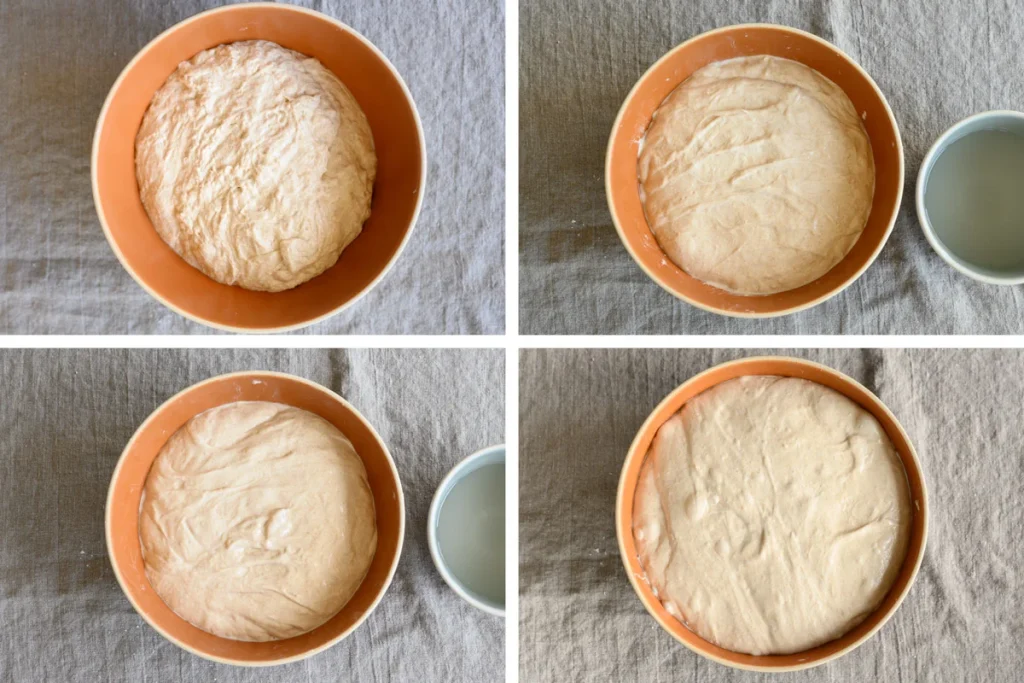
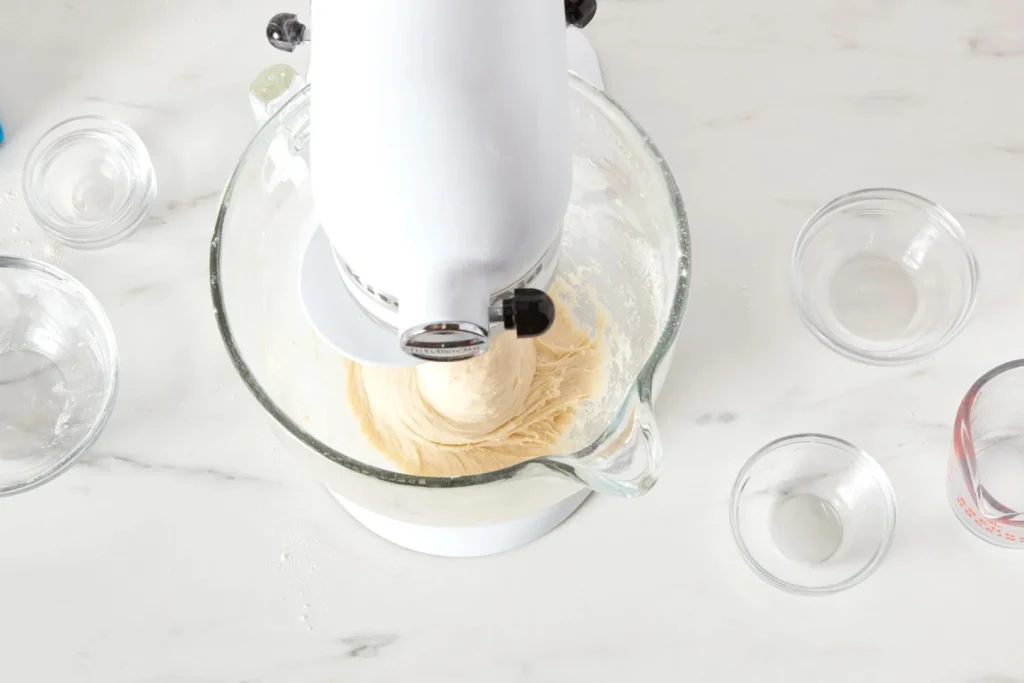
Your starter is ready to return to its former life – and its regular schedule. DISCARD all but 4 ounces (about 1/2 cup). Feed it again, this time with 4 ounces each lukewarm water and flour. (That’s 1/2 cup of water, and 1 cup of flour, for those of you without a scale. Tell me again why you don’t have a scale?)
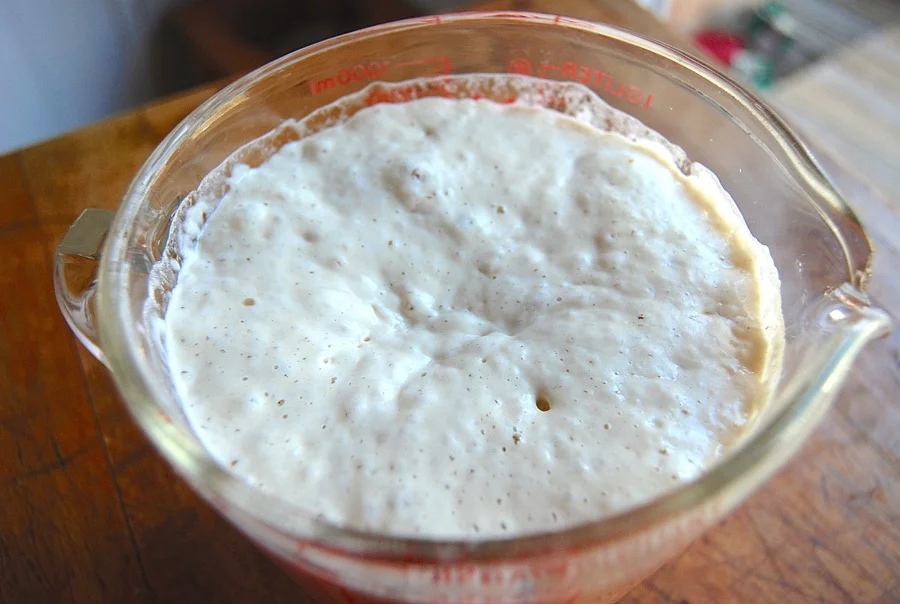
This time, it should really expand quickly. In my 85°F oven, it took just 4 hours for it to triple in size. Your starter is now revived and healthy.
13. At last – you’re ready to bake!
To ready the starter for baking (while saving enough for another day), feed it again. Discard all but 4 ounces; and feed the remainder with 4 ounces each lukewarm water and flour. Let it become bubbly – and let the baking begin!
Finally, because I know you’ll ask –
Q. Do you have to dry all of your starter?
A. No. Store half in the fridge, if you like. Just don’t store any in the freezer; freezing will kill your starter (more on that in a future post).
Q. If you dried all of your starter, and you only revive 1 ounce of it – what do you do with the rest?
A. Give some to a friend (with a link to this blog post, of course). Or just save the rest for sometime in the future.
Q. How long will dried starter stay good?
A. Not sure, but we’ve heard cases of dried starter remaining viable for over a decade. Thorough drying should preserve your starter indefinitely – just ask King Tut!
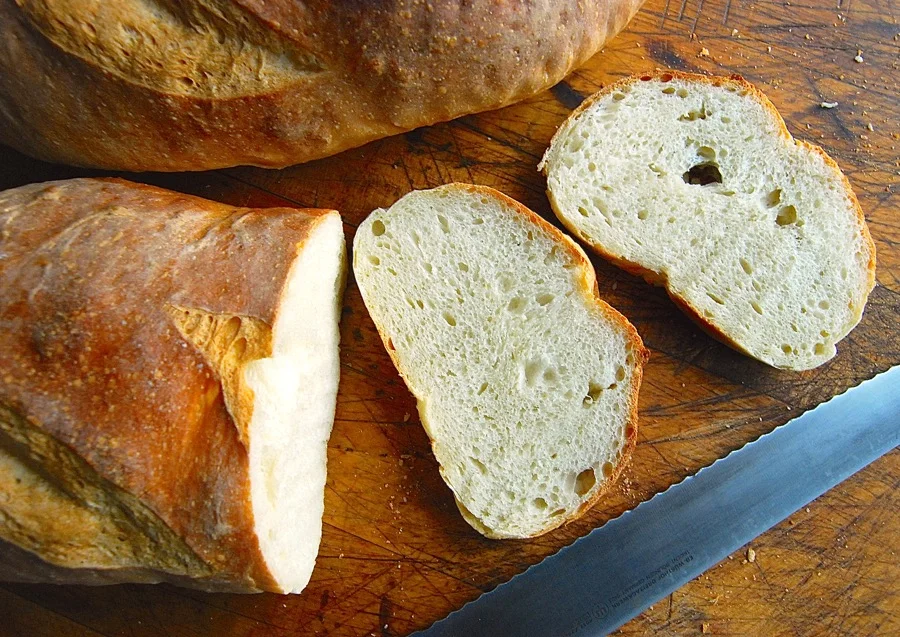
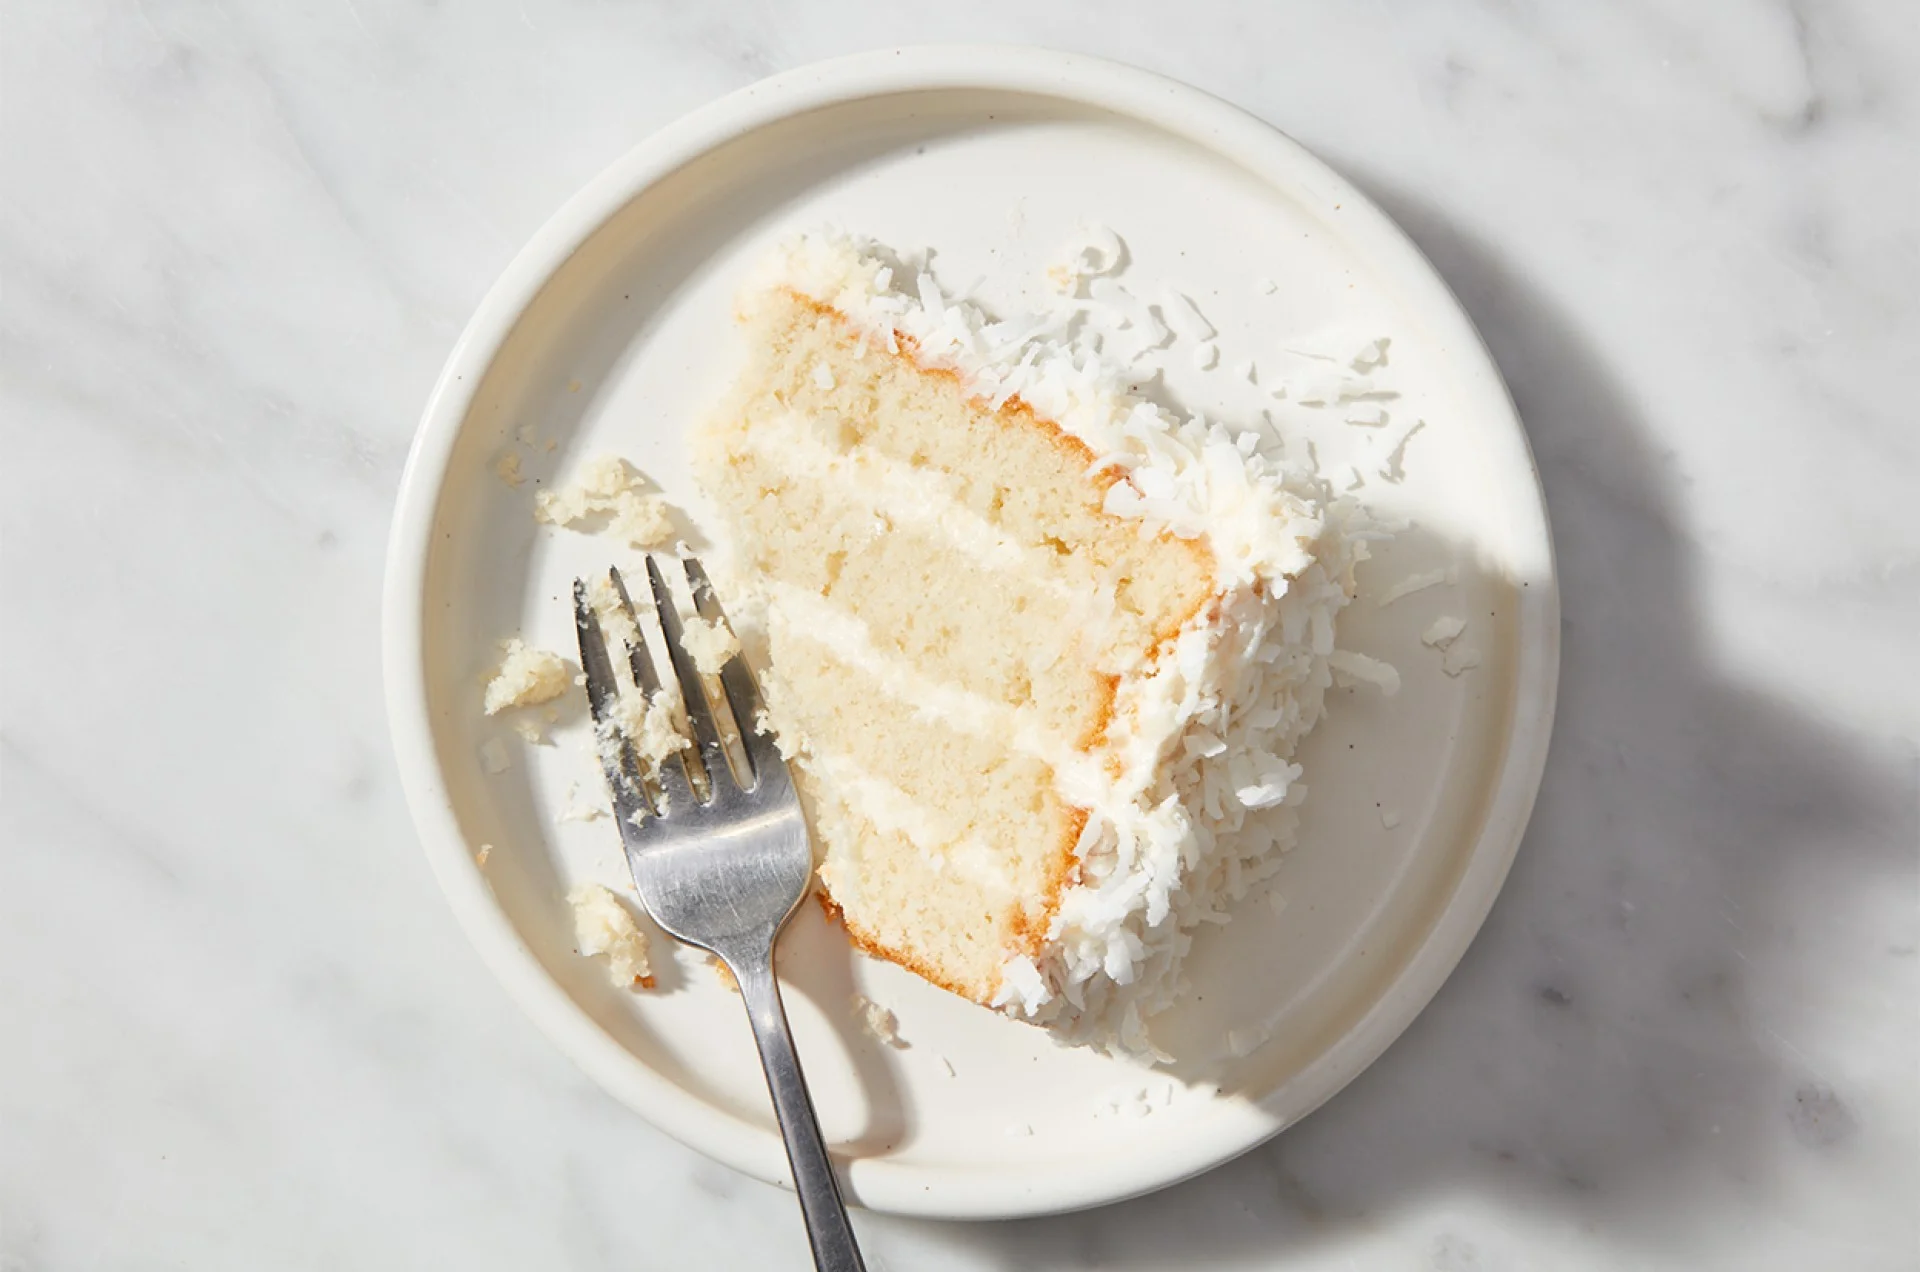
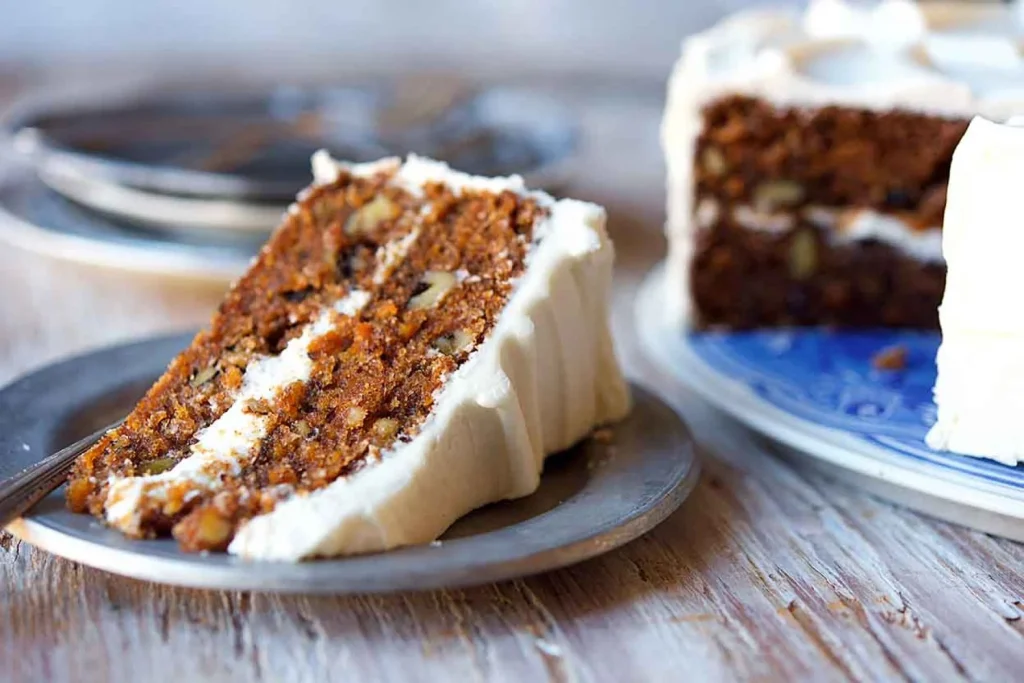
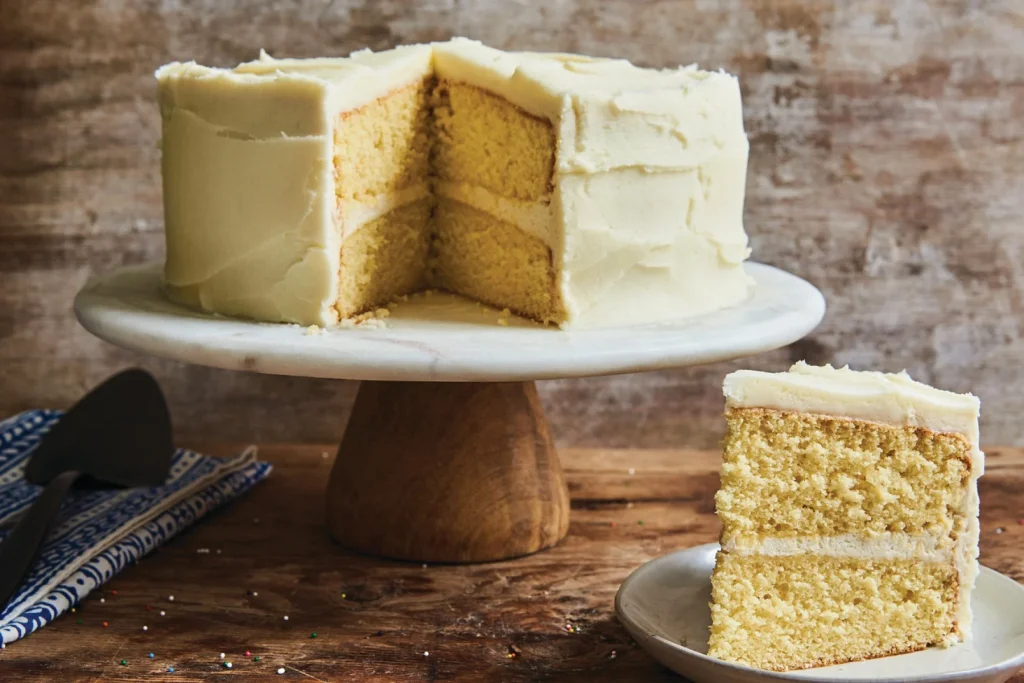
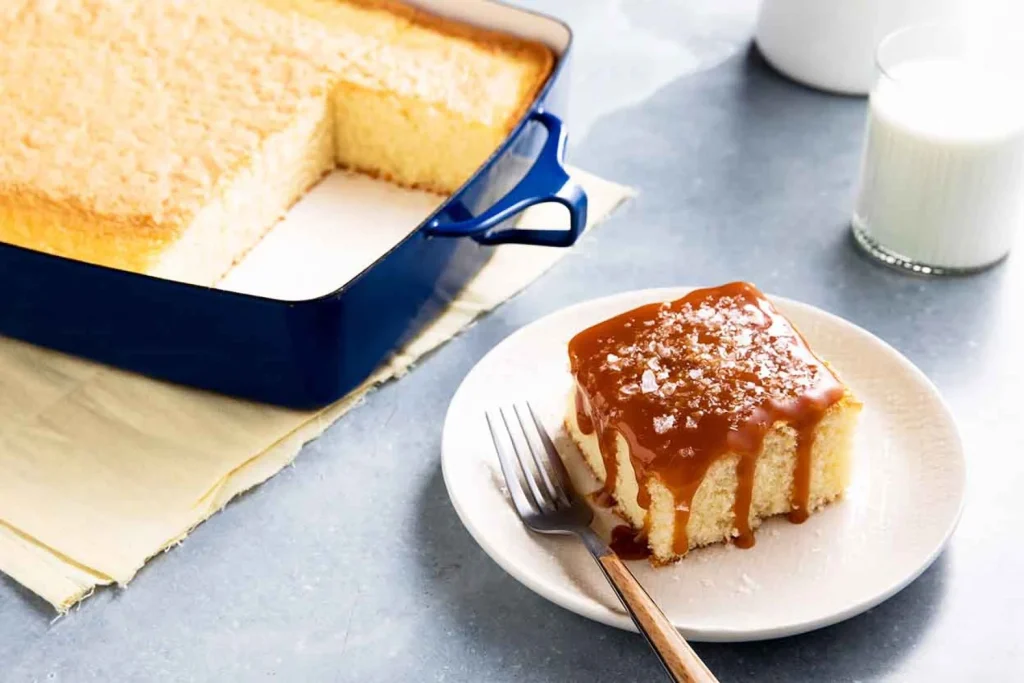
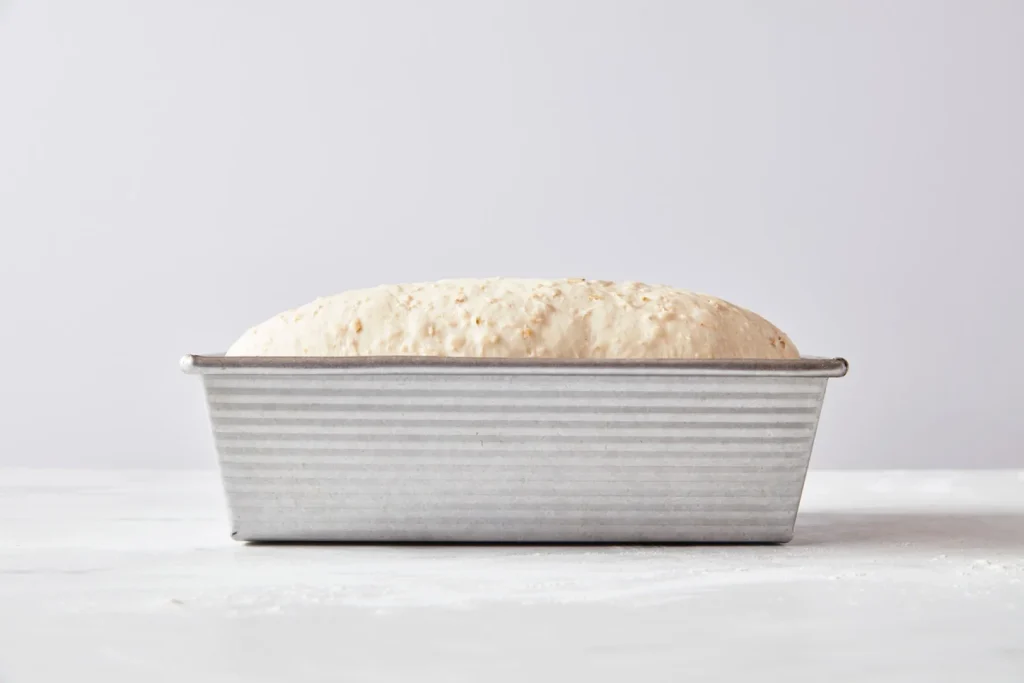
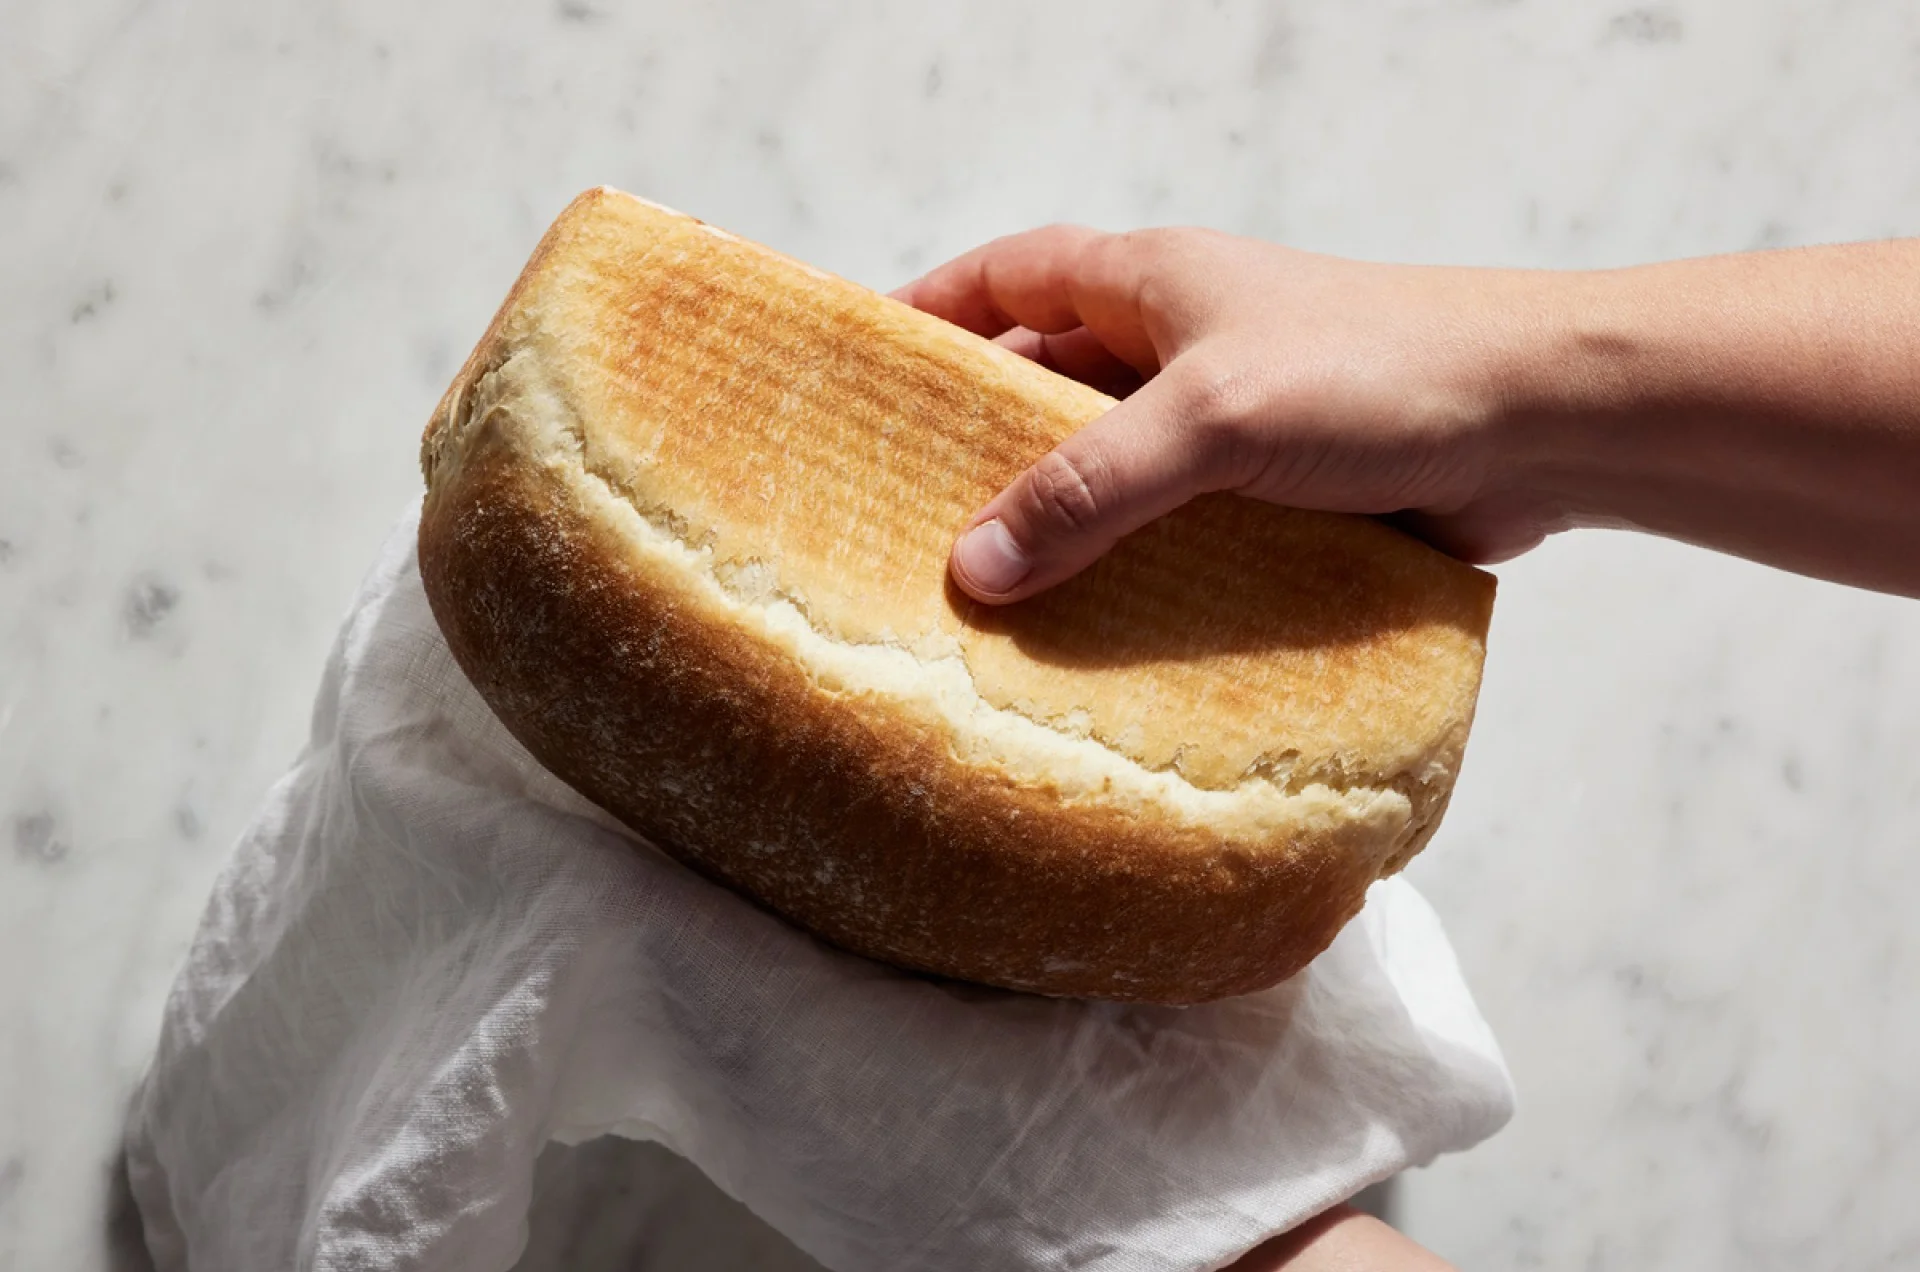
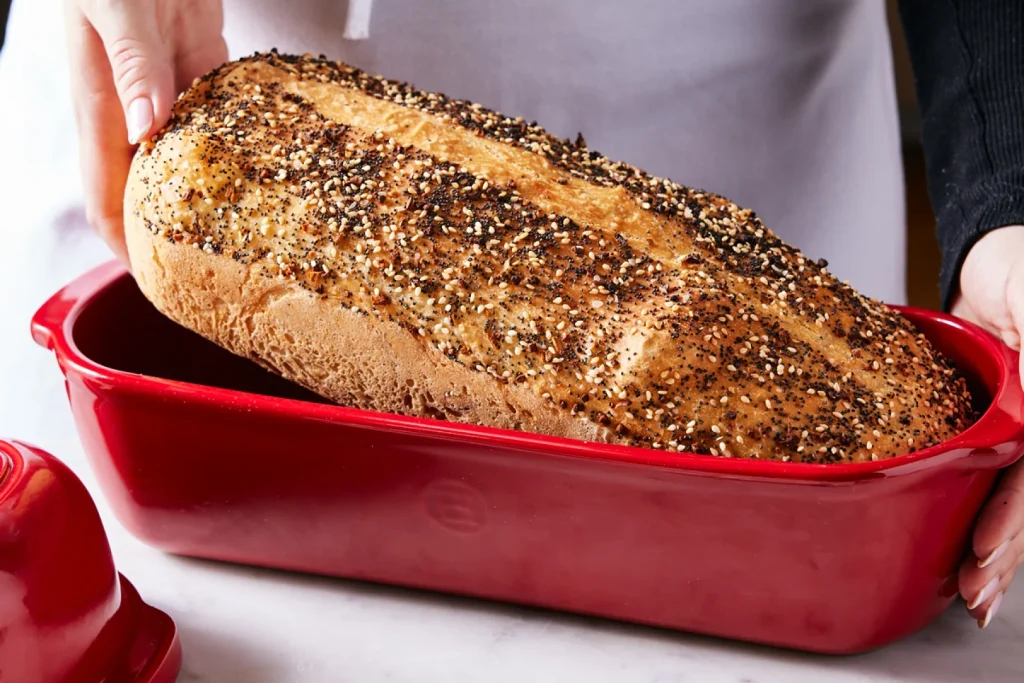
Finally, I couldn’t possibly end this post without showing you what happened to my dried, revived, fed, and baked-with starter. This Extra-Tangy Sourdough Bread has NO commercial yeast; it was entirely leavened with my reconstituted starter. Success!