


Creaming butter and sugar: How to get it right
By: RedmanShop | January 12, 2025
For many new bakers and a few veterans, too, cakes are some of the first baked goods we make on our own. We may start with a mix, but then when we realize how easy a cake can be, we branch out to from-scratch cakes and encounter a deceptively simple direction right off the bat: “Cream the softened butter and sugar until light and fluffy.”
Why we cream butter and sugar
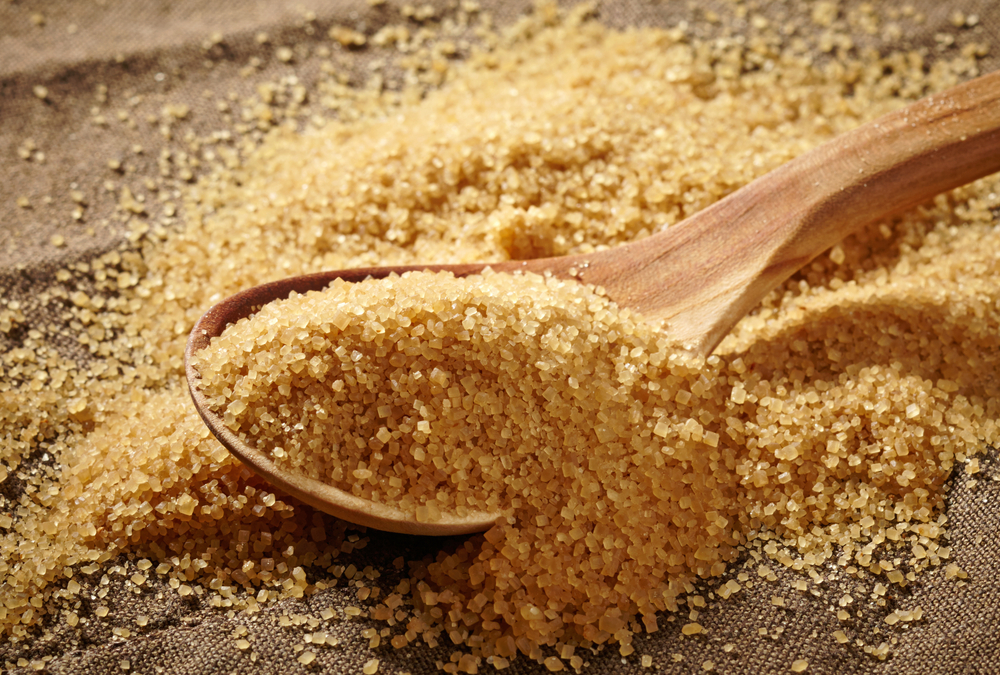
In creaming the butter and sugar together, you are using the sugar to aerate the butter and fill it with bubbles that can capture the gasses released by your leavener (usually baking soda and/or baking powder). The more fine bubbles you have in your network, the lighter in texture your cakes will be and the finer the crumb. This is true for your muffins as well, while it makes your cookies light and crisp instead of hard and dense.
How to cream butter and sugar the right way
Just like Goldilocks, we can encounter a variety of issues when dealing with this phrase. Too hard, too soft, and just right. Just what does softened butter look like? Should it be melted? How long do you beat? Should I set my mixer to low or high? How do I know when it’s right?
What your butter should look like before creaming
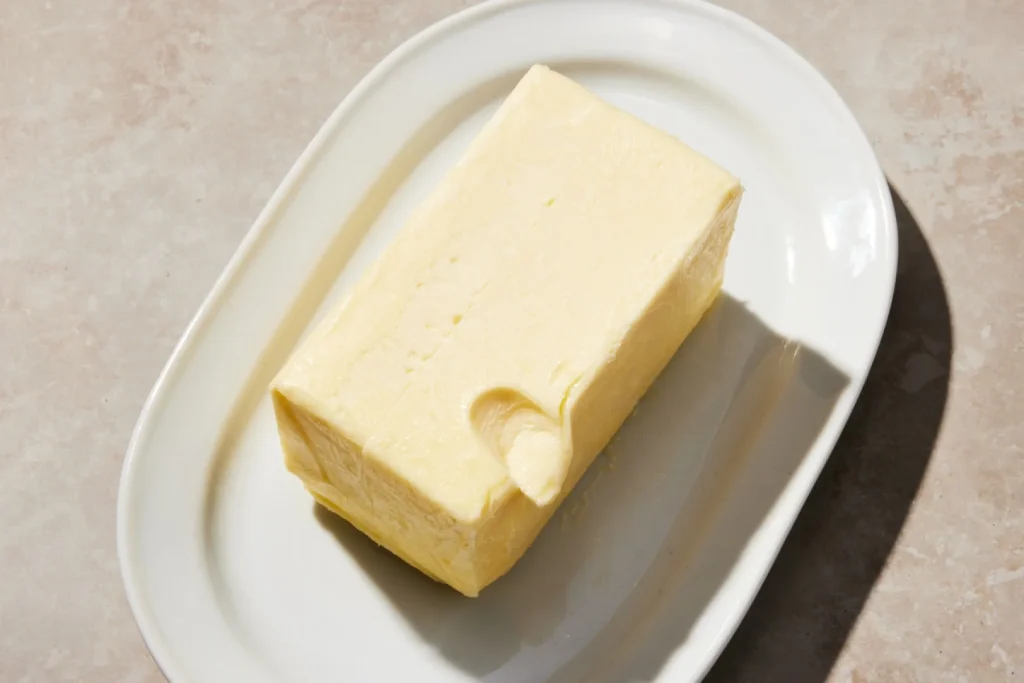
Not too hard, not too soft — just right.
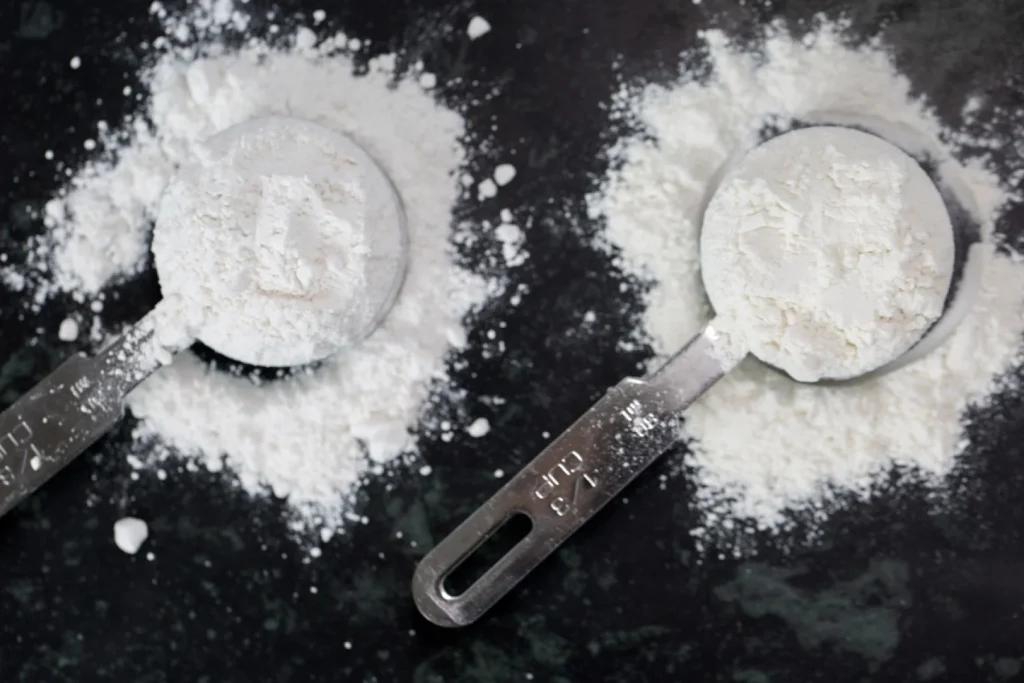
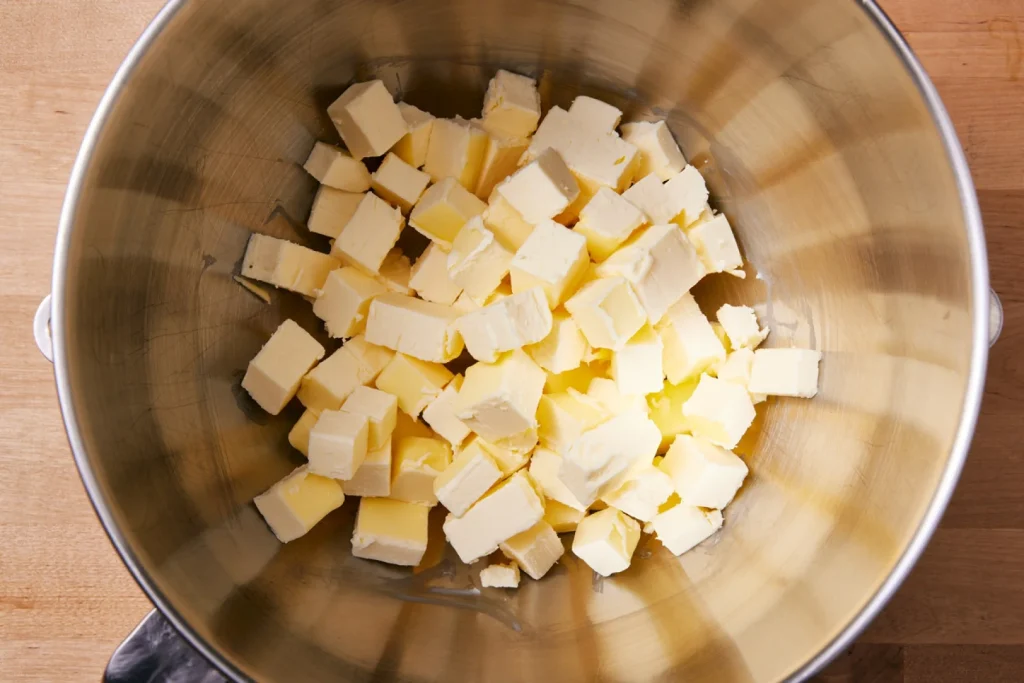
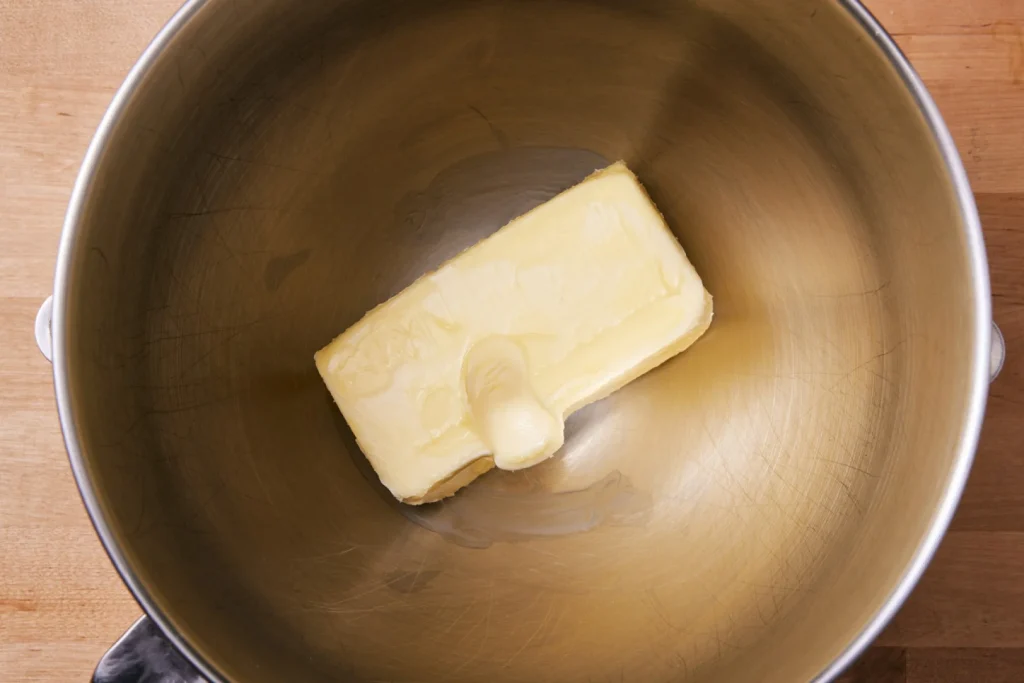
Your butter should be at room temperature before creaming. But what exactly does that mean? You should be able to press an indent into the butter with one finger, as if you were pressing it into clay. The butter should not be so warm that it’s greasy; it should still be slightly cool, with a bit of resistance when you press it.
The best way to get your butter to room temperature is to leave it out on the counter for a few hours. But if you need to get butter to room temperature quickly? We tested tons of different methods to determine the best one.
Creaming butter and sugar: How temperature makes a difference
Next, let’s explore what will happen if you cream your sugar with butter that’s too cold, too warm, and just right. Up first, butter that’s too cold.
If your butter is too cold and hard
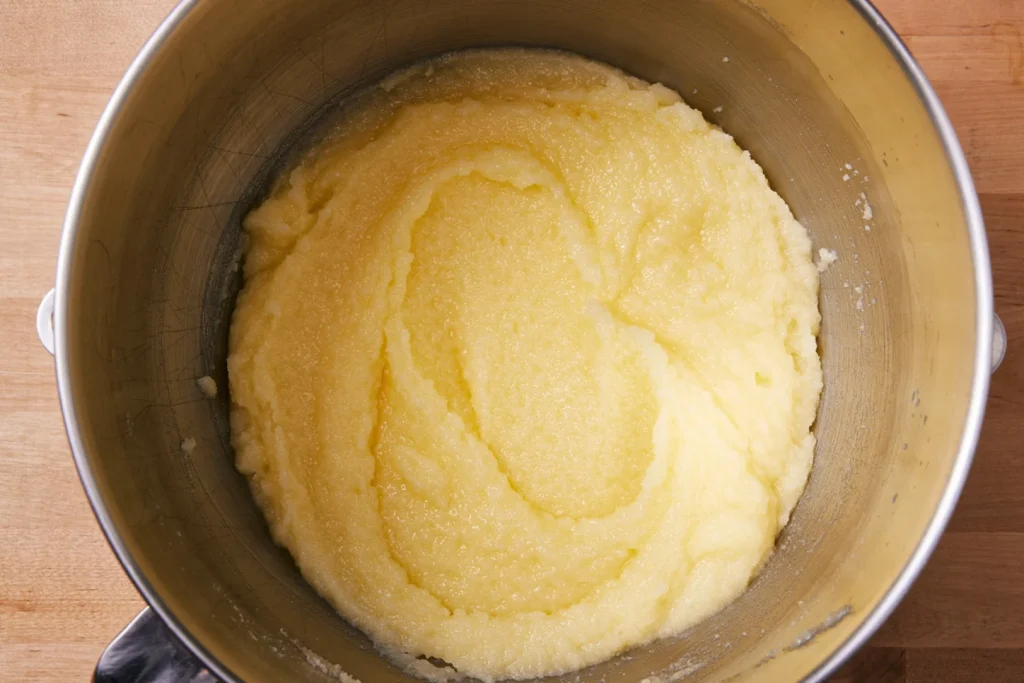
Again, the main reason you want to cream butter and sugar is to use the sugar crystals to punch little holes in the butter and have those holes capture air. Butter that is too cold won’t expand very easily, and it’ll never capture much air. The result? Heavy and dense, the creamed butter will resemble a chunky, grainy spread that’s the consistency of natural peanut butter. There’s also little or no change in color. Properly creamed butter and sugar will be pale yellow in color, but not white (more on this later).
Sugar creamed with cold butter is chunky and dense.
If your butter is too warm and soft
If the butter is too soft or melted, the air bubbles will be created but then will collapse again. This causes a greasy, wet mixture that will result in heavy, soggy cakes. Any air bubbles you’ve managed to create will also be knocked out as soon as the eggs and flour are added. (As a side note, this is also what happens if you try to cream oil and sugar. Leave the oil for recipes that don’t call for the creaming method.)
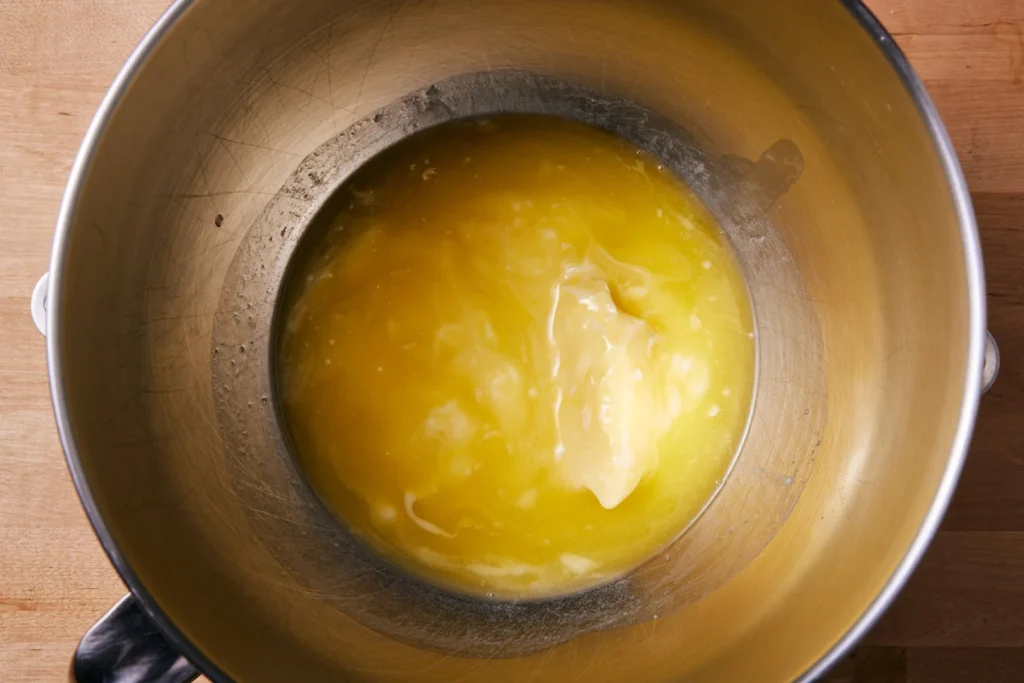
Sugar creamed with warm or melted butter is grainy and greasy.
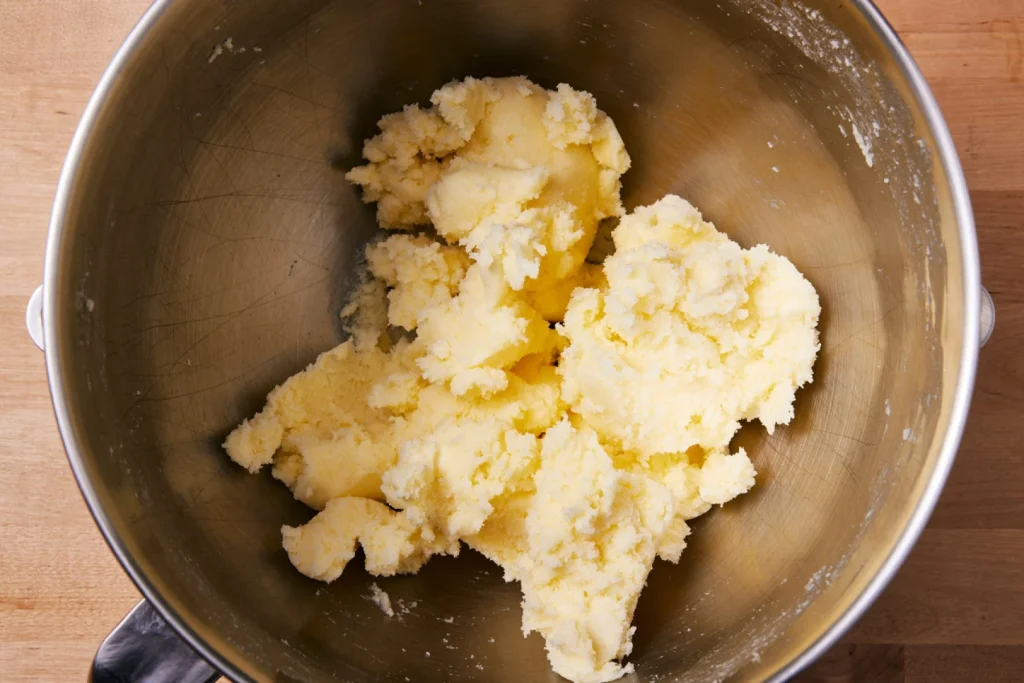
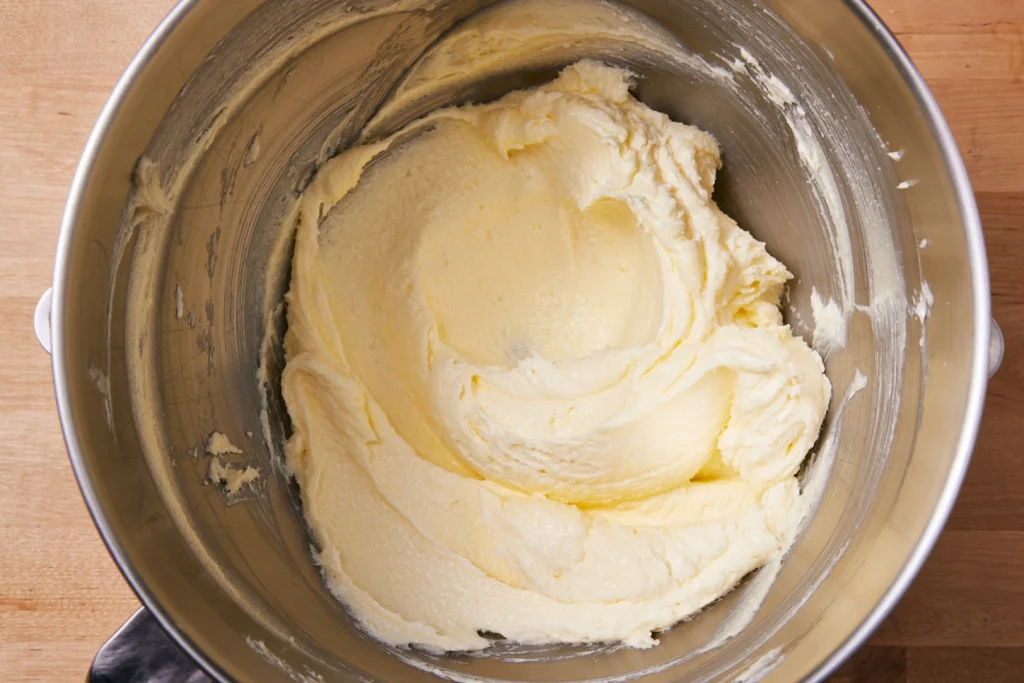
If your butter is just right
Now that we’ve seen both extremes, let’s check out the results when the butter is at the right temperature. The mixture is lightened in color, it’s visibly fluffy, and it’s not clinging to the sides of the bowl.
Sugar creamed with room temperature butter is pale and fluffy.
Let’s look at the three results side by side. Starting on the left: too cold and the mixture sits in a lump. Too warm, and the mixture spreads out and has an oily layer. Finally, properly creamed, the mixture sits up tall and has visible fluffy peaks.
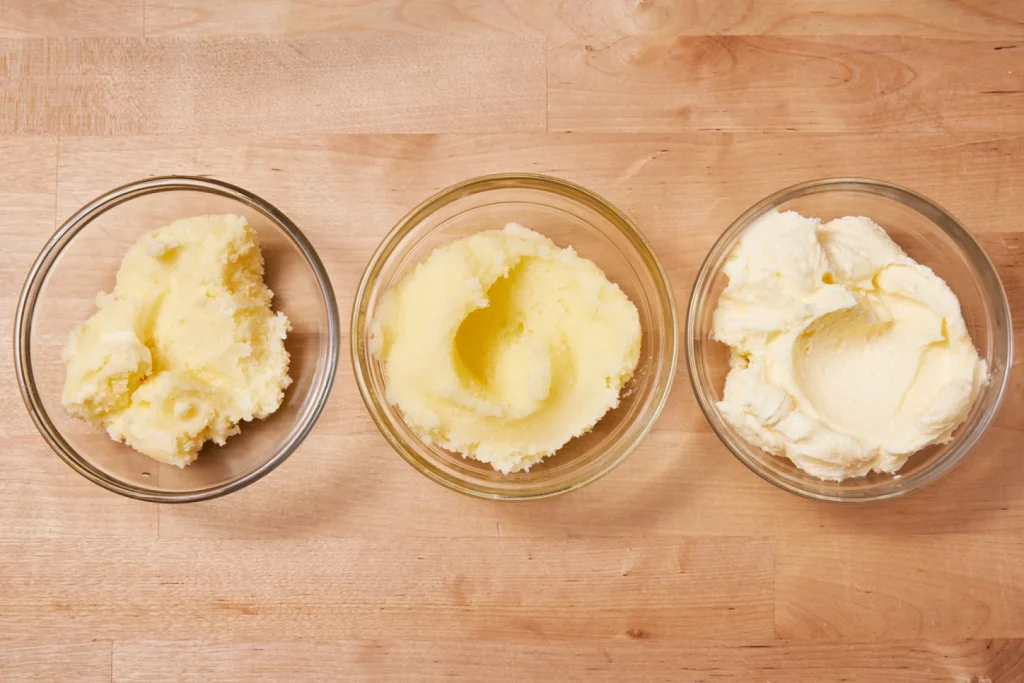
From left to right: sugar creamed with cold butter, warm butter, and room temperature butter.
Besides looks, the feel of each mixture will be different as well. Under-creamed and your mix will feel like wet sand or damp cornmeal. Over-creamed, and your mix will have the feel of oil and sugar on your fingers, rather like a facial scrub. Your well-creamed mix will be moist and light and the sugar will be nearly dissolved. You’ll barely feel any grit when you rub it between your fingers.
The right mixing speed and duration for creaming
Of course, having correctly softened butter is just one part of the equation, albeit a big one. Mixing at too high or too low a speed and for too short or long a time will also wreak havoc with your creaming. With the advent of the more powerful stand mixers that we use today, gone are the days of having to whip the butter and sugar mixture on high speed for several minutes to achieve good results. Instead, a moderate speed (typically speed 3 to 4 on a stand mixer) for 2 to 3 minutes is sufficient to get the aeration you’re looking for, being sure to scrape the bowl halfway through.
Under-creamed butter and sugar
If you under-cream your butter and sugar mixture, it will remain dense, grainy, and dark in color:
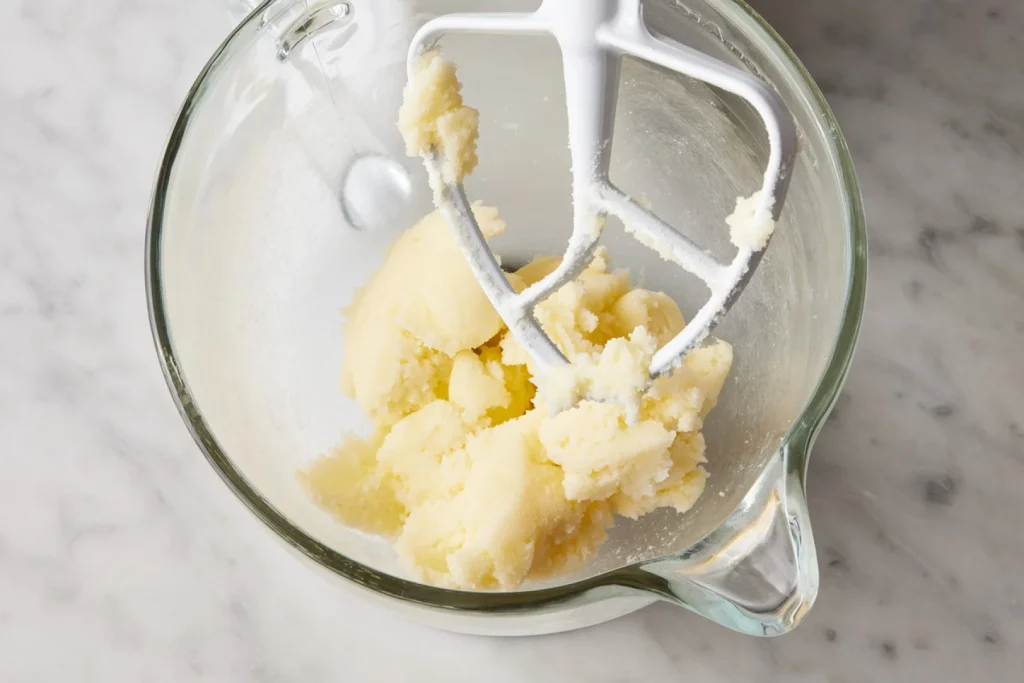
Under-creamed butter and sugar
If you under-cream your butter and sugar mixture, it will remain dense, grainy, and dark in color.
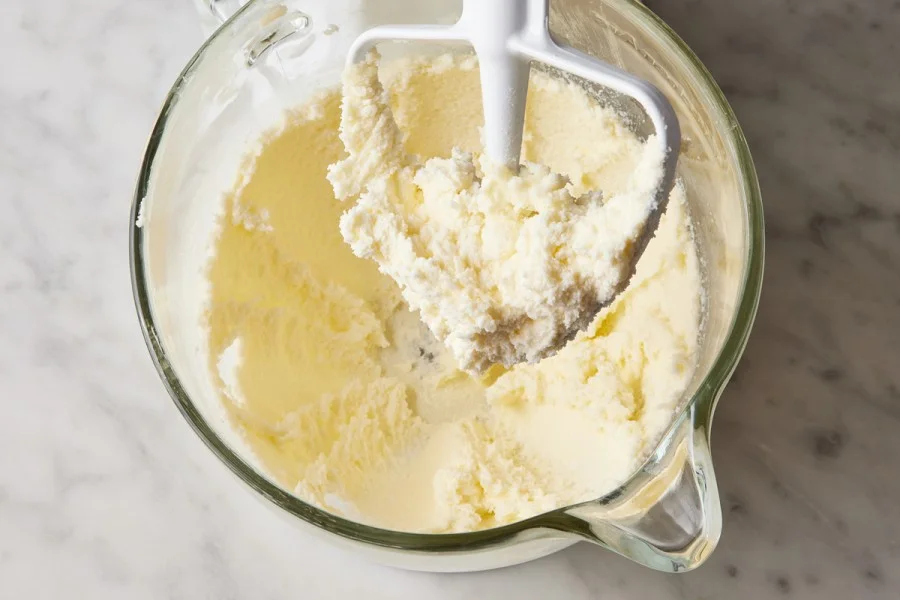
Correctly creamed butter and sugar
Perfectly creamed butter and sugar should be light, fluffy, and pale in color (but not white).
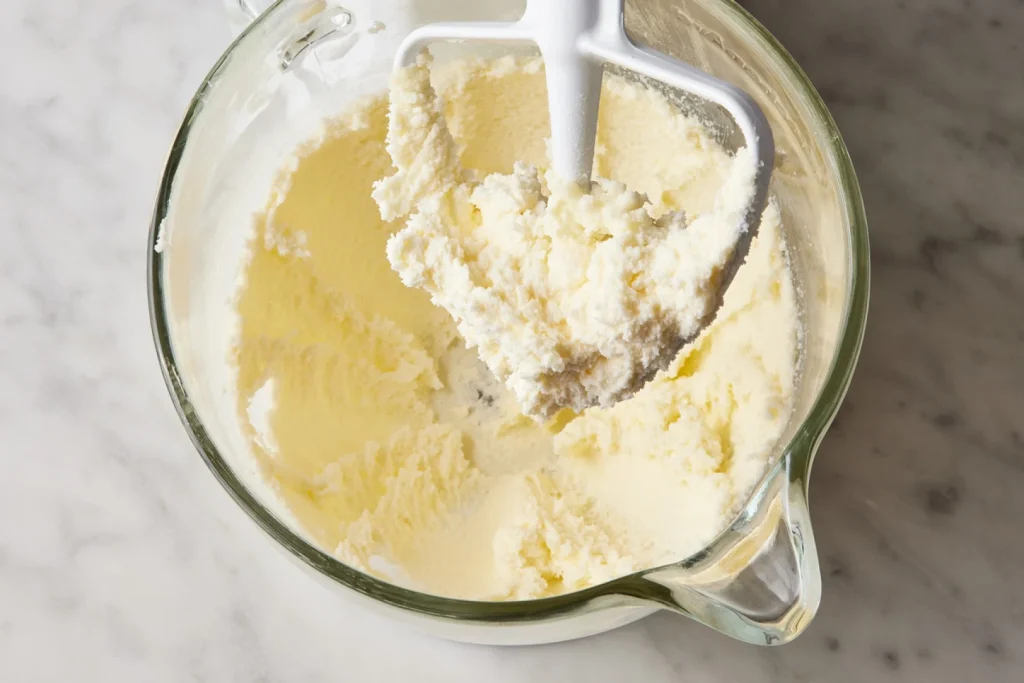
Perfectly creamed butter and sugar
Perfectly creamed butter and sugar should be light, fluffy, and pale in color (but not white).
Over-creamed butter and sugar
If you beat too long and hard, the mixture will be over-creamed, becoming nearly white in color. Because it’s too aerated, it can result in dense, gummy streaks in your cake when baking.
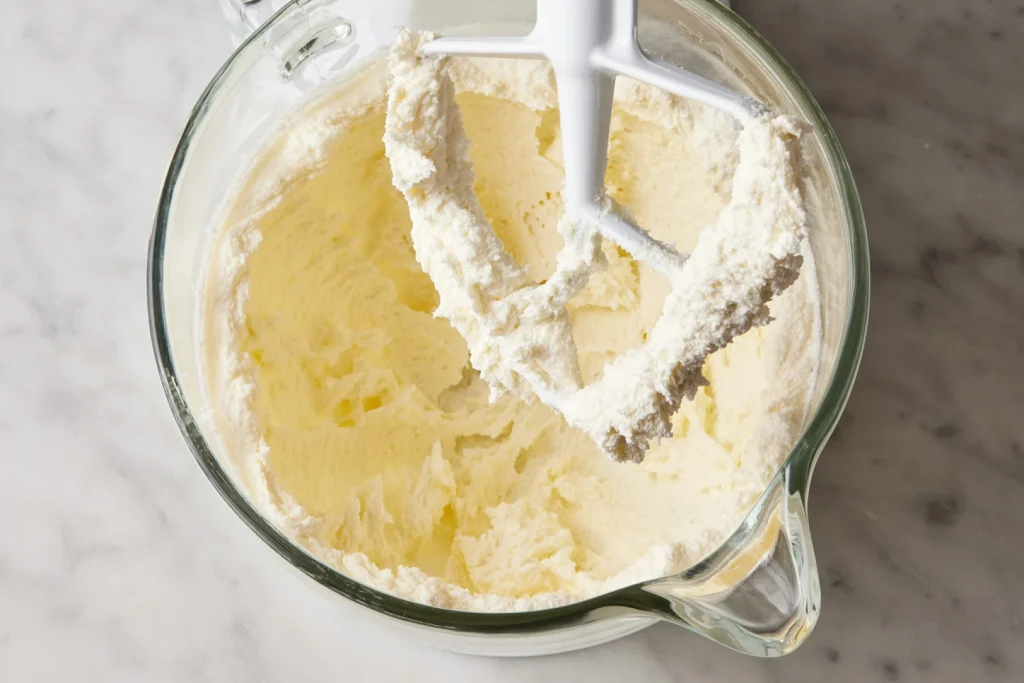
Over-creamed butter and sugar.
Unfortunately, if the butter and sugar has gone this far there’s no going back. We hope you’ve found this information helpful. A picture is worth a thousand words, they say, and we hope these photos and our video will help you achieve the cakes and bakes of your dreams.