


Toasted vs Roasted Sesame Seeds
By: RedmanShop | December 22, 2025
If so, you’re likely searching for more ways to enjoy them. While sesame seeds can be enjoyed plain, their flavor is amplified when they are toasted or roasted. To learn how you can cook sesame seeds to perfection and boost the flavor of your favorite dishes, continue reading as we discuss the difference between toasted vs. roasted sesame seeds.
What Are Sesame Seeds?
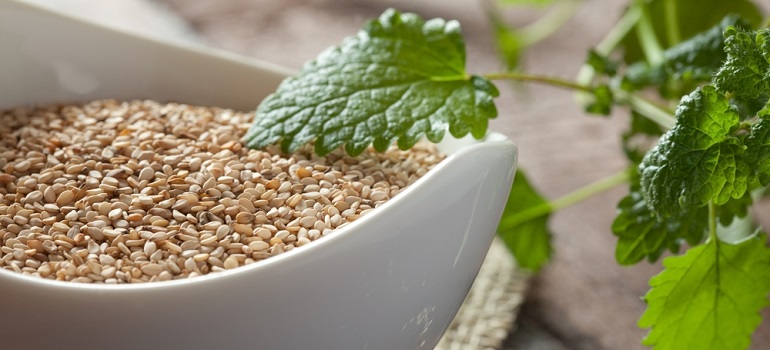
Sesame seeds are the seeds that grow in the pods of the sesame plant—Sesamum Indicum. Though this flowering plant is found mainly in the tropical regions of India and Africa, sesame seeds are a nutrient-rich ingredient that is enjoyed worldwide. In addition to being consumed whole, these seeds can also be pressed for sesame oil or toasted and used to make sesame paste. Untoasted seeds are also used to create a popular sesame paste known as tahini.
Toasted Sesame Seeds
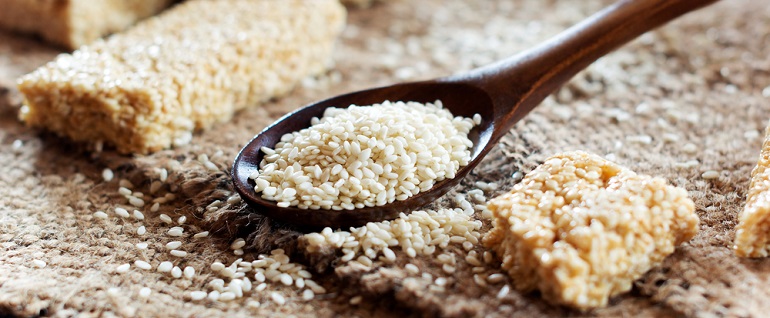
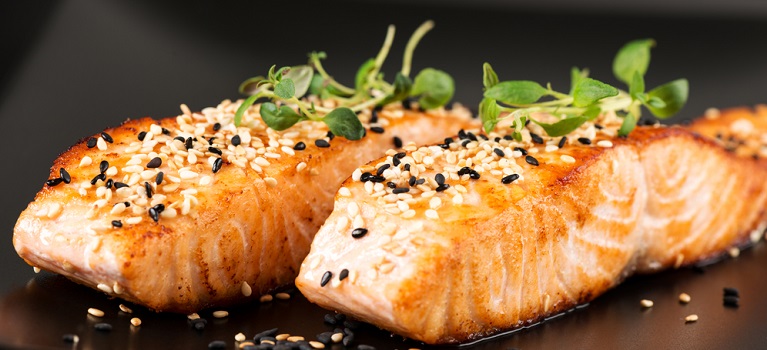
Toasted sesame seeds can be used to add a depth of flavor to your dishes that regular sesame seeds won’t provide. When toasting sesame seeds, white seeds, a.k.a hulled sesame seeds, are often the variety used. Toasted sesame seeds are traditionally found in Japanese dishes and can be used in various sauces and garnishes. They can even be used as a topping on muffins and ice cream.
Want to add toasted sesame seeds to your meals? Keep scrolling for step-by-step instructions for toasting sesame seeds.
How to Toast Sesame Seeds
- Gather the number of sesame seeds that you would like toasted.
- Add sesame seeds to a medium frying pan and spread into a thin layer.
- Cook the sesame seeds over medium heat for 2-3 minutes until they are fragrant and turn golden brown.
- To ensure that the sesame seeds do not burn, move the seeds around the pan every 30 seconds, making sure that they are evenly toasted.
- Remove from the pan and allow to cool.
- Use immediately or place into an airtight container and store in the refrigerator.
Sesame seeds are the seeds that grow in the pods of the sesame plant—Sesamum Indicum. Though this flowering plant is found mainly in the tropical regions of India and Africa, sesame seeds are a nutrient-rich ingredient that is enjoyed worldwide. In addition to being consumed whole, these seeds can also be pressed for sesame oil or toasted and used to make sesame paste. Untoasted seeds are also used to create a popular sesame paste known as tahini.
Toasted Sesame Seeds
Toasted sesame seeds can be used to add a depth of flavor to your dishes that regular sesame seeds won’t provide. When toasting sesame seeds, white seeds, a.k.a hulled sesame seeds, are often the variety used. Toasted sesame seeds are traditionally found in Japanese dishes and can be used in various sauces and garnishes. They can even be used as a topping on muffins and ice cream.
Want to add toasted sesame seeds to your meals? Keep scrolling for step-by-step instructions for toasting sesame seeds.
How to Toast Sesame Seeds
- Gather the number of sesame seeds that you would like toasted.
- Add sesame seeds to a medium frying pan and spread into a thin layer.
- Cook the sesame seeds over medium heat for 2-3 minutes until they are fragrant and turn golden brown.
- To ensure that the sesame seeds do not burn, move the seeds around the pan every 30 seconds, making sure that they are evenly toasted.
- Remove from the pan and allow to cool.
- Use immediately or place into an airtight container and store in the refrigerator.
What Are Roasted Sesame Seeds?
Roasted and toasted sesame seeds are similar in look and taste. The only difference is that toasted sesame seeds are made on the stove, whereas roasted sesame seeds are made in the oven. Roasting the sesame seeds makes the seed plump and intensifies the flavor, which adds a more nutty and smoky taste to your meals.
Learn how to create deliciously roasted sesame seeds for your meals by following the step-by-step instructions below.
How to Roast Sesame Seeds
Roasting sesame seeds in the oven is ideal when handling a lot of seeds at once. Because the oven is a larger space, it allows the seeds to cook more evenly. When roasting seeds in the oven, we recommend using a sheet pan to allow for a nice even surface. Roasted sesame seeds will also be more evenly browned than toasted sesame seeds.
- Preheat the oven to 350°F.
- Gather the sesame seeds you’d like to roast and spread them out in a single layer onto a prepared baking sheet.
- Place the sesame seeds into the oven for 8-10 minutes per batch, stirring every 2 minutes.
- Watch the sesame seeds closely until they are fragrant and have turned light brown in color.
- Once cooked, remove the roasted sesame seeds from the oven and transfer them to a plate immediately. This will prevent the seeds from cooking any further.
- Allow the seeds to cool and use immediately or place them into an airtight container and store them in the refrigerator.
How to Use Toasted and Roasted Sesame Seeds
Toasted and roasted sesame seeds are versatile and can be added to sweet and savory dishes. To help you begin cooking with sesame seeds today, we’ve compiled a list of the many that we enjoy using sesame seeds.
- Cold Sesame Pearl Couscous
- Sesame Shrimp Millet and Quinoa Grain Bowl
- Gluten Free Pigs in a Blanket
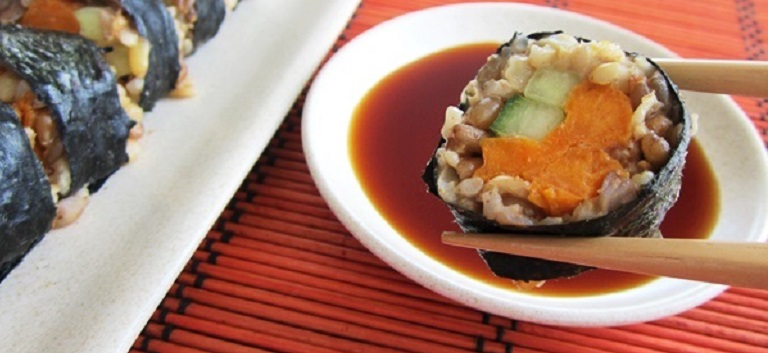
- Sesame Ginger Whole Grain Yam Rolls
Now that you know how to roast and toast sesame seeds, it’s time to start using them in your recipes. Simple and quick to make, cooked sesame seeds can be used to level up all of your favorite meals. So whether you make a savory dish like the Sesame Shrimp Millet and Quinoa Grain Bowl above or add sesame seeds to a sweet treat, we’re sure the outcome will be delicious. From everyone at Bob’s Red Mill, we wish you a healthy and happy day!