FREE DELIVERY ABOVE $60

Posted on Leave a reply

Bulk fermentation, explained

Bulk fermentation, explained

By: RedmanShop | January 22, 2025

Bulk fermentation (also called the first rise or primary fermentation) is one of the most important steps of yeast bread baking. It begins right when mixing ends and lasts until the dough is divided and preshaped. The name signifies exactly what it is: the step when the dough is fermenting in a large, single mass.

During this time, fermentation creates organic acids and carbon dioxide gases, each of which plays an important part in dough development. Organic acids are primarily what give the dough flavor and strength (acids help condition the gluten network) and carbon dioxide gives the dough volume and lightness.

While our friendly yeast and bacteria are doing most of this work, the dough still benefits from a periodic check-in by the baker. We help regulate dough temperature and strength through a series of folds, and these check-ins also give us an opportunity to assess how the dough is progressing.
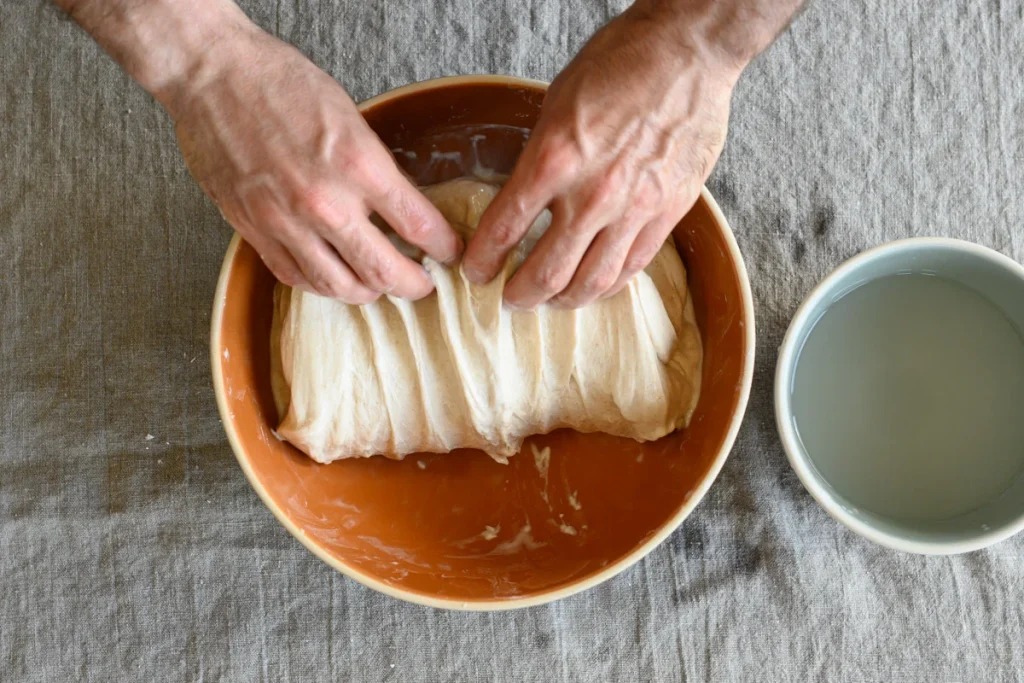
Why stretch and fold?

Folding helps add strength to bread dough through a very simple series of actions: stretch the dough out and over itself. This act of stretching and folding, which takes just a few moments, helps develop the gluten network in the dough. Each fold has a significant impact on dough strength.

Through folding, we’re also helping to regulate dough temperature throughout the entire bulk mass. This ensures the dough’s temperature is relatively even throughout — no cool or warm spots at the top or bottom.

And finally, at each set, we have a chance to handle the dough and gain a firsthand assessment on how it’s developing: is the dough sluggish because it’s cool in the kitchen? This means we might need to extend bulk fermentation. Is it strong enough for preshaping or does it need another set of folds? By interacting with the dough in this way, we have an opportunity to answer these questions and adjust course as necessary.
When should I stretch and fold?

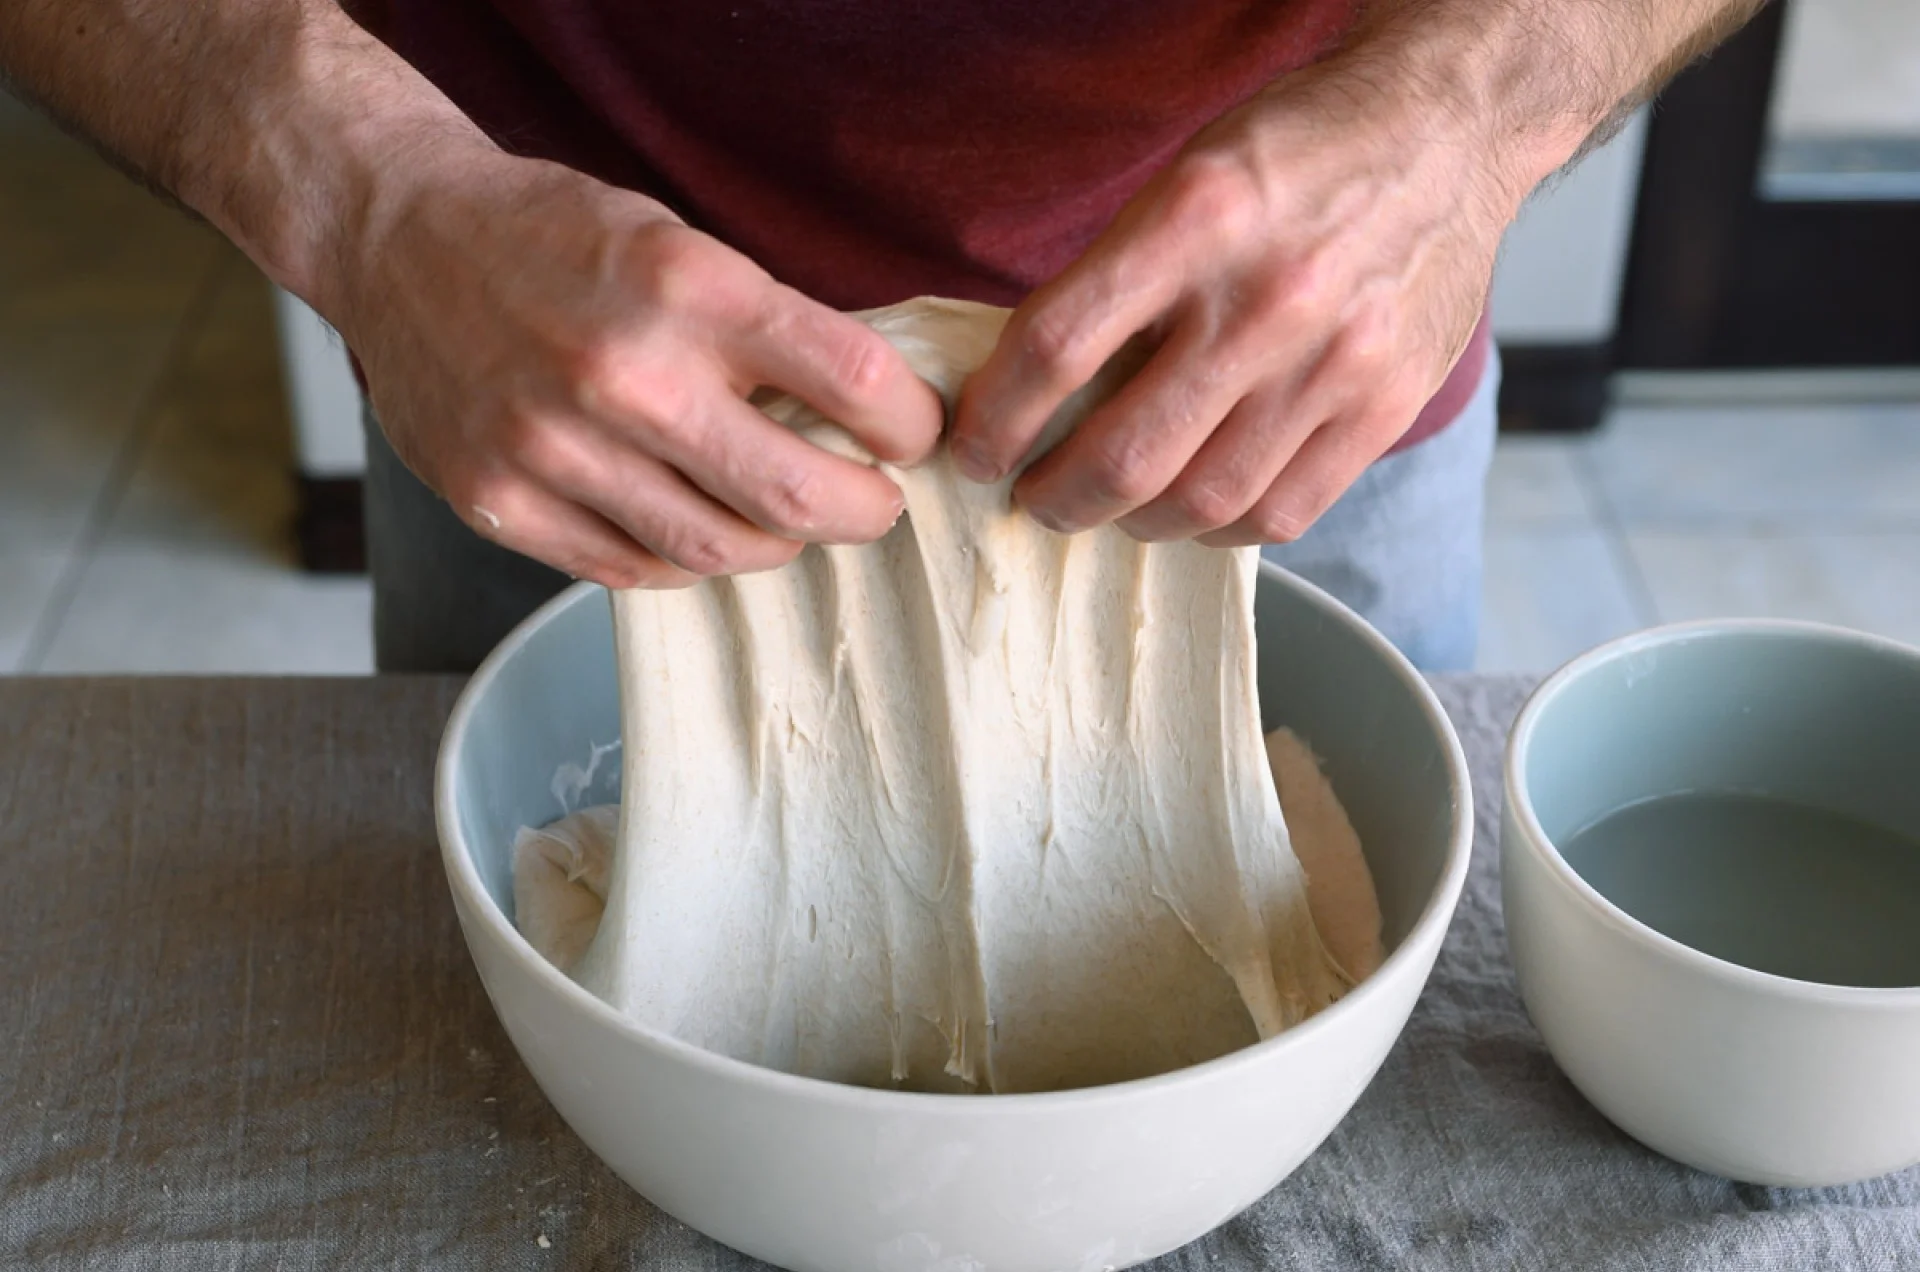
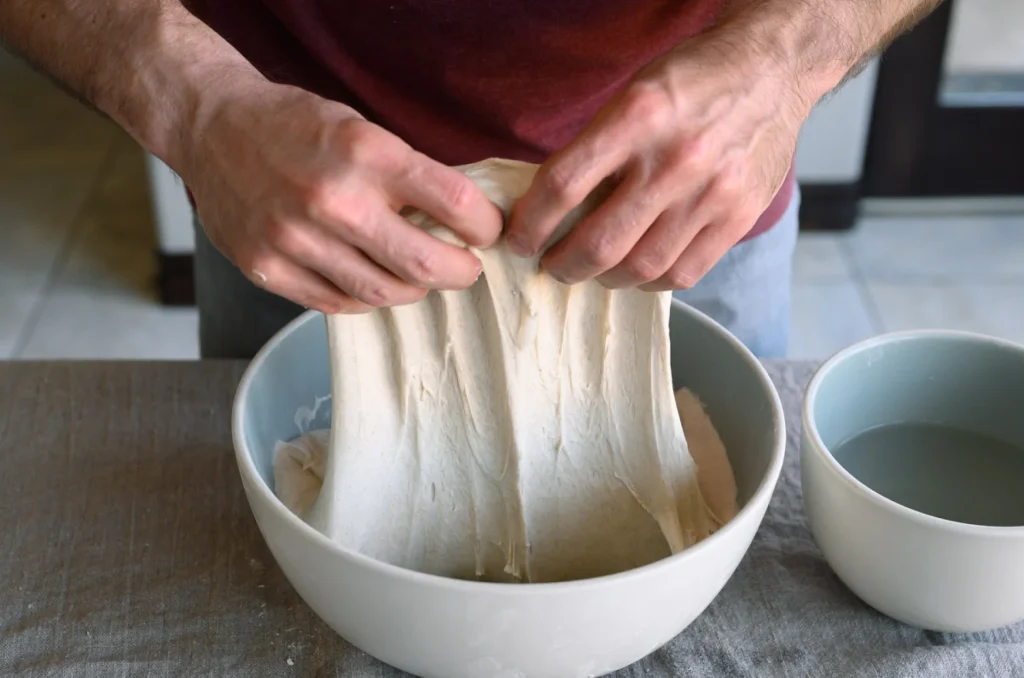
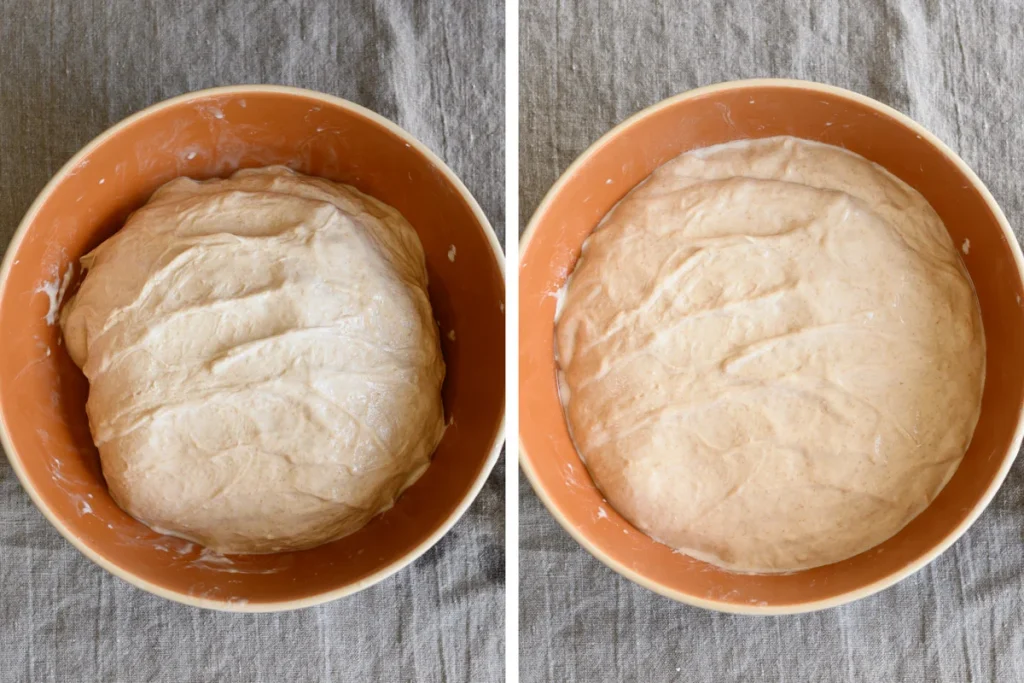
This process works best when you perform a quick series of folds and then let the dough rest. In the left-hand image below, you can see the dough bunched tightly in the center after performing a set of stretches and folds. In the right image, you can see it relaxed after a 30-minute rest, ready for another set of folds.

If you try to perform another set too soon, you’ll find the dough is too tight. It’ll be hard to stretch and may even tear. For most doughs, I find spacing out each set by 30 minutes (with the first set happening 30 minutes after the beginning of bulk fermentation) to be just right.
How to fold bread dough

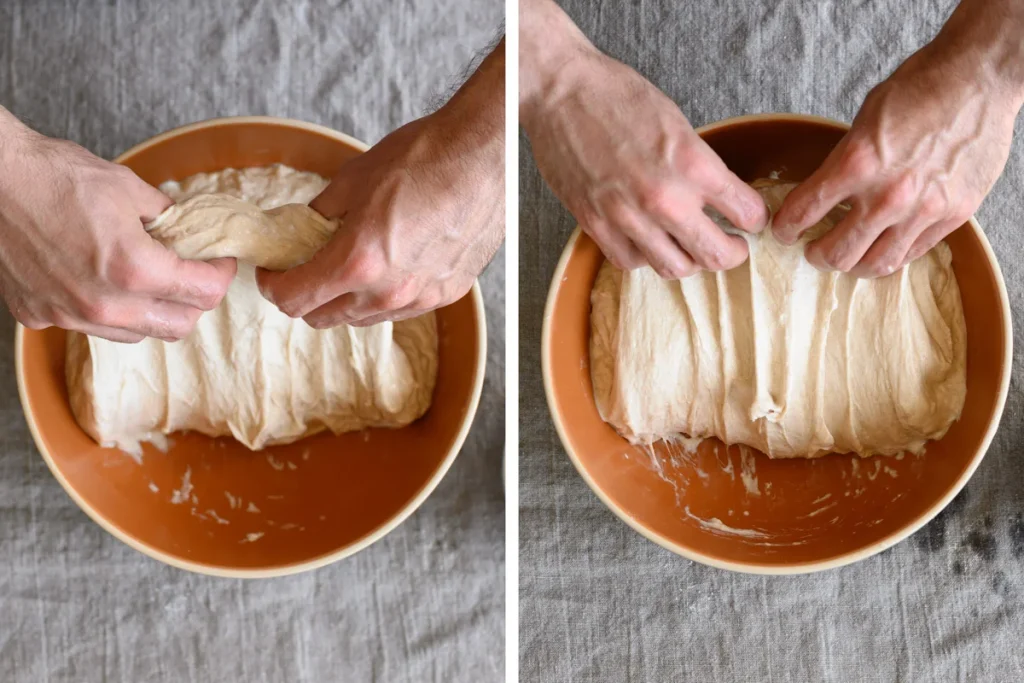
There are many ways to fold bread dough, but my preference is to perform them directly in the bowl. First, get a small bowl filled with water and place it next to your bulk container. Dip your hands in the water before folding to prevent excessive sticking.

You will perform the same up-and-over motion four times, turning the bowl after each fold. As shown above, use two wet hands and grab the side of the dough farthest from you, then lift it up and over to the side nearest your body. Next, rotate your container 180°, wet your hands again if necessary, and perform the same stretch and fold. Next, rotate your container 90°. Grab the side of the dough farthest from you; once again stretch it up and over to the side of the container nearest your body. Rotate your bowl 180° and perform the same fold one final time.To finish the set, I like to gently pick the dough up in the center and let the ends fold under just a little. This helps keep the dough tidy in the middle.
When to end bulk fermentation?

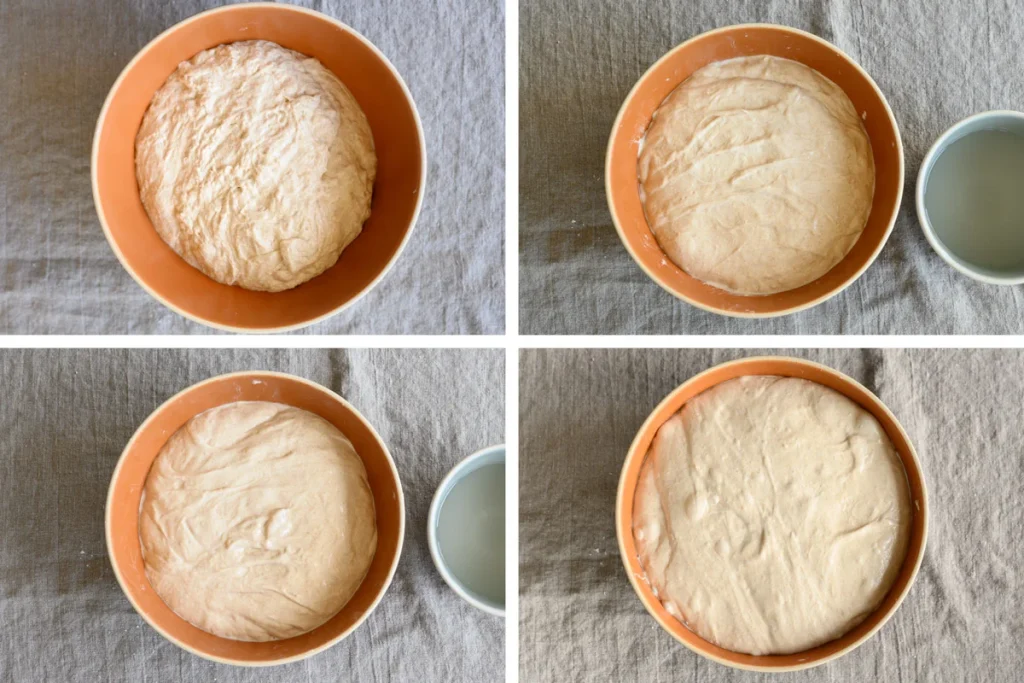
Finding the exact point when to end bulk fermentation takes practice. With time, you’ll learn to read the signs of sufficient fermentation: dough strength, elasticity, smoothness, volume gain, and bubbly appearance.But making this call can be difficult. Cutting bulk fermentation short might mean your dough won’t be sufficiently fermented and you’ll head toward an under-proofed result. On the other hand, if you push bulk fermentation too far, your dough will be hard to handle and on the verge of over-proofing. There’s a balance to be found.Upper left: dough at the beginning of bulk fermentation. Upper right: dough before first stretch and fold. Lower left: dough before second stretch and fold. Lower right: dough at the end of bulk fermentation.

In the image above, see how it initially starts as a shaggy mass, but eventually rises significantly and becomes smooth, strong, and bubbly?At the end of bulk fermentation, I look for a dough that’s risen significantly and is much smoother than when bulk started. If you tug on the dough a little with a wet hand, you’ll feel resistance and elasticity.Additionally, look for liveliness. Gently shake the bowl and it’ll jiggle, letting you know there’s plenty of aeration in the dough. These are all great signs that the dough has fermented sufficiently and is strong enough to be divided.Strong fermentation, sufficient dough strength, ending bulk fermentation at the right time, and a full proof – these are all steps required for a wonderful loaf of bread. And as you develop a sense for how to execute on each of these, you’ll taste the difference in every bite.
Posted on Leave a reply

Cake flour vs. all-purpose flour: What’s the difference?

Cake flour vs. all-purpose flour: What’s the difference?

By: RedmanShop | January 13, 2025

“I want to make a recipe that calls for cake flour, but all I have is all-purpose flour. Can I substitute all-purpose for cake flour?”

If you’ve ever asked this question — to yourself or a friend — you’re not alone. Sometimes we just don’t have the flour a recipe calls for (and can’t bear another trip to the store), or maybe the store was out of stock. So how much does flour choice affect your baking?

The difference between cake flour and all-purpose flour

First, it helps to understand the difference between cake flour and all-purpose flour.

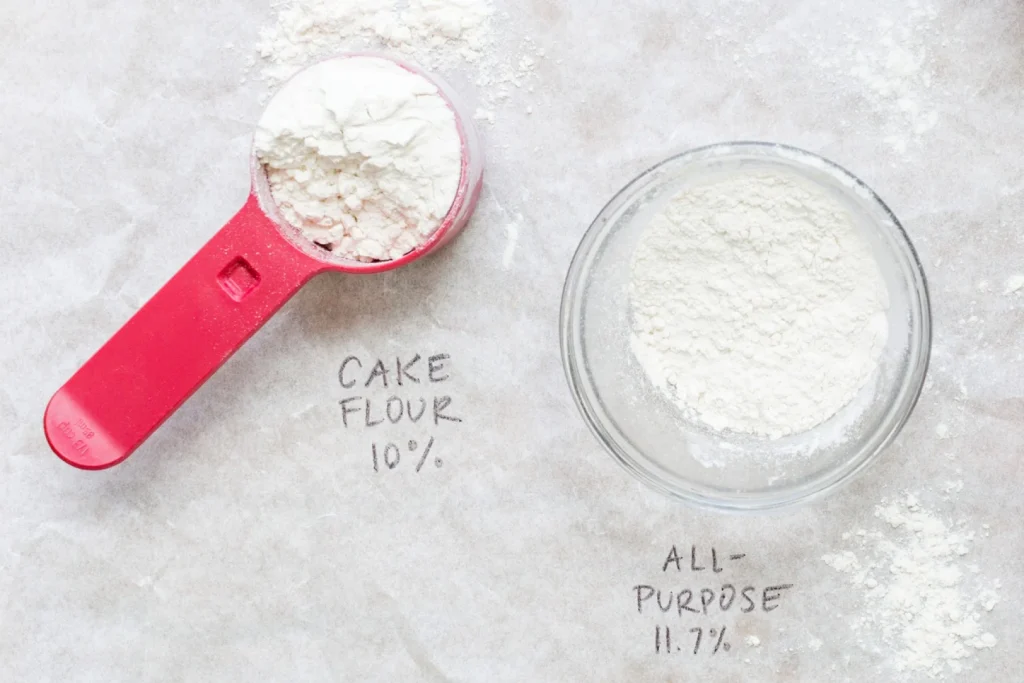
It all comes down to protein content. Every type of flour has a protein percentage, which reflects how much gluten-forming protein it contains. Because protein level correlates with gluten-forming potential, it’s helpful to think of it this way: the higher the protein content, the “stronger” the flour.

When making baked goods like bread, using a strong flour with high protein makes sense. The robust glutinous web that develops when the flour is combined with liquid results in bread with chewy, bouncy texture. But when making a cake, it’s the opposite: We want something with a soft, fine, and tender crumb. In order to get it, we want to discourage gluten development, and one way to do that is to choose a flour with a lower protein content (the other is to avoid overmixing, which further develops gluten, even if you are using cake flour).

Our unbleached cake flour has a protein content of 10%, while all-purpose flour has a protein content of 11.7%. The lower protein content in cake flour means it has less gluten-forming potential, making it better suited to cakes.

(And it’s not just for cake! Our Test Kitchen uses lower-protein cake flour to achieve a melt-in-your-mouth texture in cookies like these Fiori Thumbprint Meltaway Cookies, while these Lemon Sugar Crunch Buns include cake flour for a delicate crumb.)

How to substitute for cake flour

You can make your own cake flour substitute by combining all-purpose flour with a little bit of cornstarch. The cornstarch adds tenderness and lowers the overall protein content of the mixture to mimic that of cake flour.

How to make cake flour : Whisk together 3/4 cup + 2 tablespoons (105g) all-purpose flour and 2 tablespoons (14g) cornstarch. Use in place of cake flour in a recipe, substituting by equal weight or volume.

Can I substitute cake flour for all-purpose flour?

While it’s usually fine to substitute all-purpose flour for cake flour, the opposite isn’t true. “For those bakers out there thinking ‘flour is flour’ — no, it’s really not!” says Molly. She explains, “Subbing cake flour 1:1 into a recipe that was developed for all-purpose flour might result in sunken cake or bars, or cookies that are too delicate or simply fall apart.” That’s because the lower protein content in cake flour may not develop enough gluten or structure to support a baked good meant to be made with all-purpose flour.

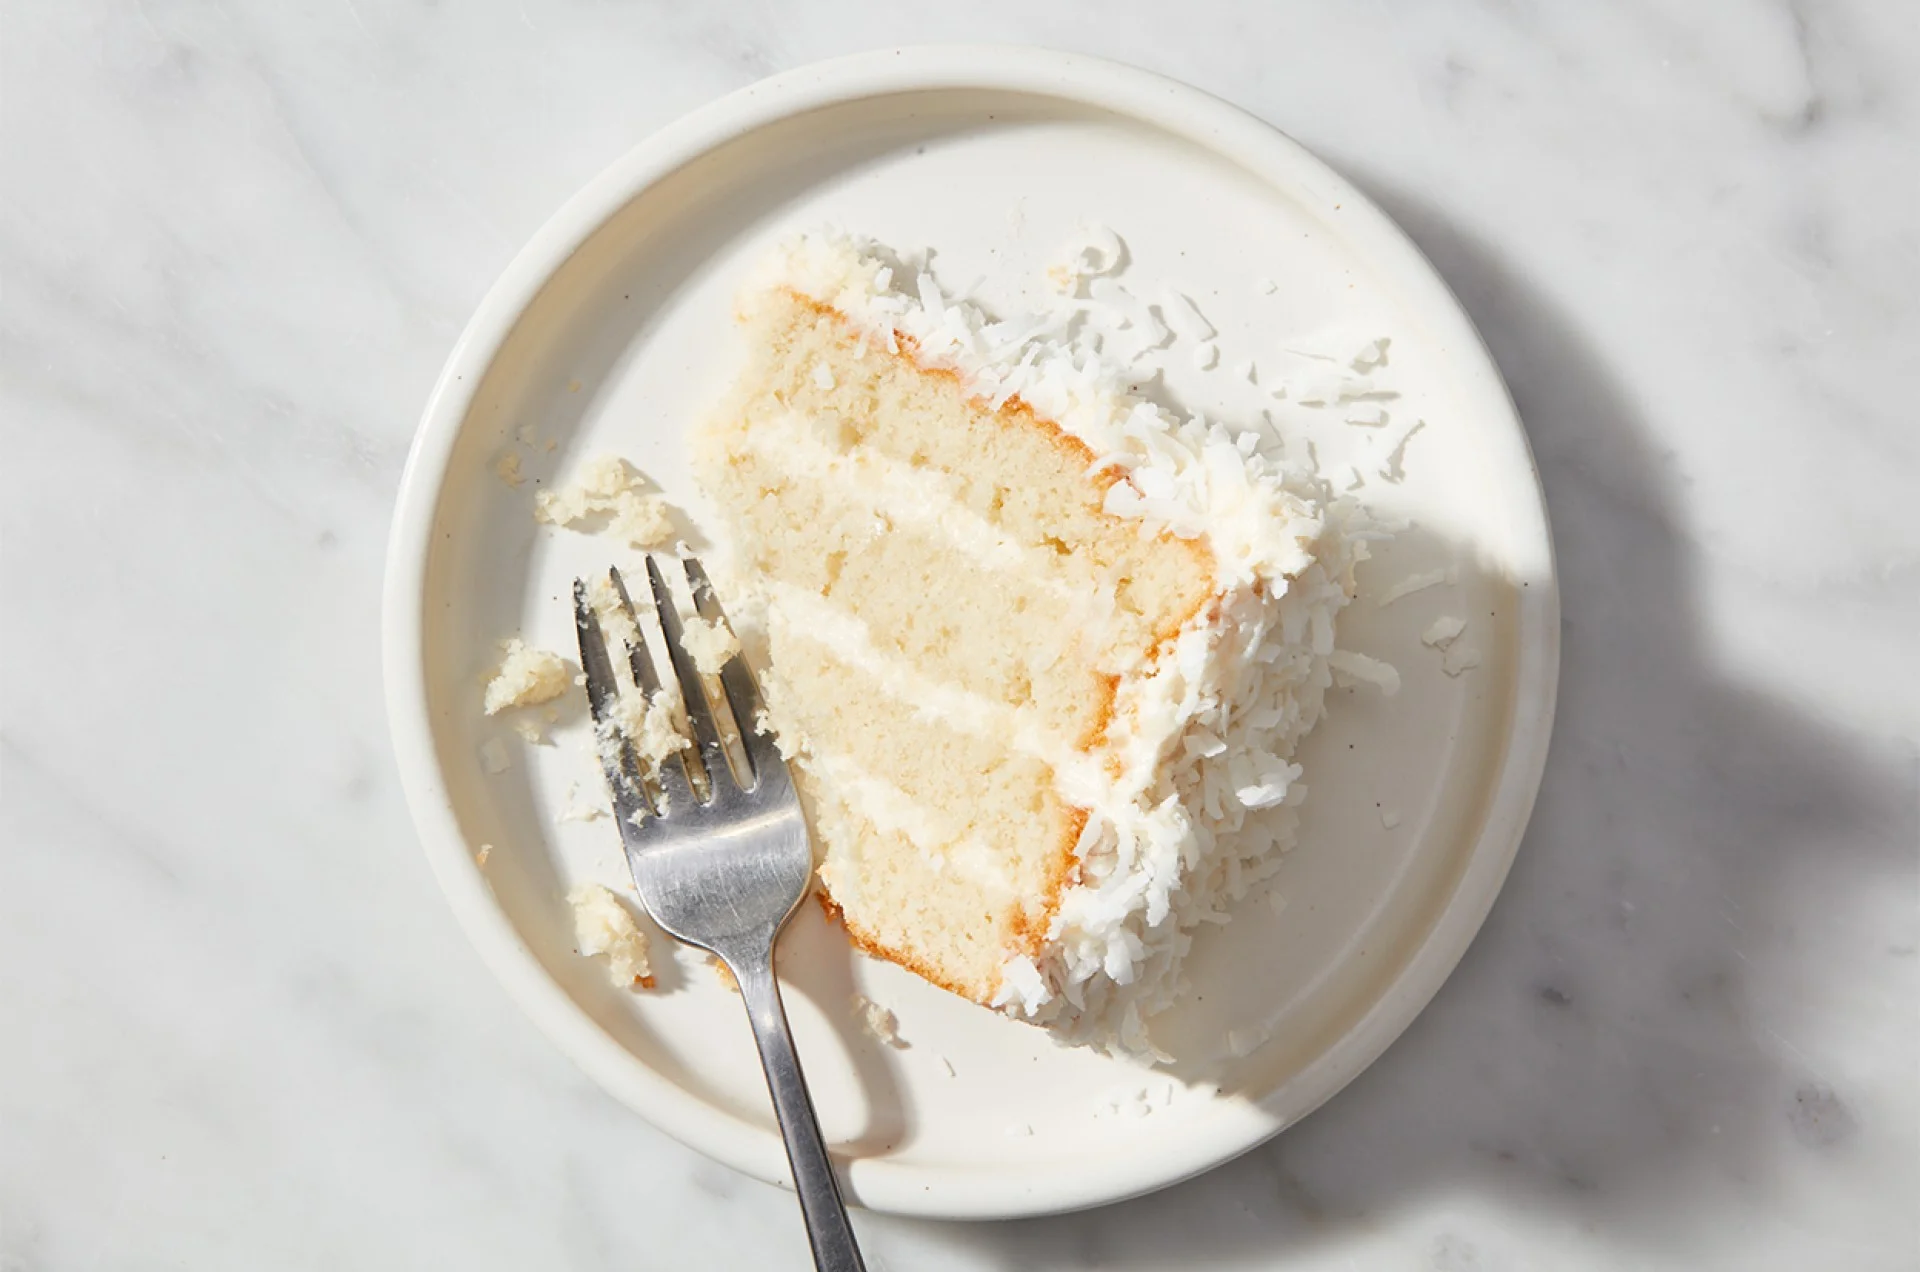
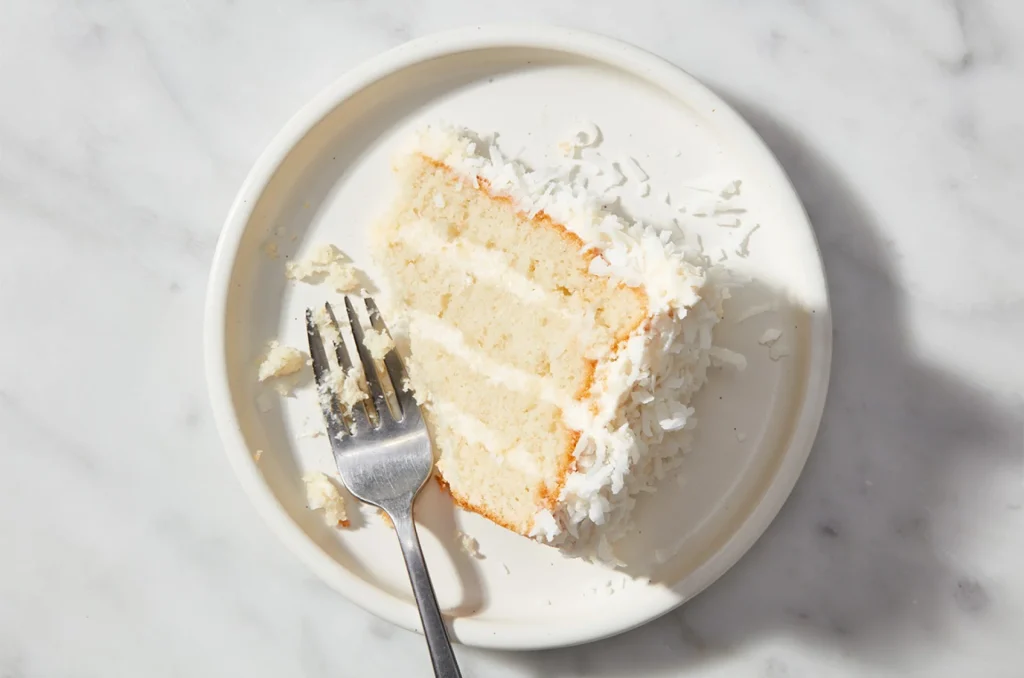
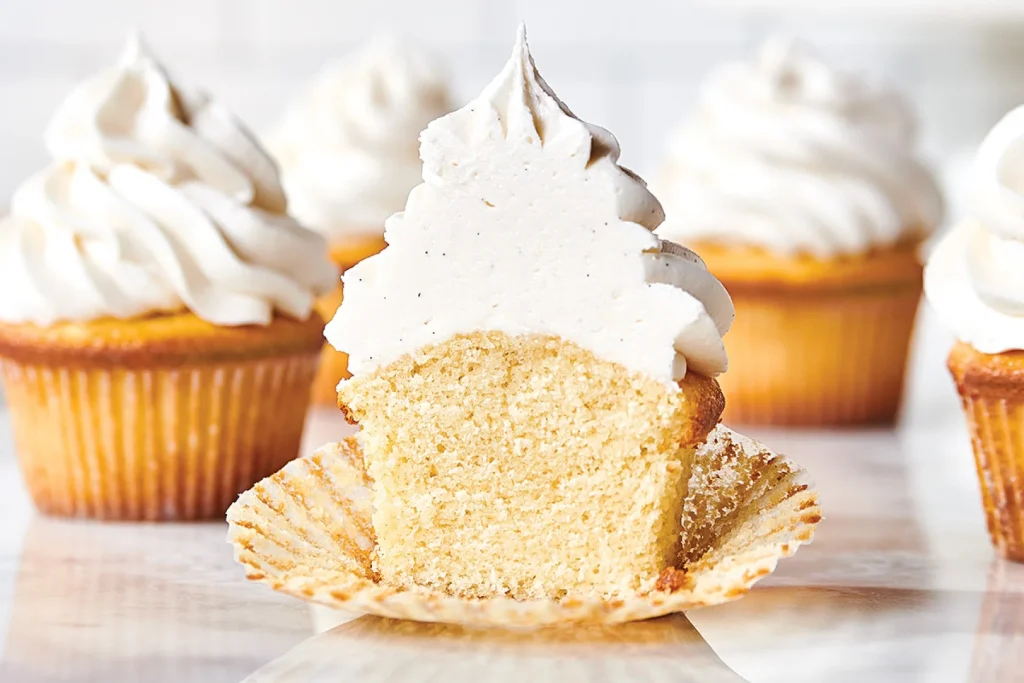
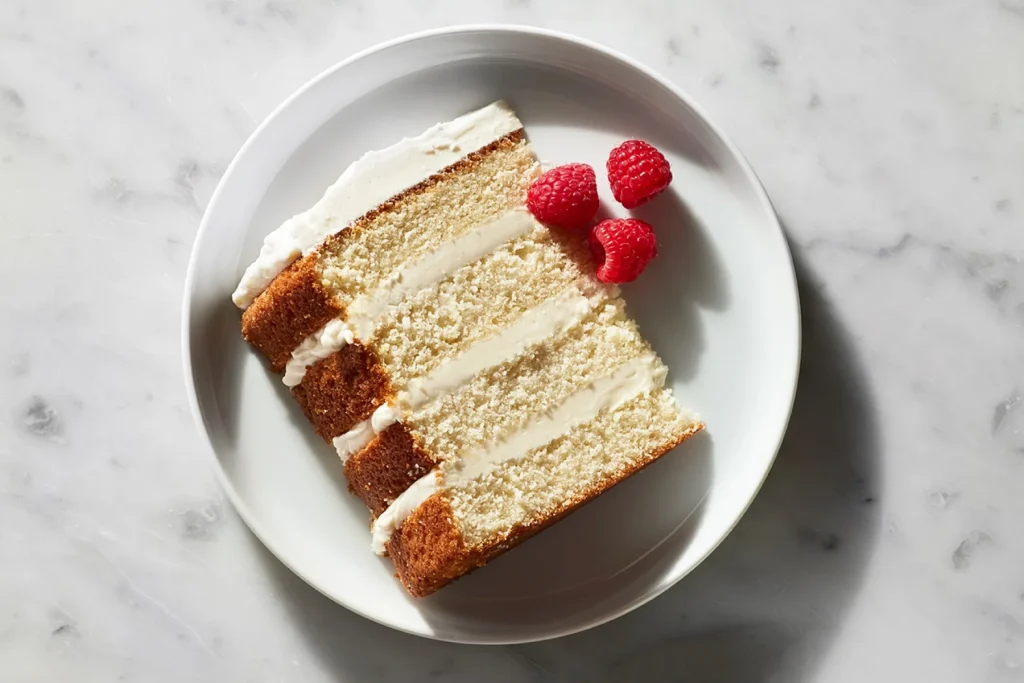
To live up to its name, Tender White Cake is made with cake flour.

Start baking with cake flour

Ready to bake great cake? Pick up a box of cake flour and make some of our favorite cake flour recipes:

Posted on Leave a reply

How to assemble and frost a layer cake

How to assemble and frost a layer cake

By: RedmanShop | January 12, 2025

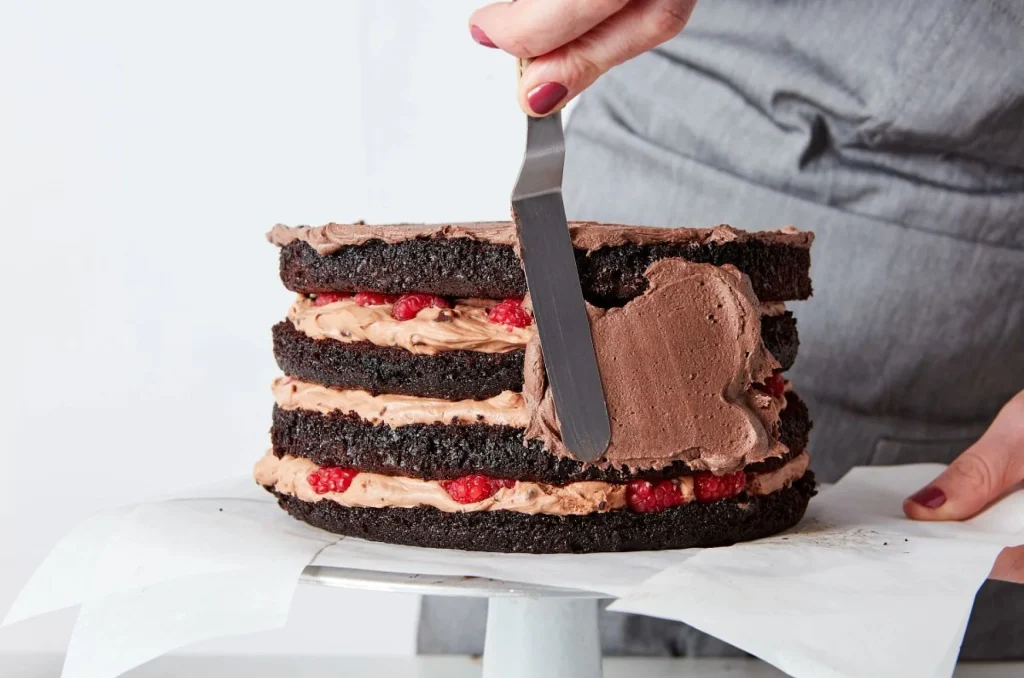
Frosting a cake can be intimidating, but if you break it down step-by-step, there’s nothing to fear. The right tools and techniques will guide you, taking you from naked layers to a frosted beauty without breaking a sweat. The key is to take your time and embrace imperfection. You’ve got this.

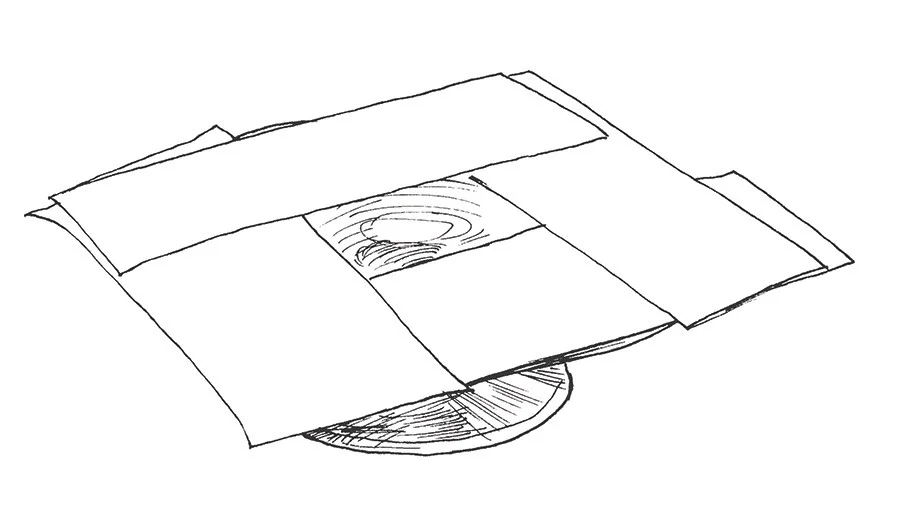
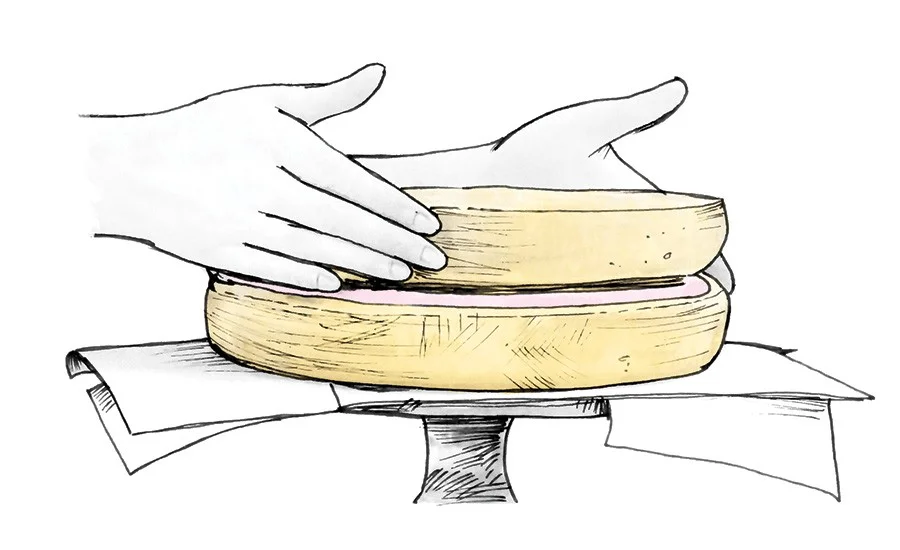
Patience makes perfect. Take the time to chill or freeze your baked layers before assembling the cake. The layers will be less fragile, and you’ll have more control and better results with frosting. While they’re chilling, line your serving plate with 2″ to 3″ wide strips of parchment paper.

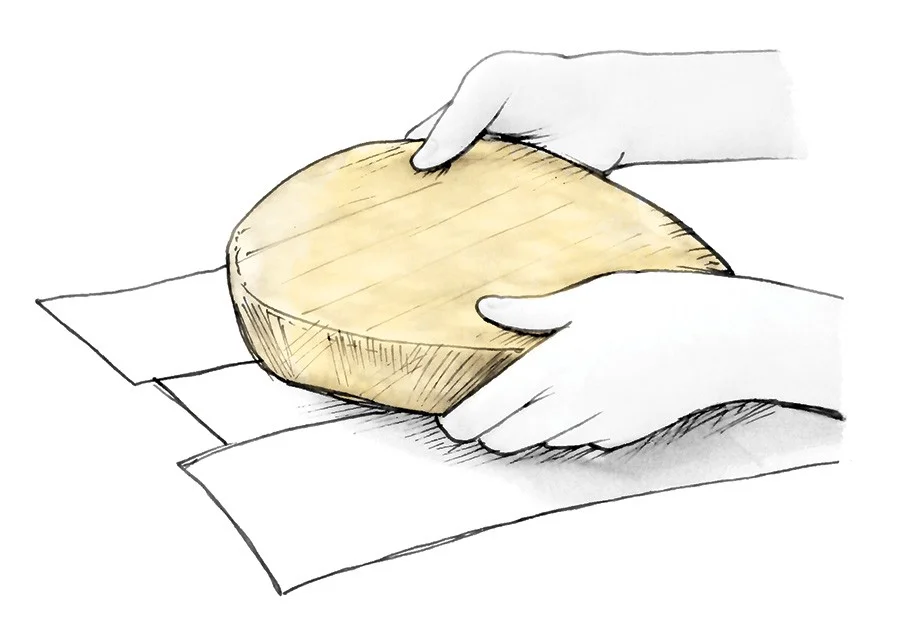
Trim any dome from the top of the first layer so the cake is flat, then flip it over and place it on your serving plate cut side down.

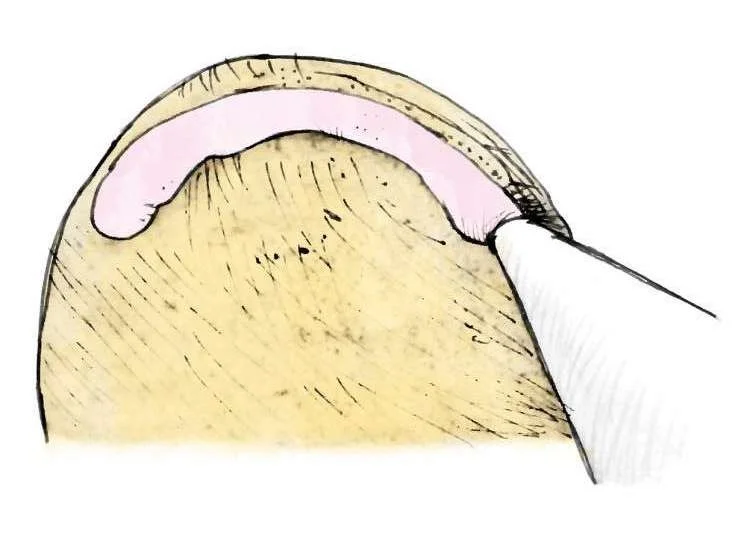
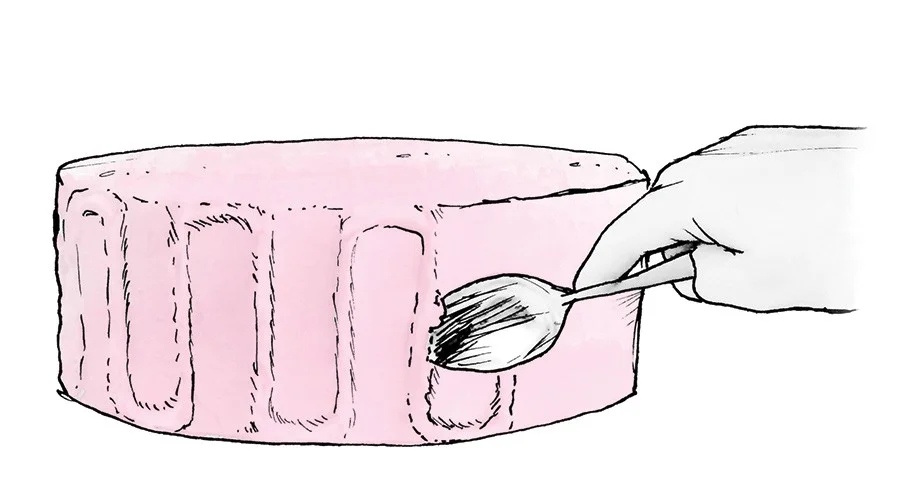
Pipe a rope of frosting around the outside edge of the cake layer. Refrigerate for 15 minutes so it will become firm. This “dam” keeps frosting or filling from bulging out the side of the finished cake. After the dam sets, fill the top of the layer.

Trim the next layer and place it cut side down over the first. Chill the cake again, if it isn’t cool to the touch.
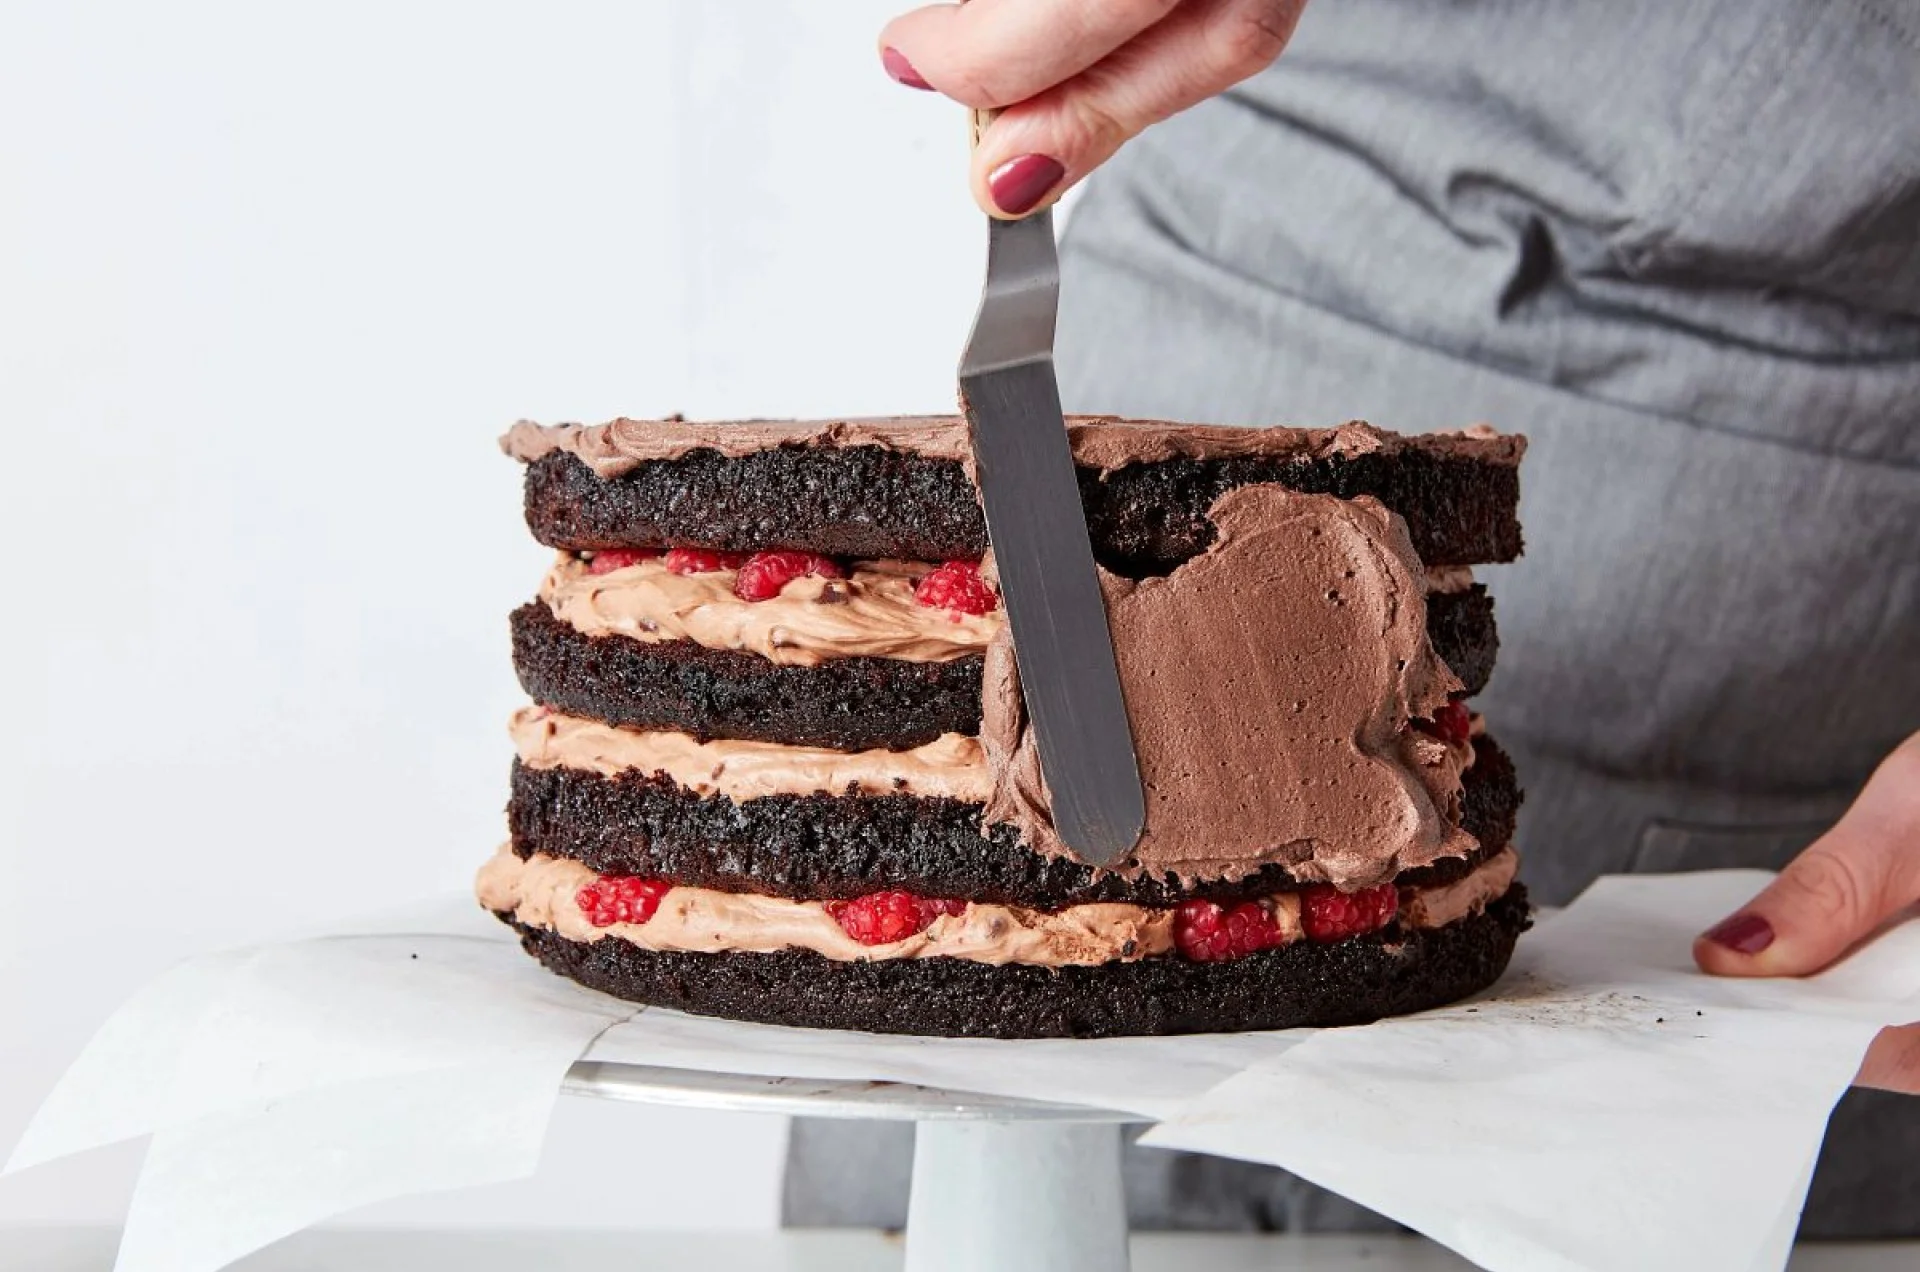
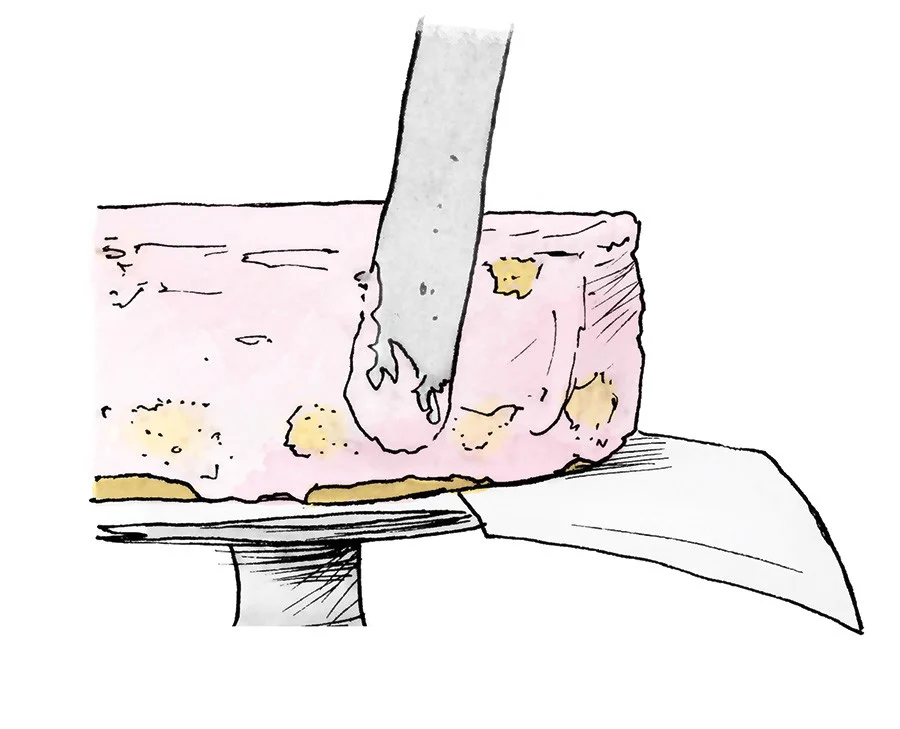
Smear a very thin coat of frosting on the sides and top of the cake.

This is called the crumb coat. It’s fine if it looks messy, and crumbs are showing through. Refrigerate the cake until you can touch the crumb coat without leaving a fingerprint, 20 to 30 minutes.

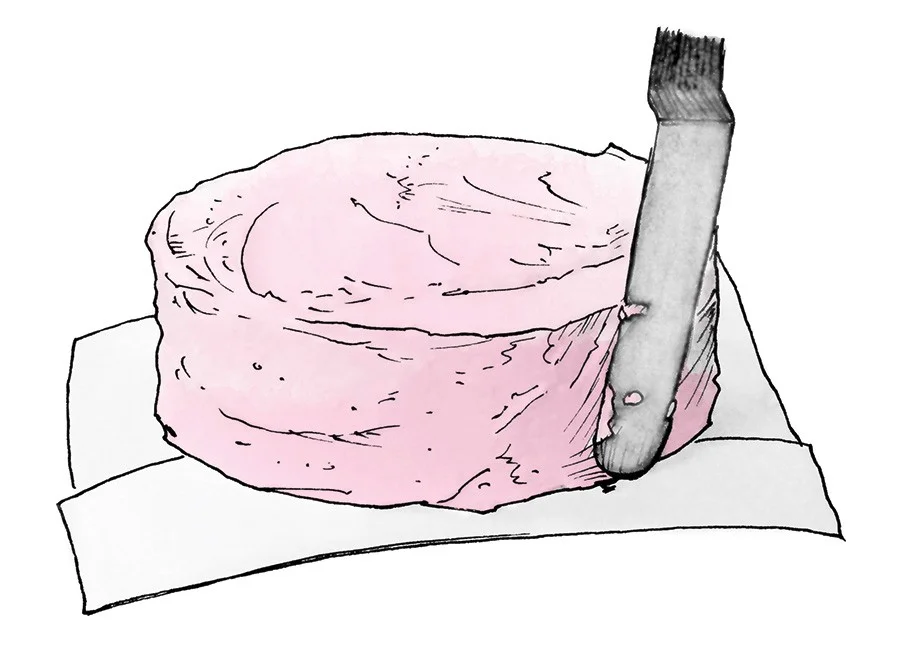
Once the crumb coat is firm, cover the top and sides of the cake with a finish coat of frosting. Gently remove the parchment paper strips. Decorate and embellish to your heart’s content.

Posted on Leave a reply

A breakdown of all the different cake mixing methods

A breakdown of all the different cake mixing methods

By: RedmanShop | January 12, 2025

There are so many ways to mix up cake batter. Maybe you’ve always wondered why the many methods; maybe you never thought about it until now. But each technique is based on specific ingredients, and results in a different final product: from a light as air cake, to one that’s sturdy enough to hold up in wedding tiers.

Common ways you might see cake mixing methods written in a recipe:

  • “Cream the butter and sugar together.”
  • “Combine dry ingredients. Add butter and mix until it resembles sand.”
  • “Put all of the ingredients in a bowl and stir together.”

Which way is “best”?

Cake mixing methods

We’ve recently baked cakes using six of the top mixing methods. Read on to see just how different cake results can be, depending on the steps in which the batter is blended.

1) Blended

Cakes made with this method: Very moist; a great candidate for adding mix-ins.

Basically stir together and go, the blended method is the easiest of all cake-prep types. Blended cakes are typically made with oil rather than butter, since oil is much more easily incorporated with the rest of the ingredients. Blended cake batter tends to be more liquid than most; oftentimes the recipe will call to “pour” the batter into the pans, rather than scoop.

2) Creaming

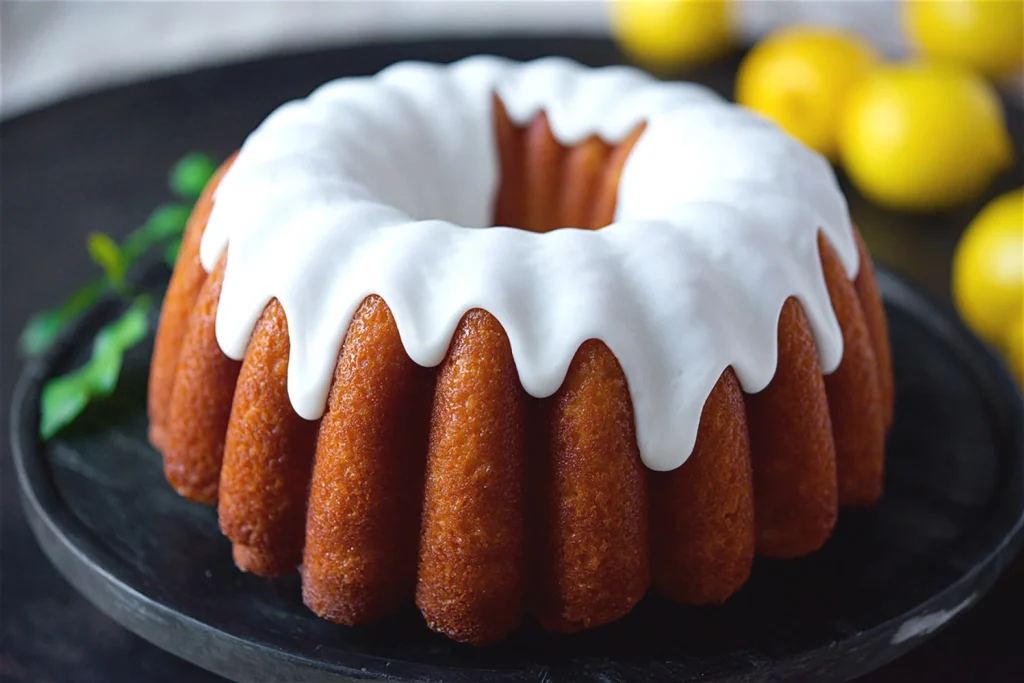
Example: Lemon Bliss Cake Cakes made with this method: Sturdy, yet soft textured. Easy to slice and stack in layers; also ideal for Bundt pans. This cake mixing method is a classic, and the most common.

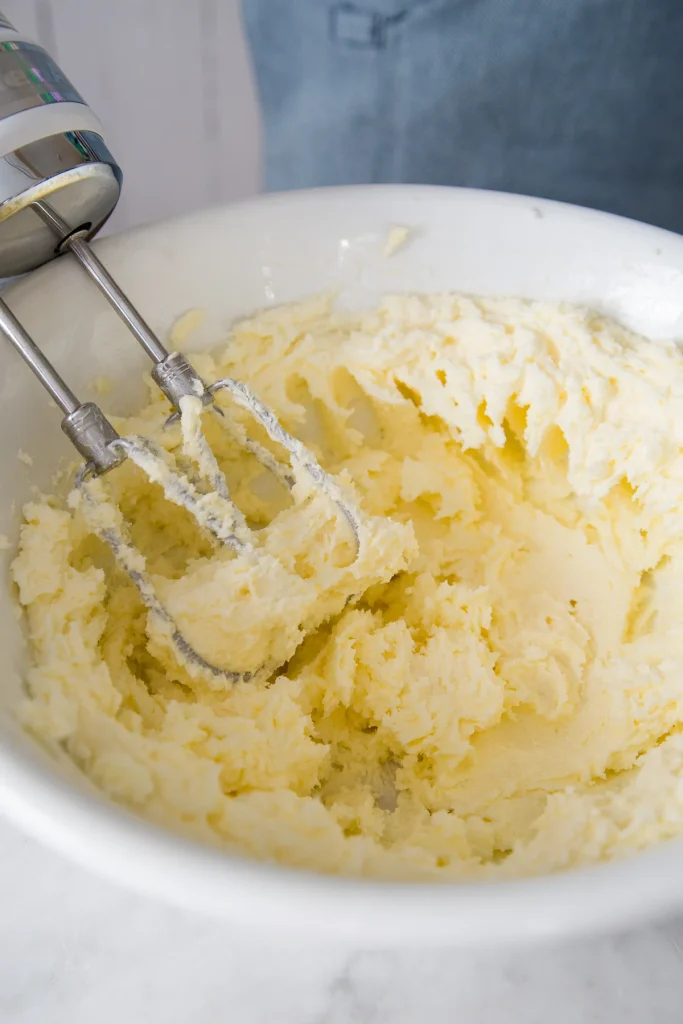
The creaming method starts with beating the butter and sugar together until they’re lightened in color and fluffy.

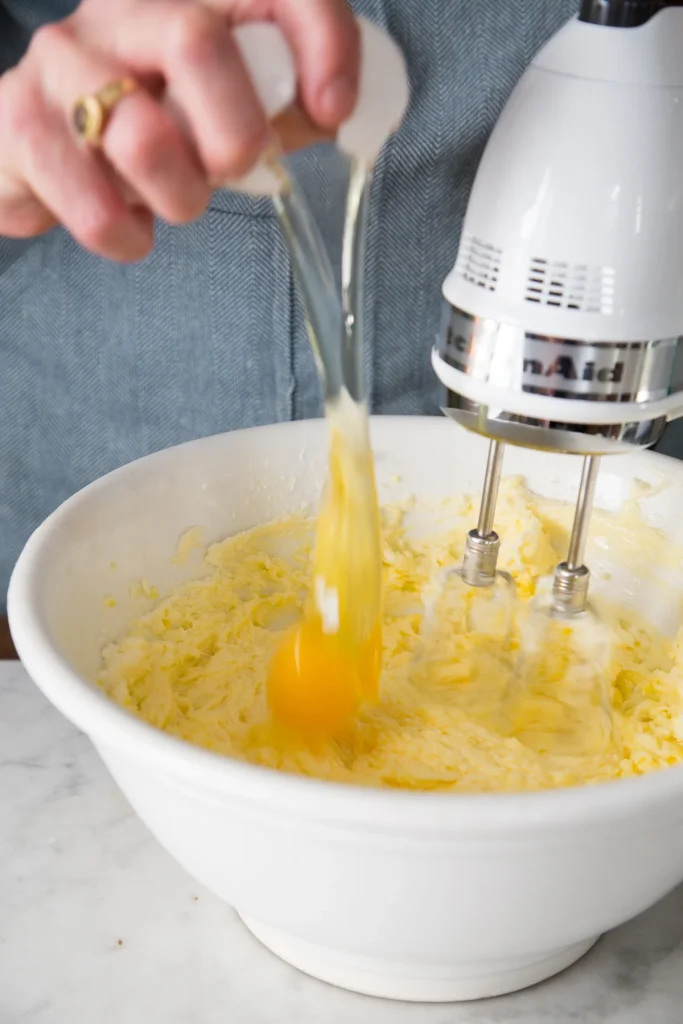
Eggs are beaten in one at a time.

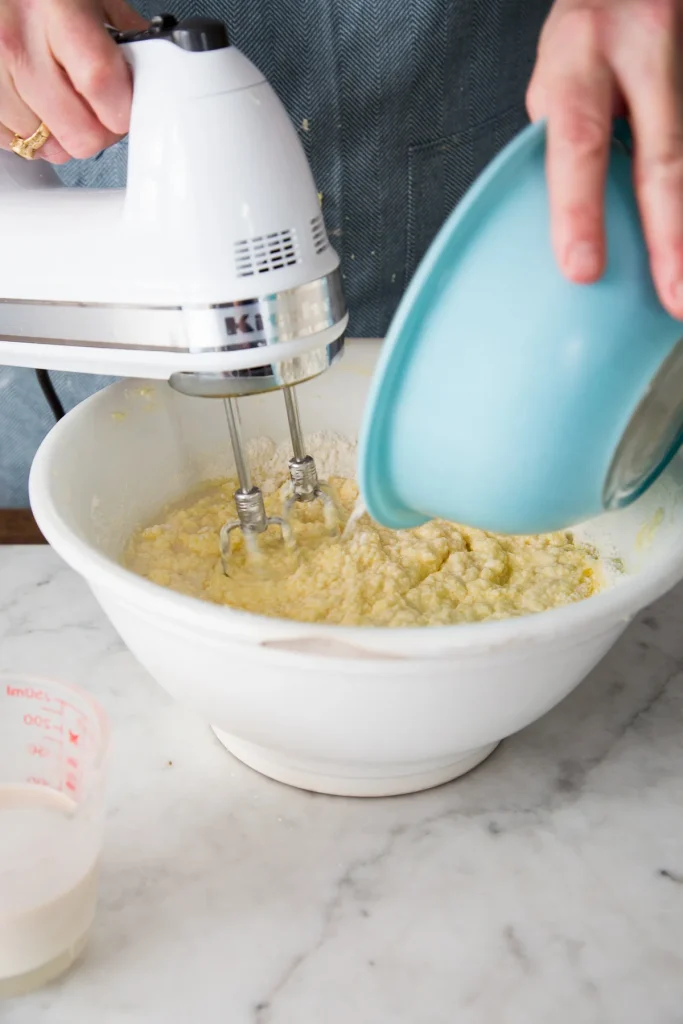
The creaming method then adds the dry and liquid ingredients alternately to the butter mixture.

The usual method is a third of the flour, half the milk, a third of the flour, the remaining milk, and finally the remaining flour; it’s helpful to scrape the bowl midway through this process.

Adding flour and liquids alternately ensures all the liquid (usually milk) will be thoroughly absorbed into the batter. If there’s a high amount of butter or other fat in the batter, it’s hard to get the liquid totally mixed in; the alternating technique helps reduce the percentage of fat overall (by adding some flour first). It also facilitates the formation of gluten, which binds the batter together.

3) Foam

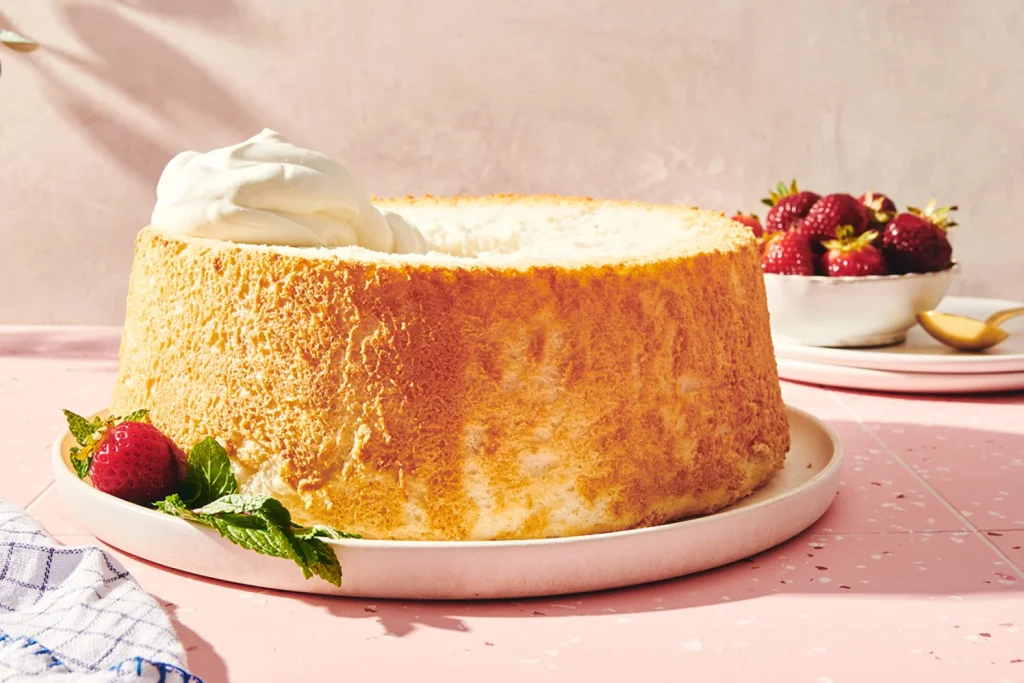
Example: Angel Food Cake

Cakes made with this method: Extremely light and airy. This high-rising, somewhat “resilient” cake slices best with a serrated knife or pronged angel food cutter. The leanest cake in the bunch, foam cakes contain little to no fat: i.e. no butter or shortening, and no egg yolks.

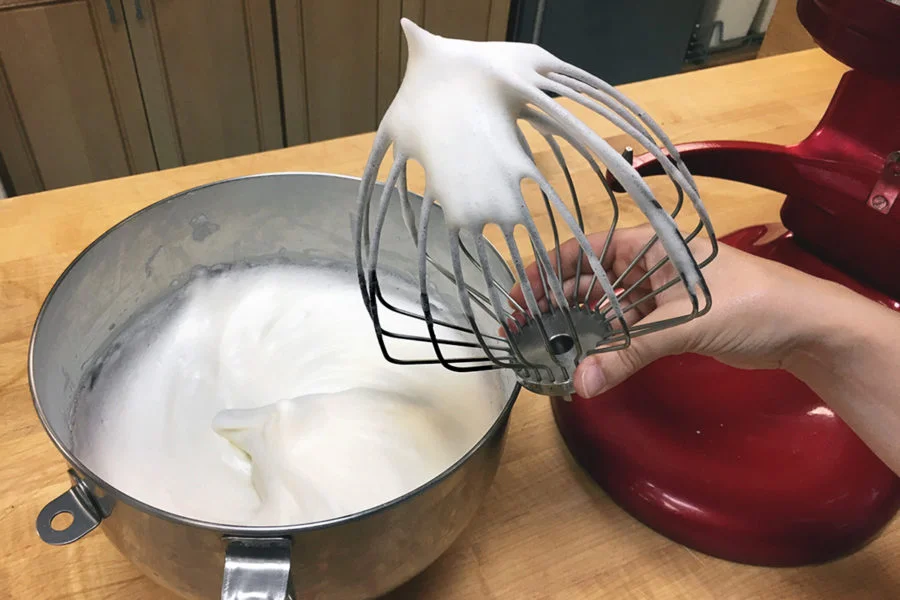
Like some sponge cakes, foam cakes contain no leavening, depending on air whipped into the egg whites for structure. The whites are whipped into stiff peaks, usually with cream of tartar added to help with stability and volume.

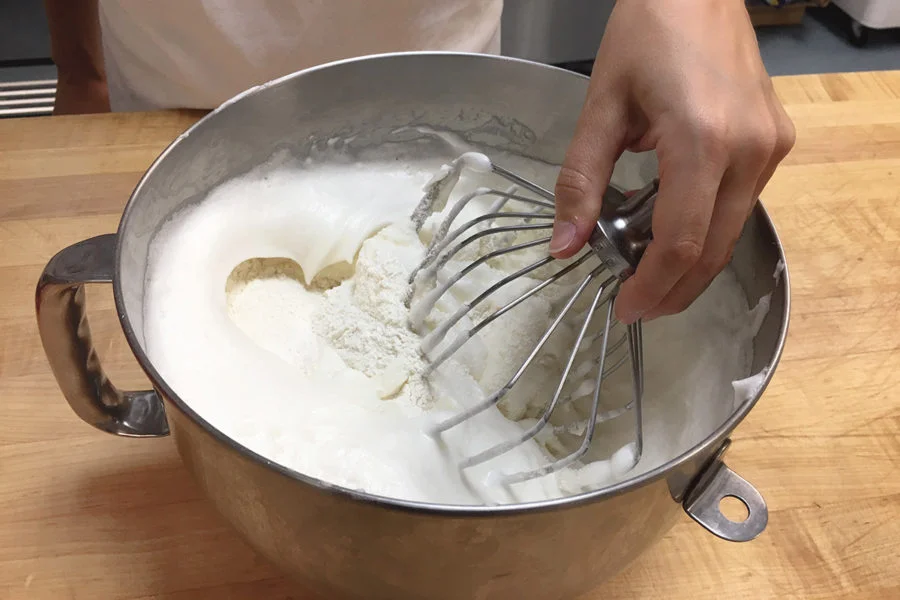
Flour is carefully folded in, leaving as much air in the batter as possible. Most choose to fold in the flour with a spatula, but we’ve found that using the whisk attachment (the one that just moments before whipped up those whites) incorporates it easily and gently.

4) Paste (also called reverse creamed)

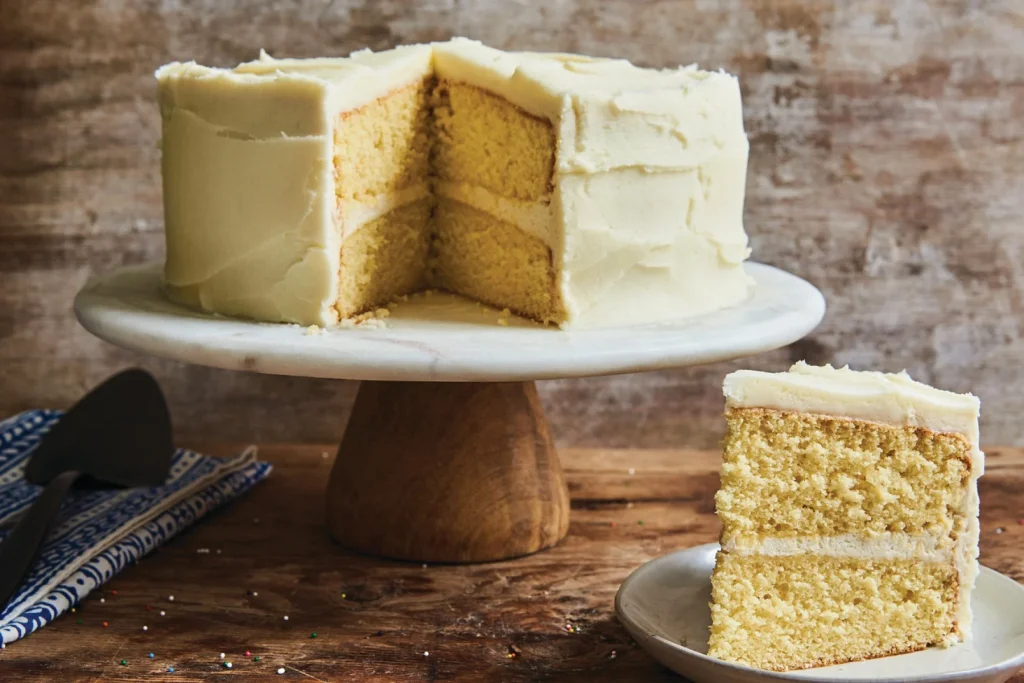
Example: Golden Vanilla Cake

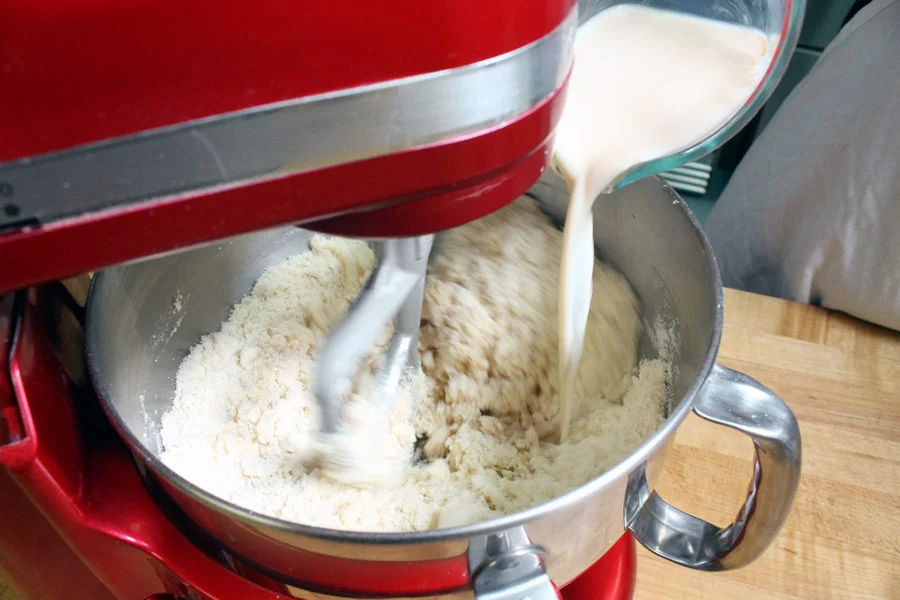
Cakes made with this method: Tighter textured, though still moist. A great candidate for tiers. The most sturdy of the cakes; slices with minimal crumbs. This moist and tender (yet sturdy) cake is an American favorite. Its slightly denser crumb makes it perfect for frosting as a layer cake. Making a cake using the paste method (also sometimes called “reverse creaming”) sounds complicated, but it’s actually one of the most simple techniques of the bunch.
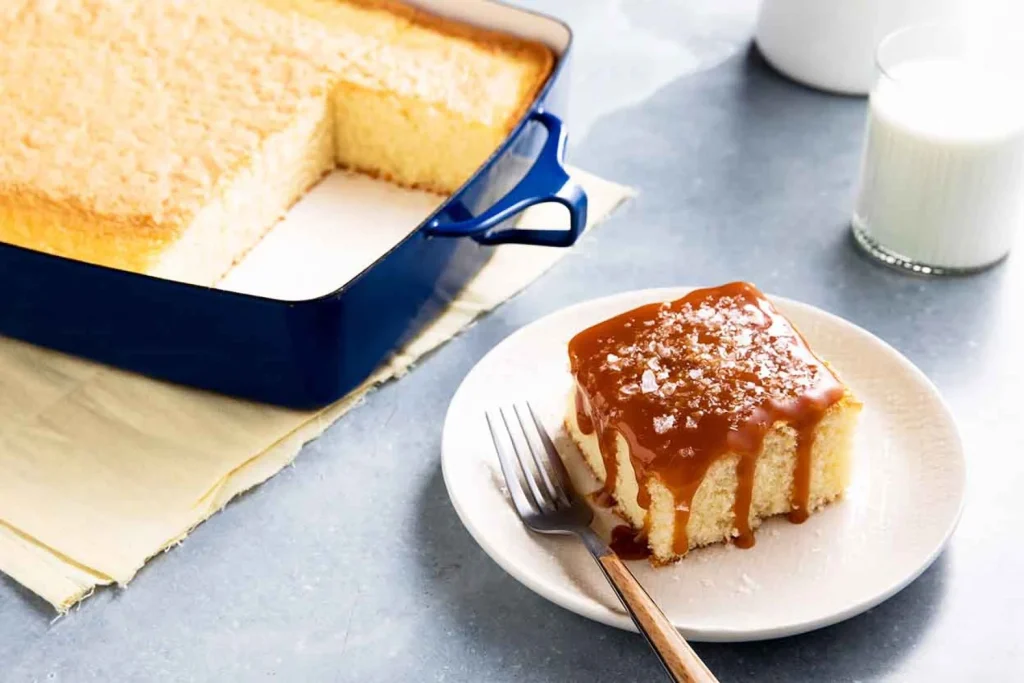
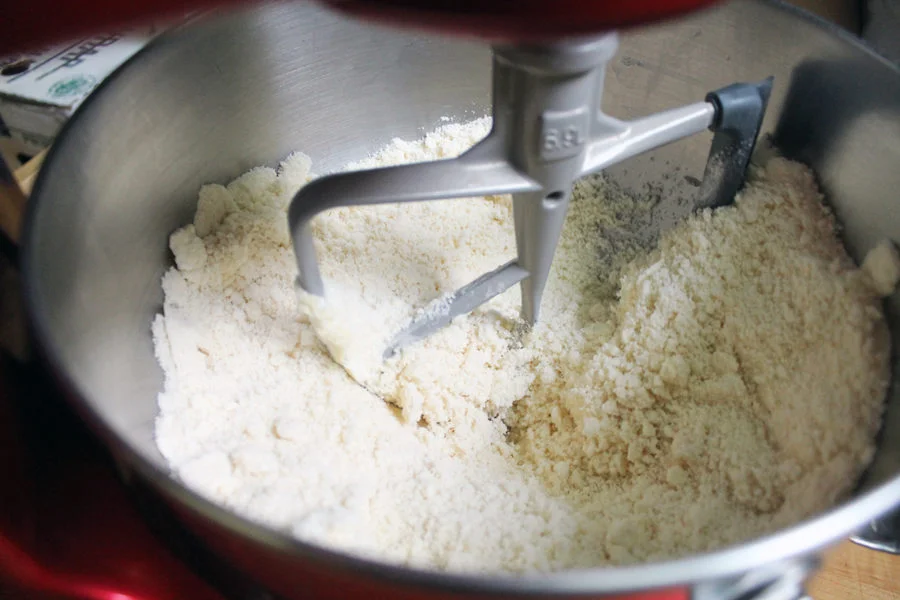
Soft butter and room-temperature liquids are beaten into the dry ingredients until the texture is “sandy.” The butter-coated flour slows the formation of gluten (which starts once flour comes in contact with liquid), and results in a slightly more sturdy cake that still offers soft texture.

Once the batter reaches that crumbly, sand-like consistency, milk and any flavors are added. Then eggs are mixed in one by one. The batter, though pourable, is often thicker than other cake batters.

5) Sponge

Example: Chef Zeb’s Hot Milk Cake

Cakes made with this method: Light and airy, with soft texture. Tend to compress slightly when stacked over two layers high. Mildly sweet, sponge cakes are high-rising and light as air, with the perfect degree of moistness.

Sponge cakes can be made different ways. One way is beating egg yolks and sugar (or whole eggs and sugar) until a very thick foam-like batter is created. The batter is pale yellow in color, and falls off the beater in ribbons. Flour is then gently folded in. Another way is to whip the egg whites separately from the yolks until soft peaks form. The yolk/sugar mixture is beaten until light, flour is mixed in, and then egg whites are gently folded into that mixture. Either way the eggs are prepared, they provide leavening and loft for the sponge cake. This method dates back to before the widespread use of baking soda or powder, when trapped air was a cake’s only leavening.

The batter for sponge cake is very light, airy, and almost soup-like in consistency. Though it may be alarming, this is totally normal. It will bake up into the moist, delicious cake that we know as sponge.

6) Gluten-free

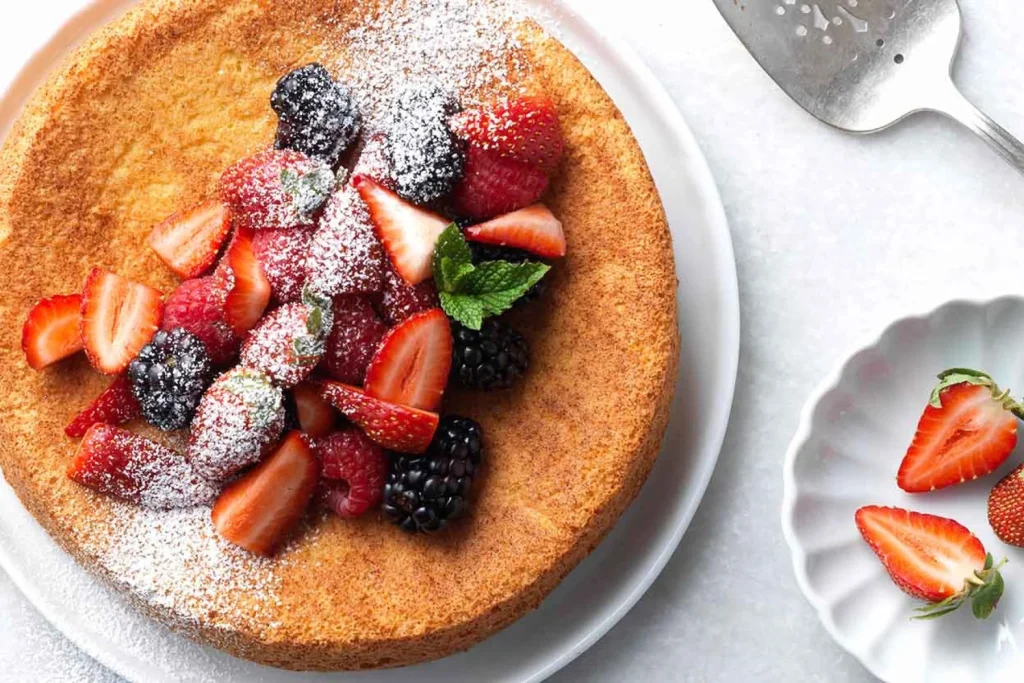
Example: Strawberry Almond Flour Cake

Gluten-free cakes can be made any number of ways and with great success, much like their wheat-y counterparts. As with all recipes, be sure to read the directions carefully before starting. All puns intended, these methods really take the cake. Each one will create a totally different finished baked good – all equally delicious. Tell us, which of these cake-mixing methods do you usually use?

Want to take a deeper dive into cake baking? See our complete guide to cake and cupcakes.

Subscribe to our Newsletter Now

Get the latest recipes, products and classes available on RedManShop.