FREE DELIVERY ABOVE $60

Posted on Leave a reply

Putting your sourdough starter on hold

Putting your sourdough starter on hold

By: RedmanShop | January 28, 2025

For best long-term storage, dry it

Sourdough baking is endlessly fascinating, isn’t it?

First-time sourdough bakers, excited by the starter they’ve created, happily explore the huge realm of possibilities for its use. 

More seasoned sourdough aficionados, having mastered the basics, work at fine-tuning techniques, learning to use fermentation temperatures to bring out (or tone down) certain flavors in sourdough’s rich, multilayered profile.

But one thing most of us have in common: at some point, we need to put our sourdough baking on hold. Maybe we’re going on vacation; perhaps the schedule is just too crowded at the moment for the ritual feeding/discarding/feeding/baking process.

Whatever the reason, there comes a time when we need to put our sourdough starter to bed for awhile.

What’s the best way to keep your starter happy, healthy, and vibrant, when you know you won’t be using it for an extended period?

Refrigerate it and hope? Freeze it and forget it?

Neither of the above. The best way to preserve your starter – for a couple of weeks, a month, or even years – is to dry it.

Let’s see how the process works.
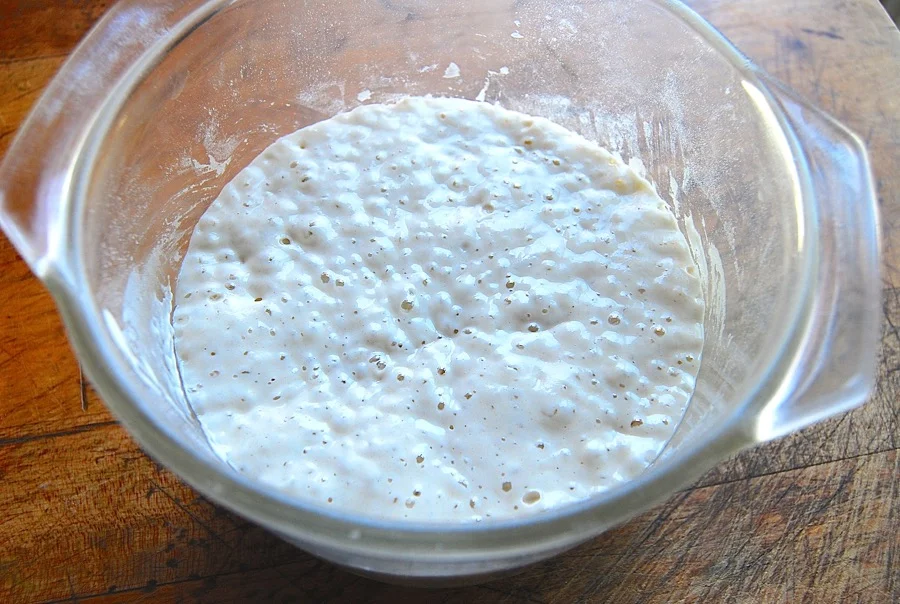
1. Ready your sourdough starter for storage.

First, feed your starter as though you were going to bake with it. If it’s been stored in the fridge, take it out, and feed it with equal parts unbleached all-purpose flour and lukewarm water. Let it rest, covered, until it becomes very bubbly and healthy looking.
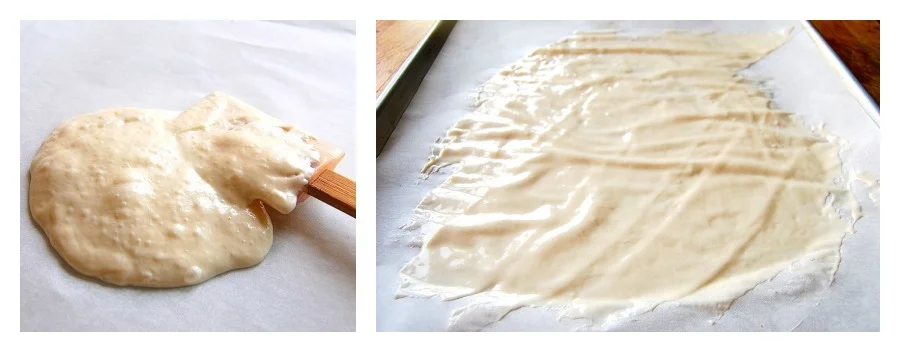
2. Spread it out to dry.

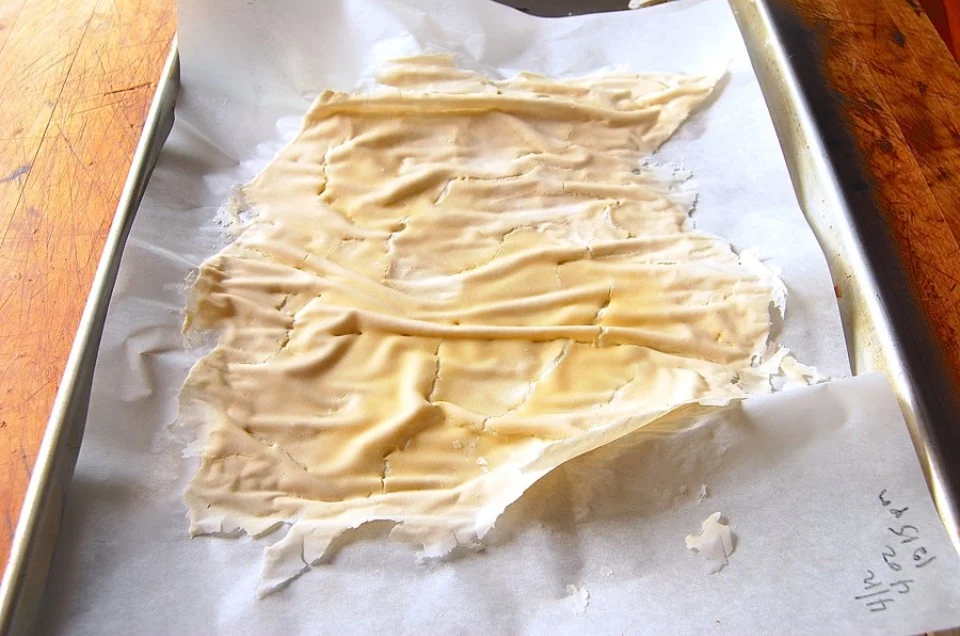
Next, spread it – all of it* – onto two pieces of parchment. It helps to set each piece of parchment on a baking sheet, simply for ease of transportation.

*Don’t want to dry all of it? See the end of this post for advice.

The starter should be spread as thinly as possible; use a spatula, an offset spatula, or a bowl scraper to help the process along.
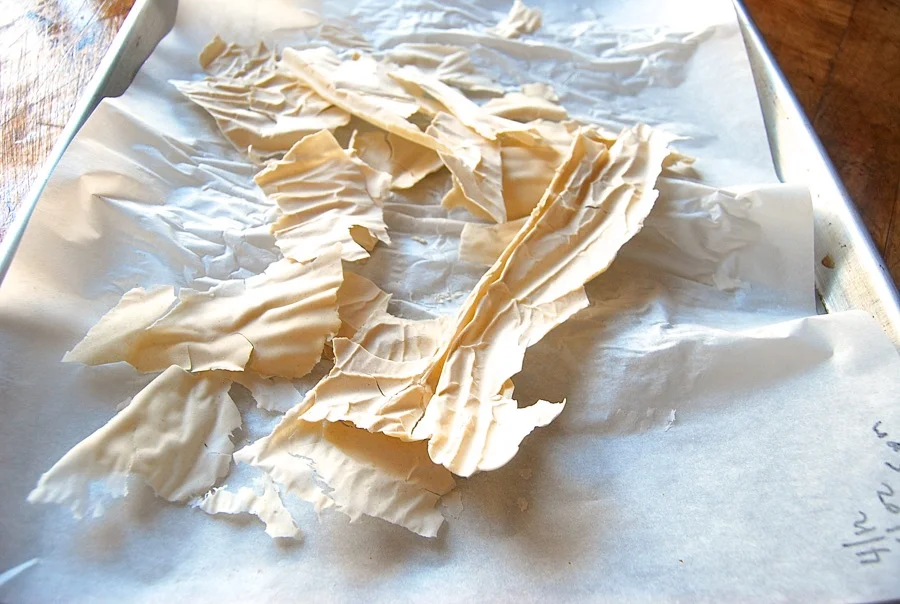
3. Dry the starter completely, until it’s brittle.

Let the starter dry at room temperature until it’s completely and utterly dry. This will take a day (if you live, say, in Arizona, in a house without air conditioning); or up to three, four, five days – it totally depends on the weather. In Seattle, in winter? Count on a long dry.

If you live somewhere humid, can you dry your starter in the oven? Yes; but be careful. Rather than turning the oven on to warm it, I’d advise using only your oven’s electric light, which will produce very gentle, even heat. You don’t want to risk turning the oven on and accidentally making it too hot, which would kill your starter. (See step #8, below.)

Completely dry starter should peel easily off the parchment; when you pick a piece up, it will be brittle and easily snap between your fingers. If you have a scale, weigh it; if you started with 4 ounces starter on your parchment, it should weigh 2 ounces (or very close) when it’s completely dry.

4. Break it into pieces.

Break the starter into small chips with your hands; or place it in a plastic bag and pulverize it with something heavy.

Can you run it through a food processor? Yes, but it’s not necessary; just break it into chips as best you can.
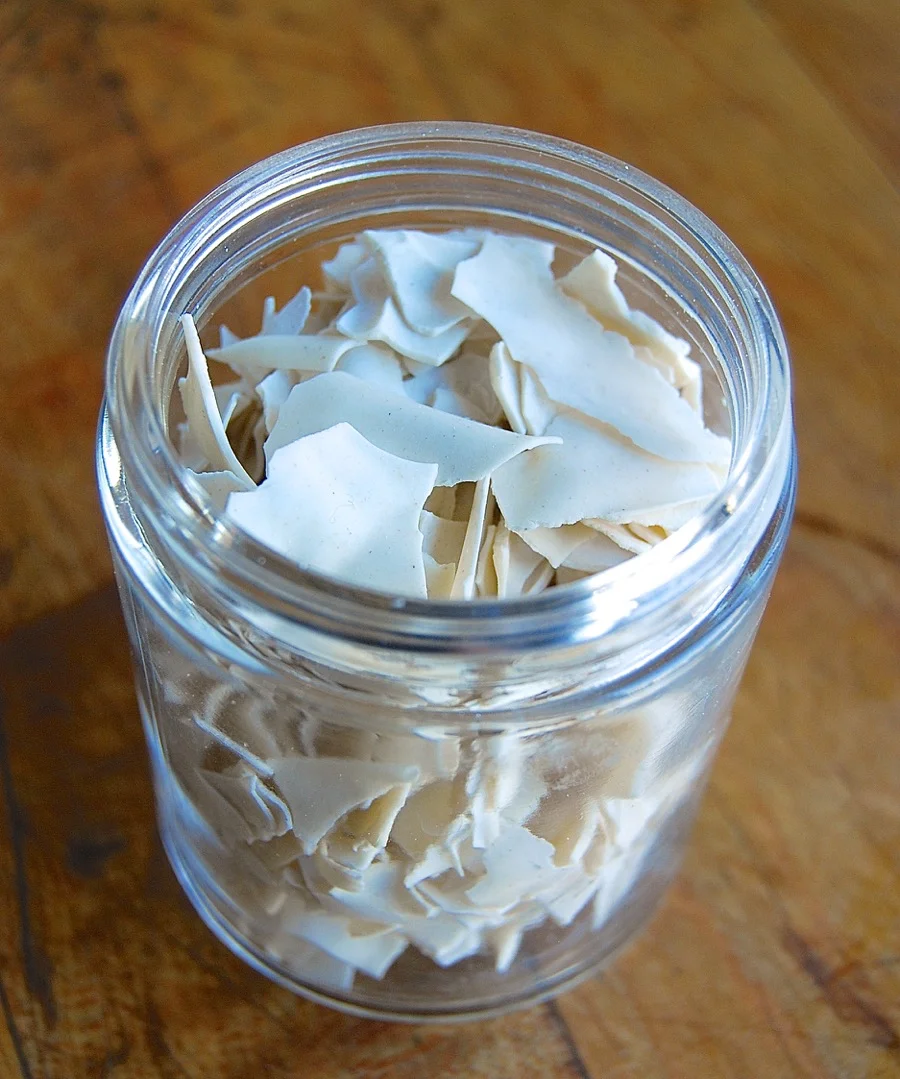
5. Store it airtight.

Store the starter airtight, preferably in a glass container. You want something totally inert, with an airtight cover; a glass jar is perfect. Date the jar and label it; you don’t want someone throwing it away during the course of some pantry spring cleaning.

Keep the jar of dried starter in a cool, dark place, if possible. Not cool as in refrigerator; just not sitting in the hot sun, or over your woodstove. Be sensible.

6. Bring your sourdough starter back to life.

When you’re ready to revive the starter, measure out 1 ounce (or about 1/8 of it, if you’d been following a regular feeding pattern and had about 8 ounces starter on hand at the beginning of the drying process).

Don’t have a scale? Well, depending on the size of your chips, this will be between 1/4 and 1/3 cup.
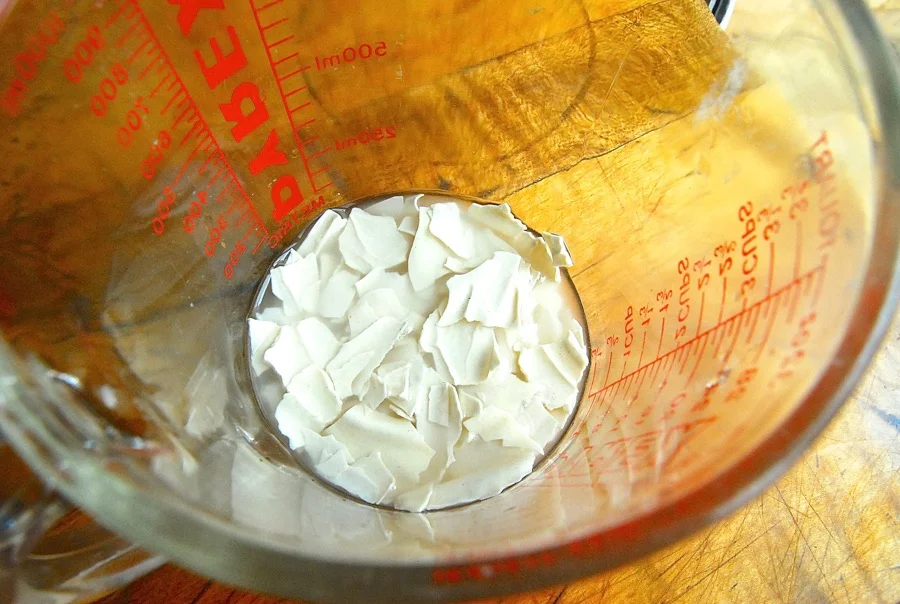
7. Mix the starter with lukewarm water.

Place the dried starter chips in a large (at least 1-pint) container. Add 2 ounces (1/4 cup) of lukewarm water. The water should barely cover the chips; tamp them down, if necessary.
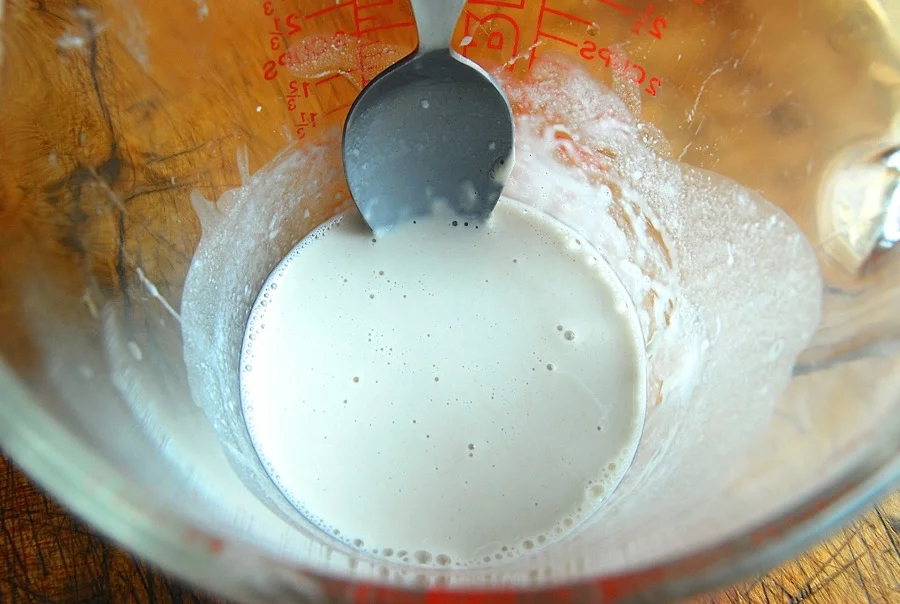
Stir the chips/water occasionally; it’ll take 3 hours or so, with infrequent attention, to dissolve the chips.
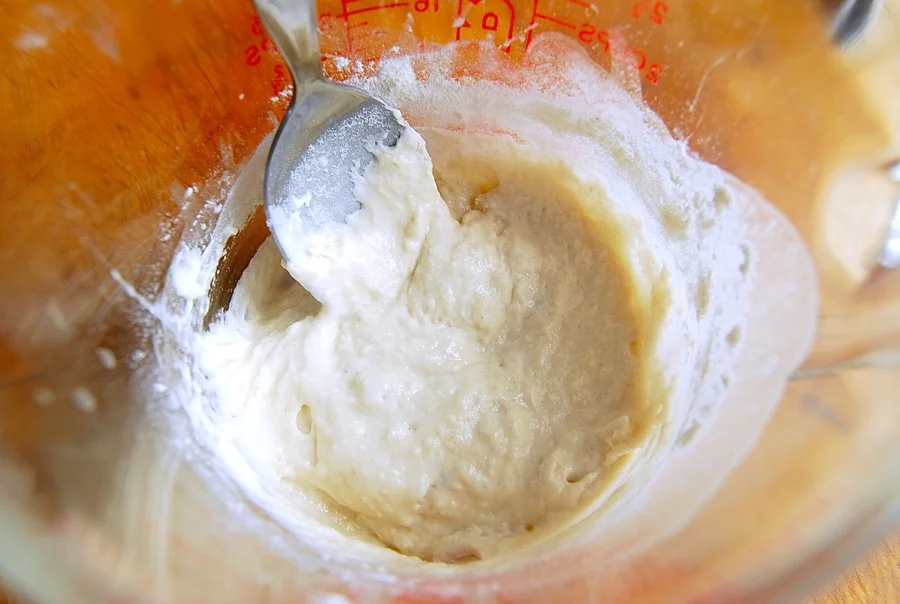
8. Feed it with flour.

Once the mixture is fairly smooth/liquid, with perhaps just a couple of small undissolved chips, feed it with 1 ounce (about 1/4 cup) of unbleached all-purpose flour. Cover it lightly (a shower cap works well here), and place it somewhere warm.
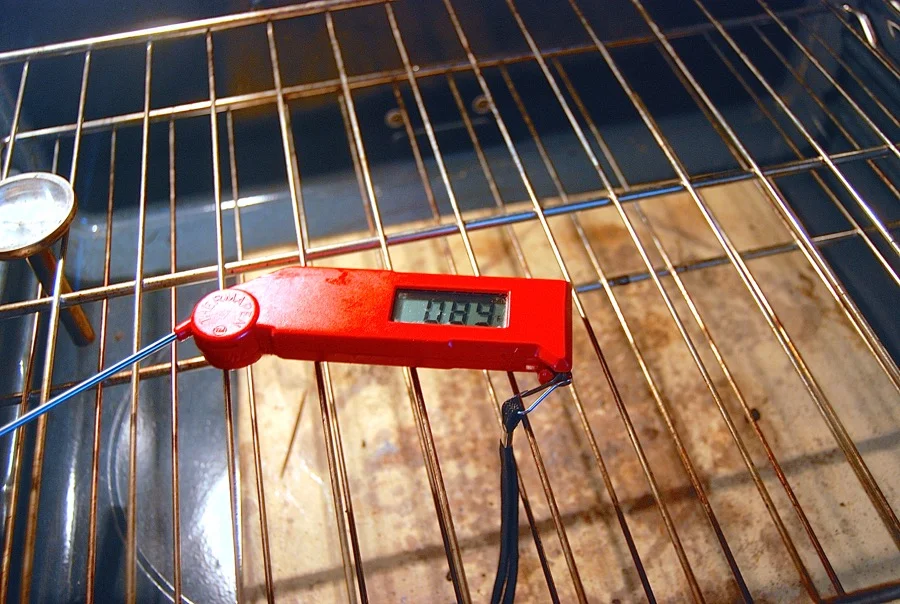
I like to use my electric oven with the light turned on. Even without ever turning on the heat, it holds a constant temperature between 85°F and 90°F.

You can certainly keep your starter out of the oven, at room temperature; just understand that this whole process, as I’ll describe it, will take longer. The cooler the room, the longer it takes sourdough starter to work.
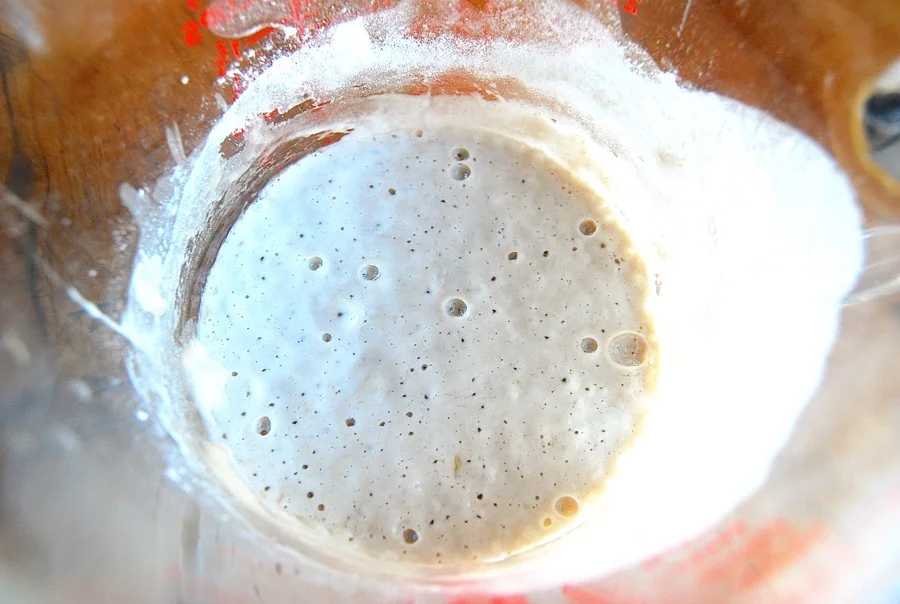
9. Let it rest somewhere warm until it bubbles.

Let the starter work for 24 hours. At the end of that time, you should see some bubbles starting to form. Remember, this is at about 85°F; if your temperature is lower, this will take longer.

How much longer? Totally depends on temperature. Once you do this process once – in your kitchen, in your climate, accounting for your weather – you’ll have a better idea.

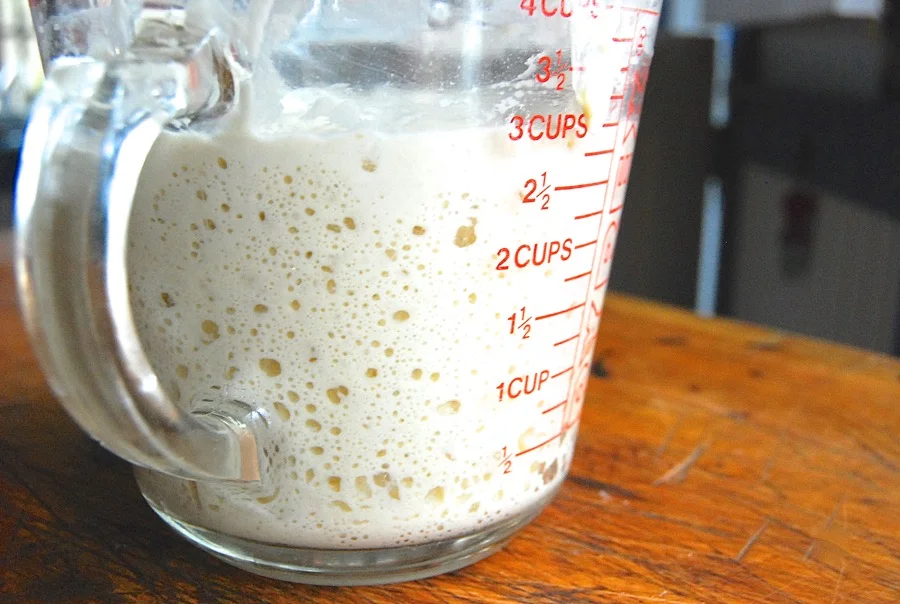
Sourdough isn’t one of those things you can be all engineering about. Forget your timer; just wait until your starter looks like the picture above.

10. Feed the starter again.

WITHOUT DISCARDING ANY OF THE STARTER, feed it with 1 ounce of lukewarm water, and 1 ounce of flour. Cover, and put back in its warm spot. After “X” hours (depends on your kitchen), you should see some serious bubbling; mine took eight hours to become nice and bubbly.

11. And again.

Feed the starter again – 1 ounce of lukewarm water, 1 ounce of flour – cover, and wait. Again, you’re not discarding any at this point.
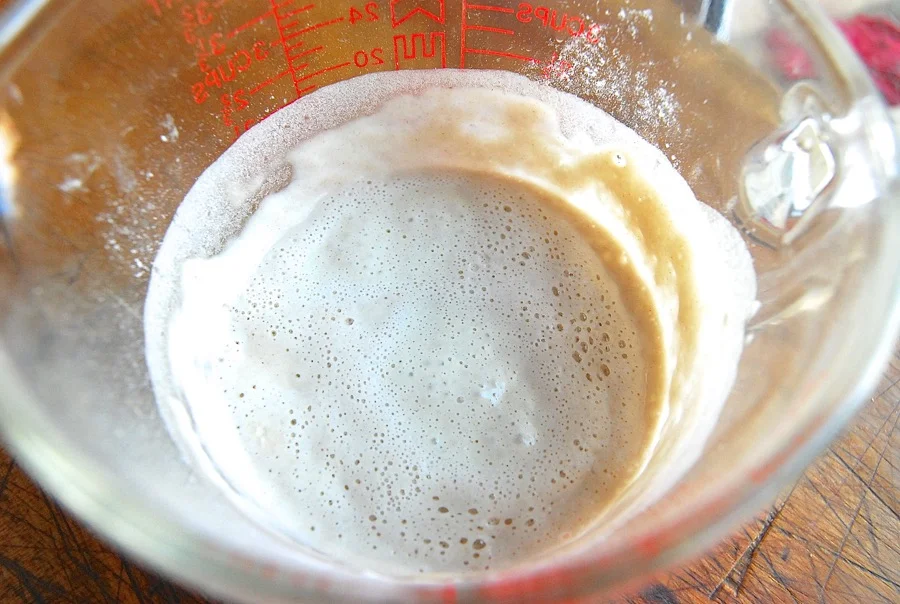
Here’s my starter 12 hours later. It’s exhibiting a host of tiny bubbles, and has expanded. You may also notice, from the side of the container, that it’s risen, and then fallen; this is completely natural.
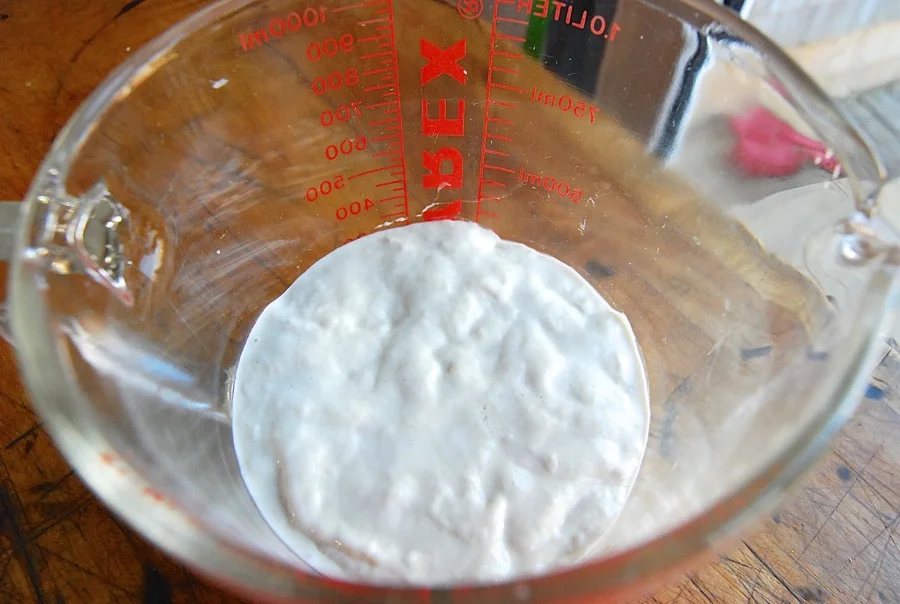
12. Put the starter back on its regular feeding schedule.

Your starter is ready to return to its former life – and its regular schedule. DISCARD all but 4 ounces (about 1/2 cup). Feed it again, this time with 4 ounces each lukewarm water and flour. (That’s 1/2 cup of water, and 1 cup of flour, for those of you without a scale. Tell me again why you don’t have a scale?)
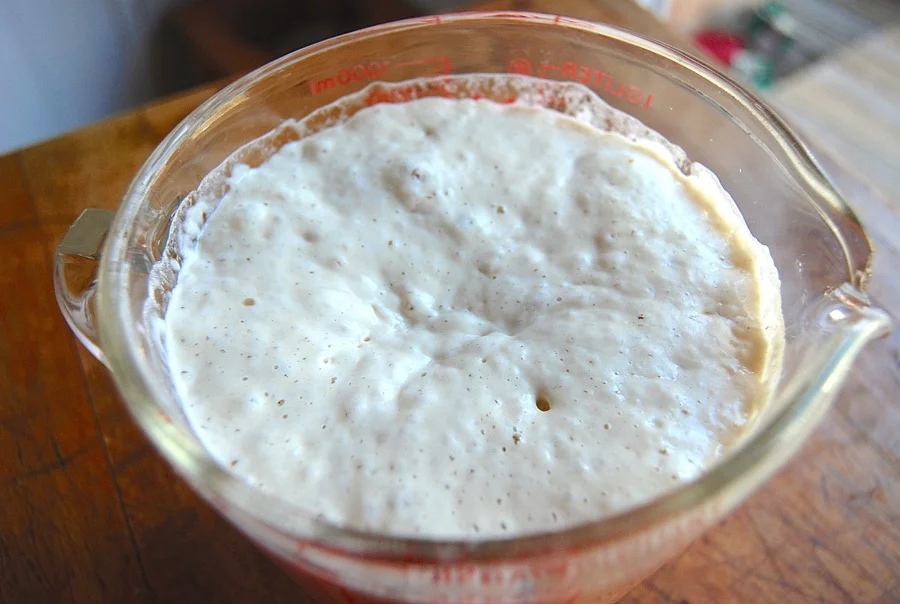
This time, it should really expand quickly. In my 85°F oven, it took just 4 hours for it to triple in size. Your starter is now revived and healthy.

13. At last – you’re ready to bake!

To ready the starter for baking (while saving enough for another day), feed it again. Discard all but 4 ounces; and feed the remainder with 4 ounces each lukewarm water and flour. Let it become bubbly – and let the baking begin!
Finally, because I know you’ll ask –

Q. Do you have to dry all of your starter?

A. No. Store half in the fridge, if you like. Just don’t store any in the freezer; freezing will kill your starter (more on that in a future post).

Q. If you dried all of your starter, and you only revive 1 ounce of it – what do you do with the rest?

A. Give some to a friend (with a link to this blog post, of course). Or just save the rest for sometime in the future.

Q. How long will dried starter stay good?

A. Not sure, but we’ve heard cases of dried starter remaining viable for over a decade. Thorough drying should preserve your starter indefinitely – just ask King Tut!
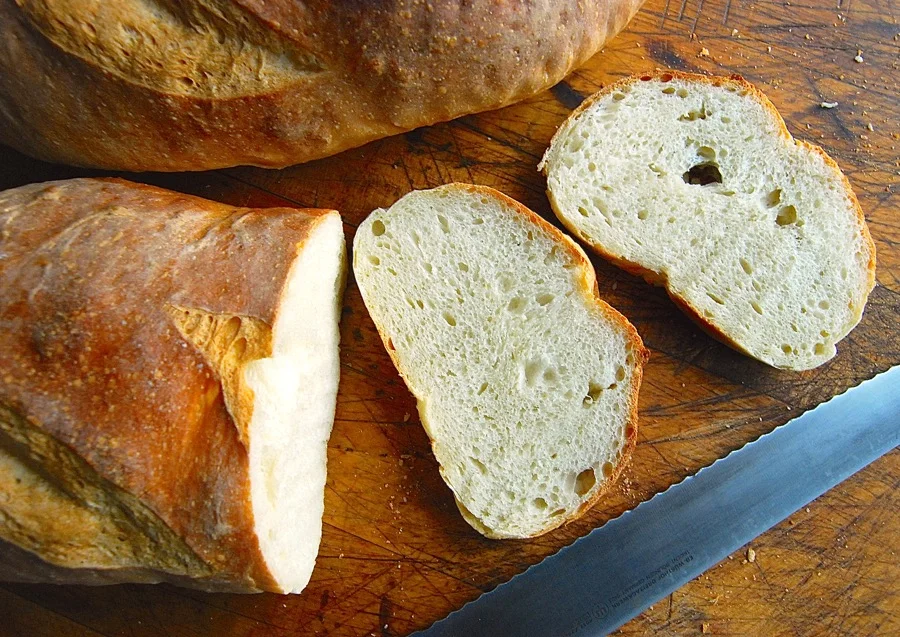
Finally, I couldn’t possibly end this post without showing you what happened to my dried, revived, fed, and baked-with starter. This Extra-Tangy Sourdough Bread has NO commercial yeast; it was entirely leavened with my reconstituted starter. Success!
Posted on Leave a reply

How to measure flour the right way

How to measure flour the right way

By: RedmanShop | January 22, 2025

If you learn one skill to bake better, it should be how to measure flour — the right way. It’s arguably one of the biggest keys to baking success. That’s because a little too much flour can be the difference between a good bake and a not-so-good bake. And if you’re measuring your flour by volume (i.e., with measuring cups), then it’s very likely you’re adding too much flour.

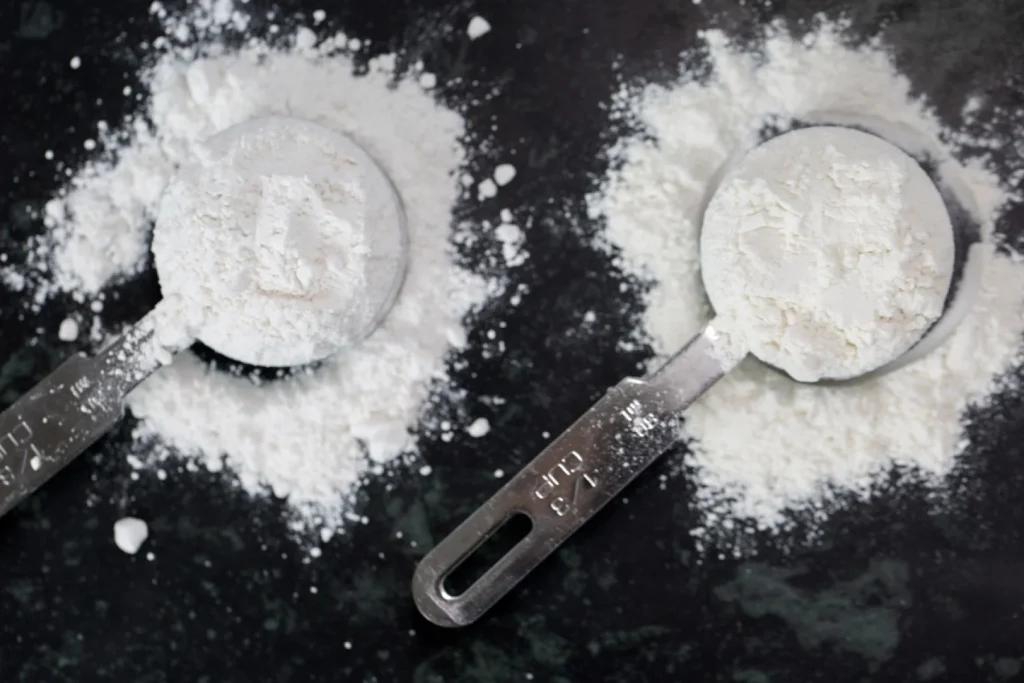
That’s because measuring flour by volume is wildly inconsistent: It all depends on how densely the flour is packed into the cup. If the flour is more condensed, a cup can hold up to 160 grams of all-purpose flour. If you fluff, scoop, and level, as we recommend, a cup will hold around 120 grams. But if you weigh your flour with a scale? You’ll always get exactly 120 grams of all-purpose flour per cup, precisely as our Test Kitchen (or whoever developed your recipe) intends.

If you succeed in correctly measuring your flour, your baked goods are more likely to be successful, too. And while we recommend always using a scale, using measuring cups works too if you do it the right way. However you choose to measure your flour, here’s how to get it right.

With a scale, your measurements are always accurate.

How to measure flour with a kitchen scale

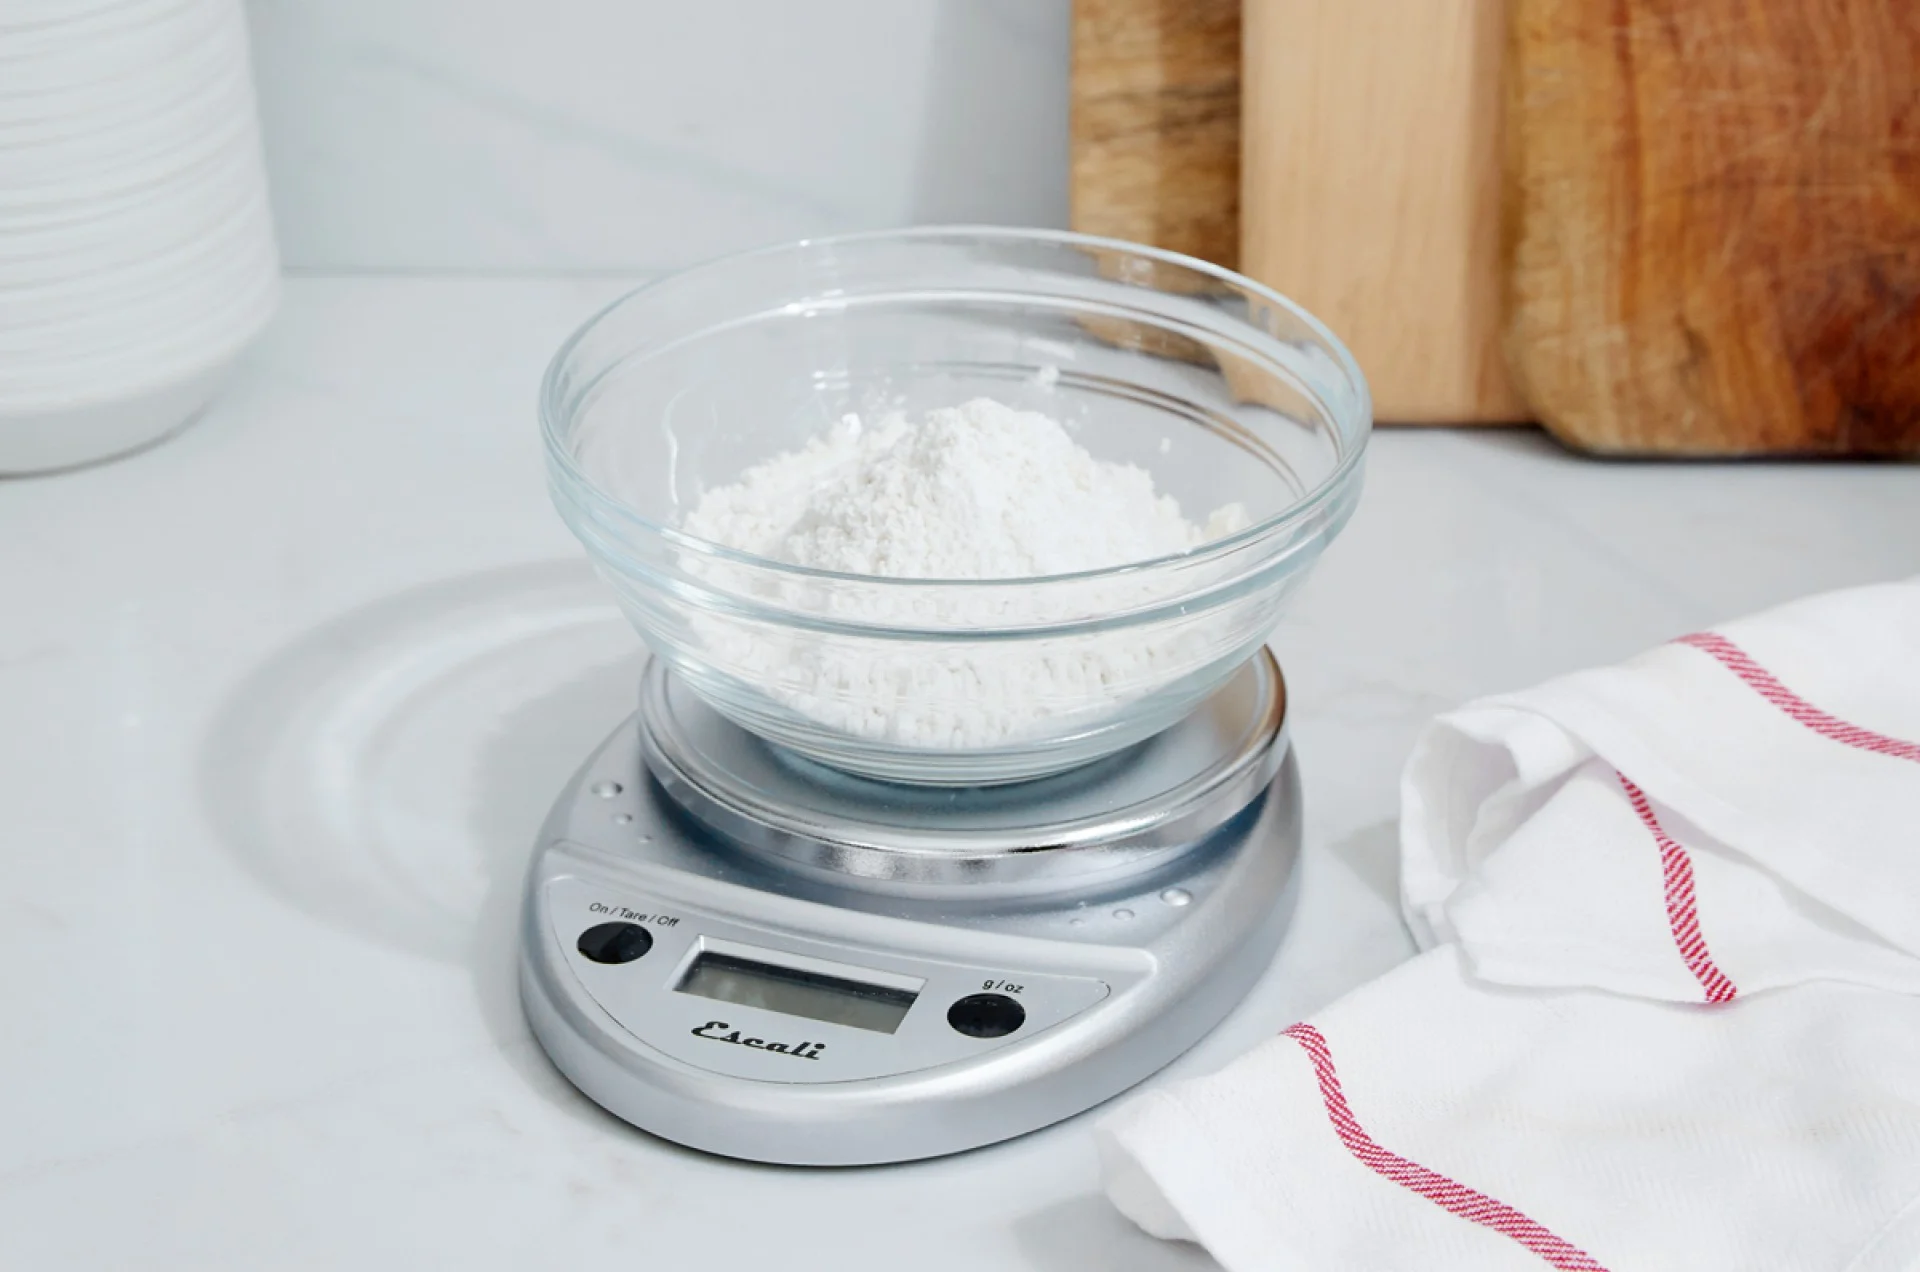
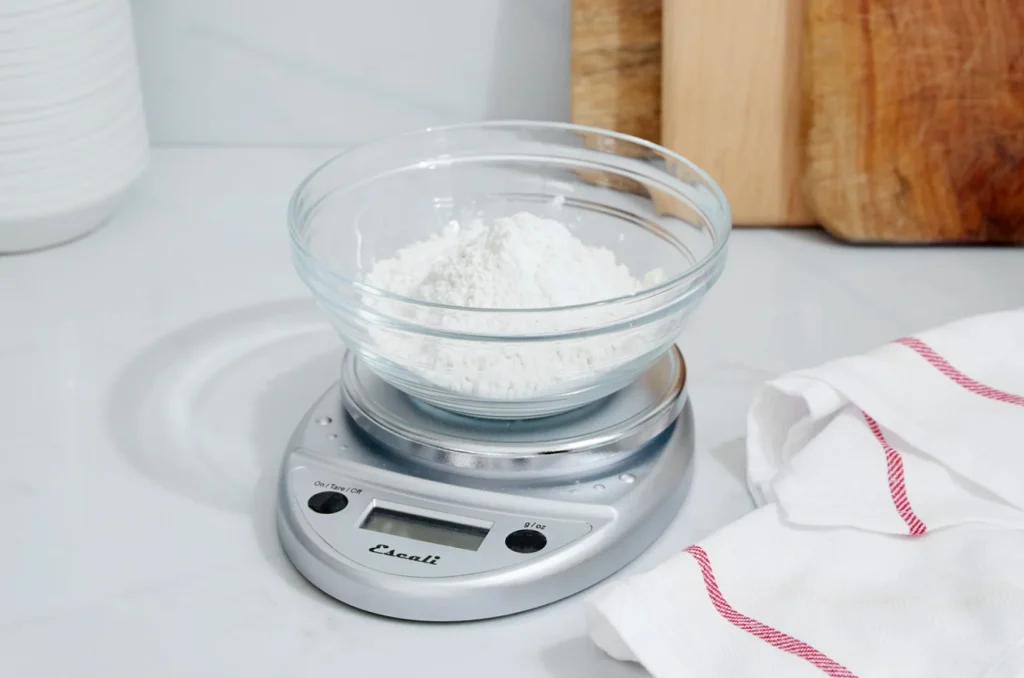
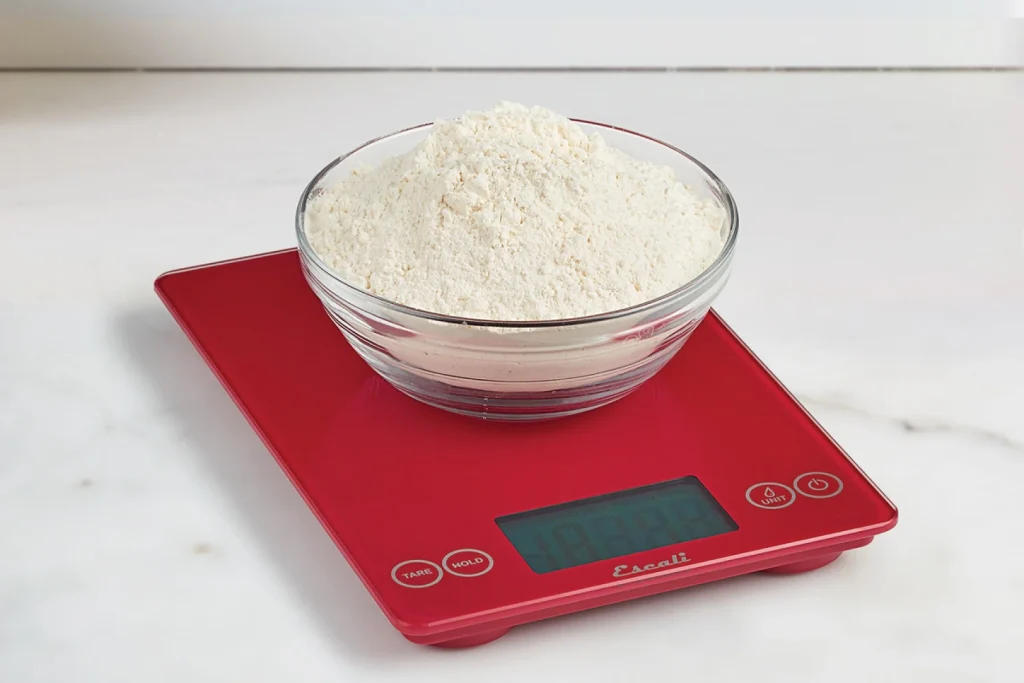
Hit the “Tare” button to make sure your scale is set to 0 grams. (All of our recipes include gram and volume measurements.) Set your measuring bowl, or a separate empty bowl, measuring cup, or other vessel (whatever you’ll be pouring your flour into) onto the scale, then press “Tare” again to set the scale to 0 grams. Scoop your flour into the vessel on the scale — if you’re measuring 1 cup of all-purpose flour, keep scooping until the scale totals 120 grams. Or measure out however much flour the recipe calls for. (Wondering about the weight of other flours and ingredients? Check out our handy ingredient weight chart.)

Generally, you can stay within 5 grams over or under the written amount (for instance, if the recipe calls for 240 grams of flour and you measured out 245 grams), and it won’t affect your recipe. With that said, we recommend being as accurate as possible when measuring flour and all other ingredients.

How to measure flour with measuring cups

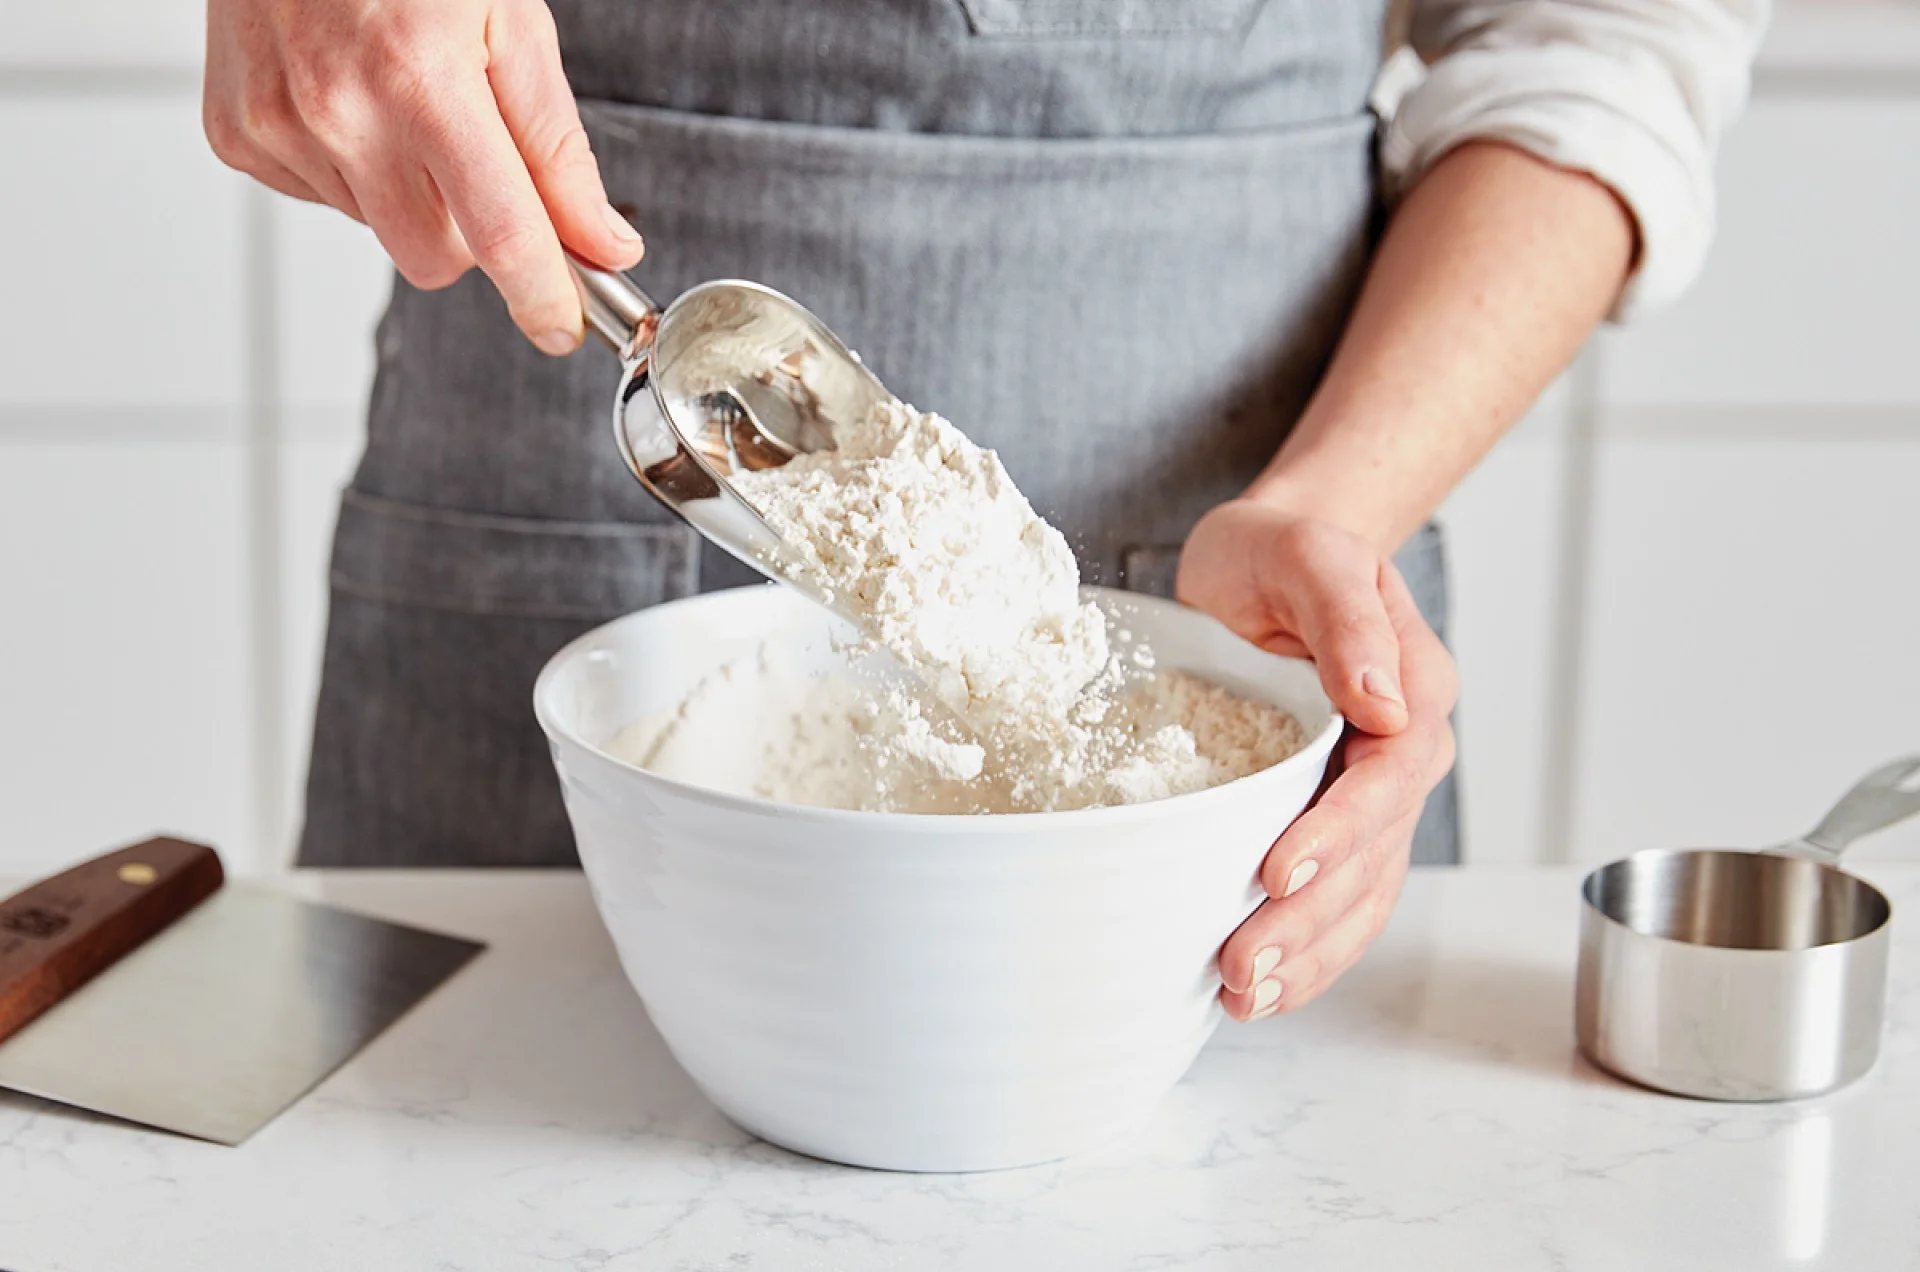
If you don’t have a scale and need to measure flour by volume, it’s important to use the correct technique. Using our “Fluff, Sprinkle, and Scrape” technique is the best way to make sure you do not add too much flour to your recipes.

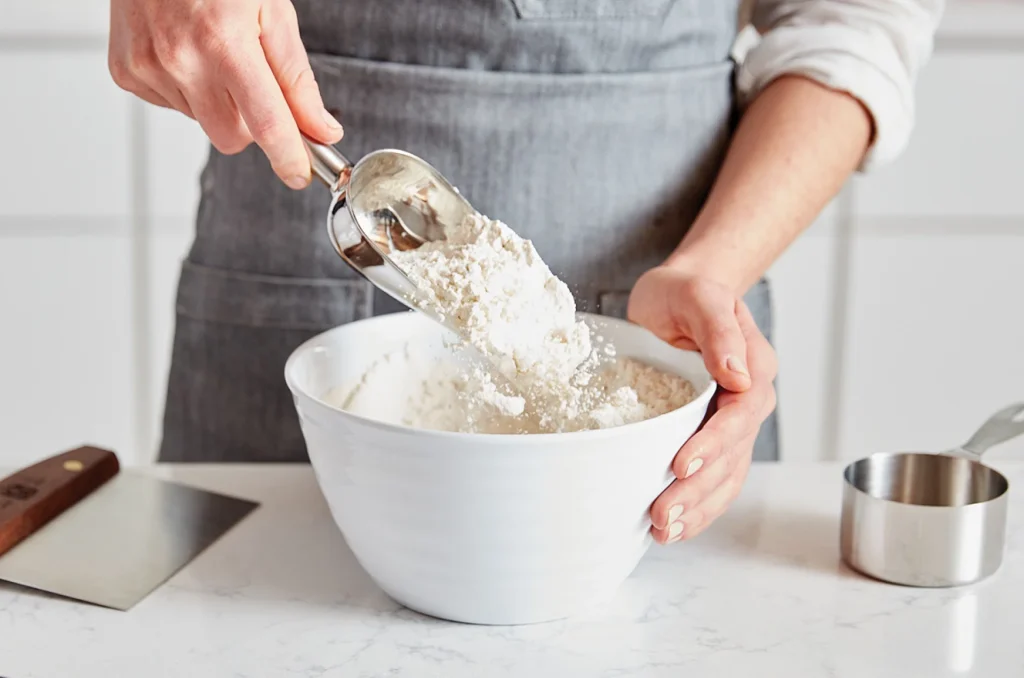
Begin by fluffing your flour in its bag or container using a spoon or scoop. The goal here is to lighten and aerate the flour. Spoon the fluffed flour into your measuring cup until it’s overflowing. Use a straight edge (like the back of a butter knife or a bench knife) to evenly level off the top so the flour is even with the top of the measuring cup.

Posted on Leave a reply

Bleached vs. unbleached flour: What’s the difference?

Bleached vs. unbleached flour: What’s the difference?

By: RedmanShop | January 4, 2025

White flour is white flour — but not all white flour is created equal. Differences in milling, as well as how the flour is treated after it’s milled, can have big impacts on flour. And one of the primary ways flour is treated is through bleaching. Refined wheat flours (i.e., not whole wheat), such as all-purpose flour, cake flour, and self-rising flour, are either bleached or unbleached during production. But what exactly does that mean? In brief: Unbleached flour is naturally aged after milling, during which time it slowly oxidizes and whitens. Bleached flour, on the other hand, uses chemical treatments to manually speed up this process. Both can be used interchangeably in baking; so why should you choose one over the other? Let’s break it down a little more.

Understanding the difference between bleached and unbleached flour

During the 1940s (the heyday of Wonder Bread, the first sliced bread on the market), white flour became a popular fixture in commercial bread. And while Wonder Bread is no longer the only, nor the most popular, bread on the market, contemporary millers are still primarily in the business of making white flour. The first step in accomplishing this is to separate the bran and germ of the wheat berry through the milling process itself. That’s what distinguishes whole wheat flour, which is made from the entire wheat kernel, from white flour, which is only the milled endosperm.

The next step in this process is to “whiten” the remaining flour. Given time and exposure to air, flour will slowly oxidize and whiten on its own. This rest period, around two weeks in the summer and up to a month in the winter, also changes flour’s chemistry so that it will create a dough that is more elastic. This is unbleached flour, and it’s how King Arthur Baking Company makes all of our refined flours. But rather than using time as an agent, as we do, many millers use chemicals to whiten flour almost instantly. As the flour comes off the line at the mill, bleaching and oxidizing chemicals are added in order to quicken or entirely replace the aging process. This is how bleached flour is made.

Wait, what exactly does “bleached” mean?

The chemicals used to whiten and/or oxidize flour include chlorine dioxide, benzoyl peroxide, and chlorine gas, all of which are currently permissible additives (though King Arthur Baking Company flours do not contain any of them). Benzoyl peroxide leaves behind some benzoic acid; some people with an acute sense of taste recognize benzoyl peroxide in baked goods because it has a bitter aftertaste, but its addition does not appreciably change its baking qualities. Chlorine gas reacts with the flour to change its absorbency, flavor, pH, and, in the case of some cake flours, its performance. In baked goods where other ingredients do not mask it, it imparts a detectable flavor to people with sensitive palates.

The most controversial additive used today is potassium bromate, which is still in use both as an oxidizer and an “improver,” strengthening dough and allowing for greater oven spring and higher rising in the oven. It has come under scrutiny, however, as tests with it have indicated that it is carcinogenic in animals and probably in humans. Since 1991, flour sold in California containing potassium bromate has had to carry a warning label, and it was recently banned in the state as well. It is also banned in Canada, Europe, and Japan, and will likely someday be banned in other parts of the United States. (This is why King Arthur bags proclaim that our flour is “Never Bromated.”)

Choosing the right flour

Ultimately, the flour you choose to bake with is entirely up to you. Bleached and unbleached flours can both be used interchangeably in any recipe without a major discernable difference. But understanding what sets them apart can help you make your decision.

Posted on Leave a reply

Protein Percentage in Flour

Protein Percentage in Flour

By: RedmanShop | January 4, 2025

Have you ever wondered about the difference between all-purpose flour and bread flour? Or maybe you’ve noticed the big number on the front of King Arthur flour bags (11.7%, in the case of all-purpose flour) and been curious about what, exactly, it refers to. The answer to both questions is the same: protein percentage, one of the most important variables in flour. But what exactly does that mean, and why does it matter?

Please note: The protein percentages listed for certain types of flour in this post are what we here at King Arthur guarantee. Other brands often have a more variable protein percentage, so results may differ.

What is the protein in flour?

When we’re talking about protein in flour, we’re talking about two very specific types of protein found in wheat: glutenin and gliadin. Crucially, these two proteins are the building blocks of gluten. When water (or a liquid including water, like milk) is added to these two proteins, they link together, forming gluten. Gliadin gives the dough extensibility (which means the dough can be stretched), while glutenin contributes elasticity (so it can snap back like a rubber band). Ultimately, if the proteins in flour form gluten, then the more protein in the flour — i.e., the higher its protein content — the more gluten-forming potential that flour has. Another way to think about it: the higher the protein content, the “stronger” the flour.

Why protein percentage — and gluten-forming potential — matters

Let’s cover a brief summary of gluten’s role in baking. When liquid is added to glutenin and gliadin, they start forming bonds that link together, developing strands of gluten.

As you mix and knead batters and doughs, you encourage the gluten to develop further. That’s because this movement and agitation encourages the gluten strands to link up and form a network, making them even stronger.

This glutinous web is capable of trapping gas bubbles; the stronger it is, the more gas it can hold, leading to more air in a baked good and thus a higher rise. At the same time, those interconnected strands become longer and stronger the more the gluten develops, which leads to more chewiness and toughness in the final product.

This can be good: You want a strong gluten network in bread dough to capture the gases produced during fermentation. It can also be bad: You don’t want a chewy, stretchy gluten network when making a soft, tender cake. That’s why the amount of gluten-forming potential in your flour, and thus its protein percentage, matters.

Choose the right flour — and the right protein content — for your baking

Let’s review three primary types of flour and how their protein content corresponds to their intended use for baking.

Cake flour: With a protein percentage of 10%, this is considered a low-protein flour. It has less gluten-forming potential; when you mix batter made with cake flour rather than all-purpose, less protein is present, and as a result, the batter will likely develop less gluten, resulting in more tender baked goods.

Bread flour: With a protein percentage of 12.7%, this is considered a high-protein flour. It has more gluten-forming potential; when you mix dough made with bread flour rather than all-purpose, more protein is present, and as a result, the dough will likely develop more gluten.

All-purpose flour: With a protein percentage of 11.7%, this flour sits comfortably in the middle — enough protein to develop gluten in bread dough, but not so much that it can’t also be used to make tender cakes, scones, biscuits, and more.

There are plenty of other flours, all with different protein percentages suited to specific types of baking. There’s high-gluten flour, for instance, with a whopping 14.2% protein content that makes it well suited to artisan breads or bagels; on the opposite end of the spectrum, pastry flour has only 8% protein content, so it’s great for bakes like biscuits, scones, and pie crusts.

And finally, a note on whole wheat flours. The total protein content of whole wheat flour is 13.2%, so you might think that, because of its high protein percentage, it would automatically be great for making bread. And it is, but with some caveats.

Because whole wheat flour contains all parts of the wheat berry, including the bran and the germ, the gluten structure is affected. That’s because bran has sharp edges when ground, which cut some of the gluten strands and interferes with their structure. So bread recipes (and other baked goods) with whole wheat flour typically call for specific steps to get around this: They’ll include a long rest time to allow the wheat bran to soften, or call for a second type of flour to get the flavor and nutrition of whole wheat flour but the gluten benefits of another flour.

Why it matters which brand of flour you buy

Unfortunately, some flour brands allow wide fluctuations in their protein content, so every time you use a new bag of flour, you’ll get slightly different results. Baking with flour that has a uniform protein content will give you the best, most consistent results at home, so there’s no wasted time or ingredients — just lots of delicious baked goods.

Subscribe to our Newsletter Now

Get the latest recipes, products and classes available on RedManShop.