FREE DELIVERY ABOVE $60

Posted on Leave a reply

Sourdough starter troubleshooting

Sourdough starter troubleshooting

By: RedmanShop | January 10, 2025

“Did I kill my starter?” This is a surprisingly common sourdough question on our we receive. Novice and experienced bakers alike worry about the viability of their starters and call us for sourdough starter troubleshooting advice.

For many sourdough bakers, the underlying biochemistry at work in their starter remains a bit of a mystery. Thankfully, it’s quite possible to bake great sourdough bread while still being a little fuzzy when it comes to what’s actually happening in that little jar of starter.

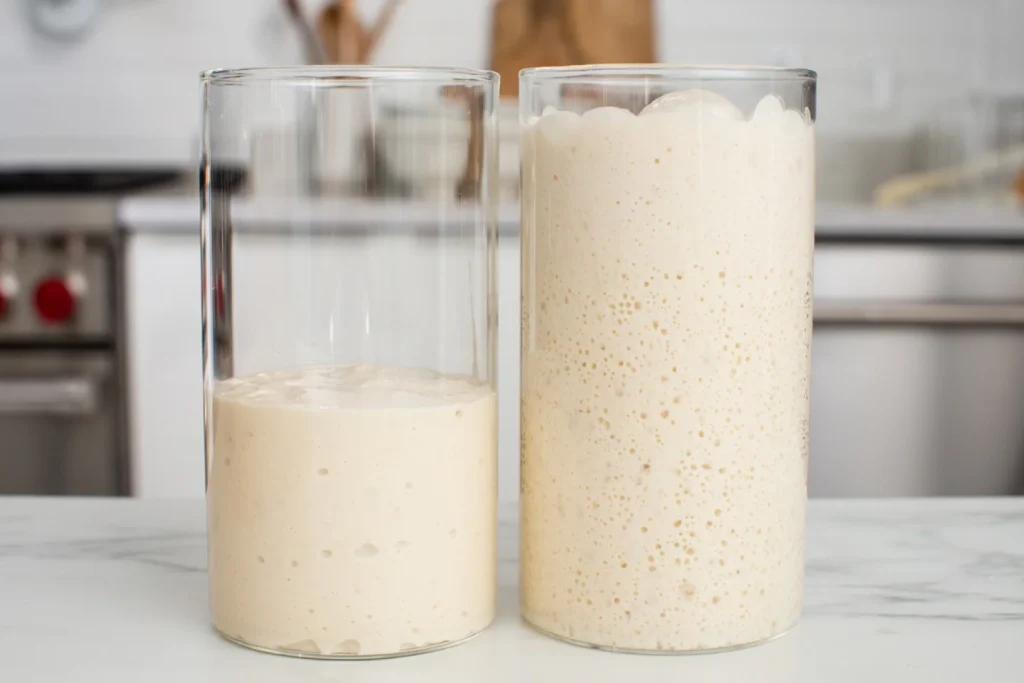
The 6 to 10 days it takes to create a healthy and mature sourdough starter from scratch requires slightly more attention to “death threats,” because a fledgling starter hasn’t yet developed the defenses that characterize a mature starter. But once your starter is fully developed, it’s really pretty darn hard to kill.

And if you’ve purchased a sourdough starter from us, rest assured that it’s a mature specimen that will stand up well against unwanted bacteria or mold.

Things that WON’T kill your sourdough starter

METAL: Stirring your starter with a metal spoon or placing it in a metal bowl won’t kill your starter. While we don’t recommend making or keeping your starter in contact with reactive metals like copper or aluminum, stainless steel is harmless.

MILD NEGLECT: Missing a feeding or not timing the feedings exactly 12 hours apart won’t even come close to killing your starter. Please don’t ever set your alarm to get up in the middle of the night to feed your starter!

INCORRECT FEEDINGS: Feeding your starter the wrong amount of flour or water won’t kill it. While your starter may seem too dry or too wet, and may not rise the way you expect, no permanent damage has been done. You can correct its consistency by adding a little more flour or water, and then being more careful the next time you feed it.

BRIEFLY FREEZING YOUR STARTER: While there’s some dispute among sourdough enthusiasts about the benefits and/or dangers of freezing sourdough starter, a brief period in the freezer isn’t likely to kill a fully developed starter.

I recently froze a portion of my well-maintained starter a few hours after it was fed. Three days later I thawed it out at room temperature and let it continue to ferment. It was definitely sluggish at first, but after a second feeding it rose well and had a good aroma.

That being said, too much time in the freezer will definitely damage some of the wild yeast in your starter, and is also likely to kill off some of the friendly bacteria that contribute flavor. If you need to put your starter on hold for an extended time, we recommend drying your starter.

Things that WILL kill your sourdough starter

HEAT: If you allow your sourdough starter to ferment in the oven with the light on to keep it warm, and then forget it’s in there and turn on the oven, it’s unlikely your starter will make it out alive. Yeast dies at 140°F, and it’s likely that your sourdough starter will suffer at temperatures even lower than that. It’s best to maintain your starter at comfortable room temperature (around 70°F), though a little higher or lower won’t hurt anything.

SEVERE NEGLECT: If you neglect your starter long enough, it will develop mold or signs of being overtaken by bad bacteria. Mold can appear in various colors and is typically fuzzy in appearance. Bad bacteria is generally indicated by an orange or pink tinge or streak. Once your starter has lost its natural ability to ward off intruders, it’s time to start over.

How to tell if your starter has gone bad

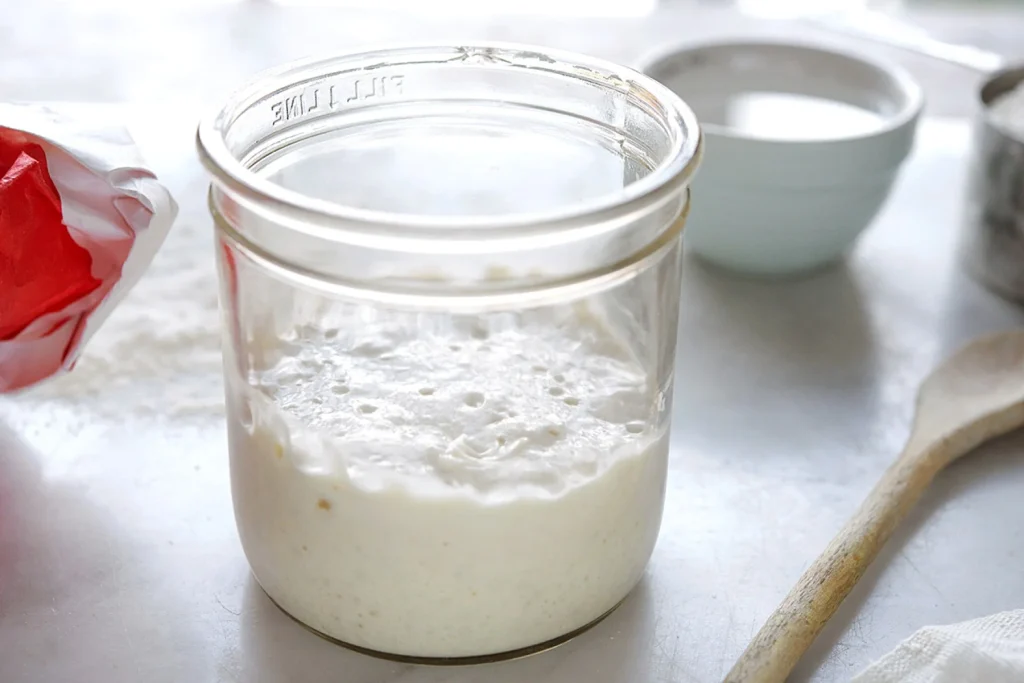
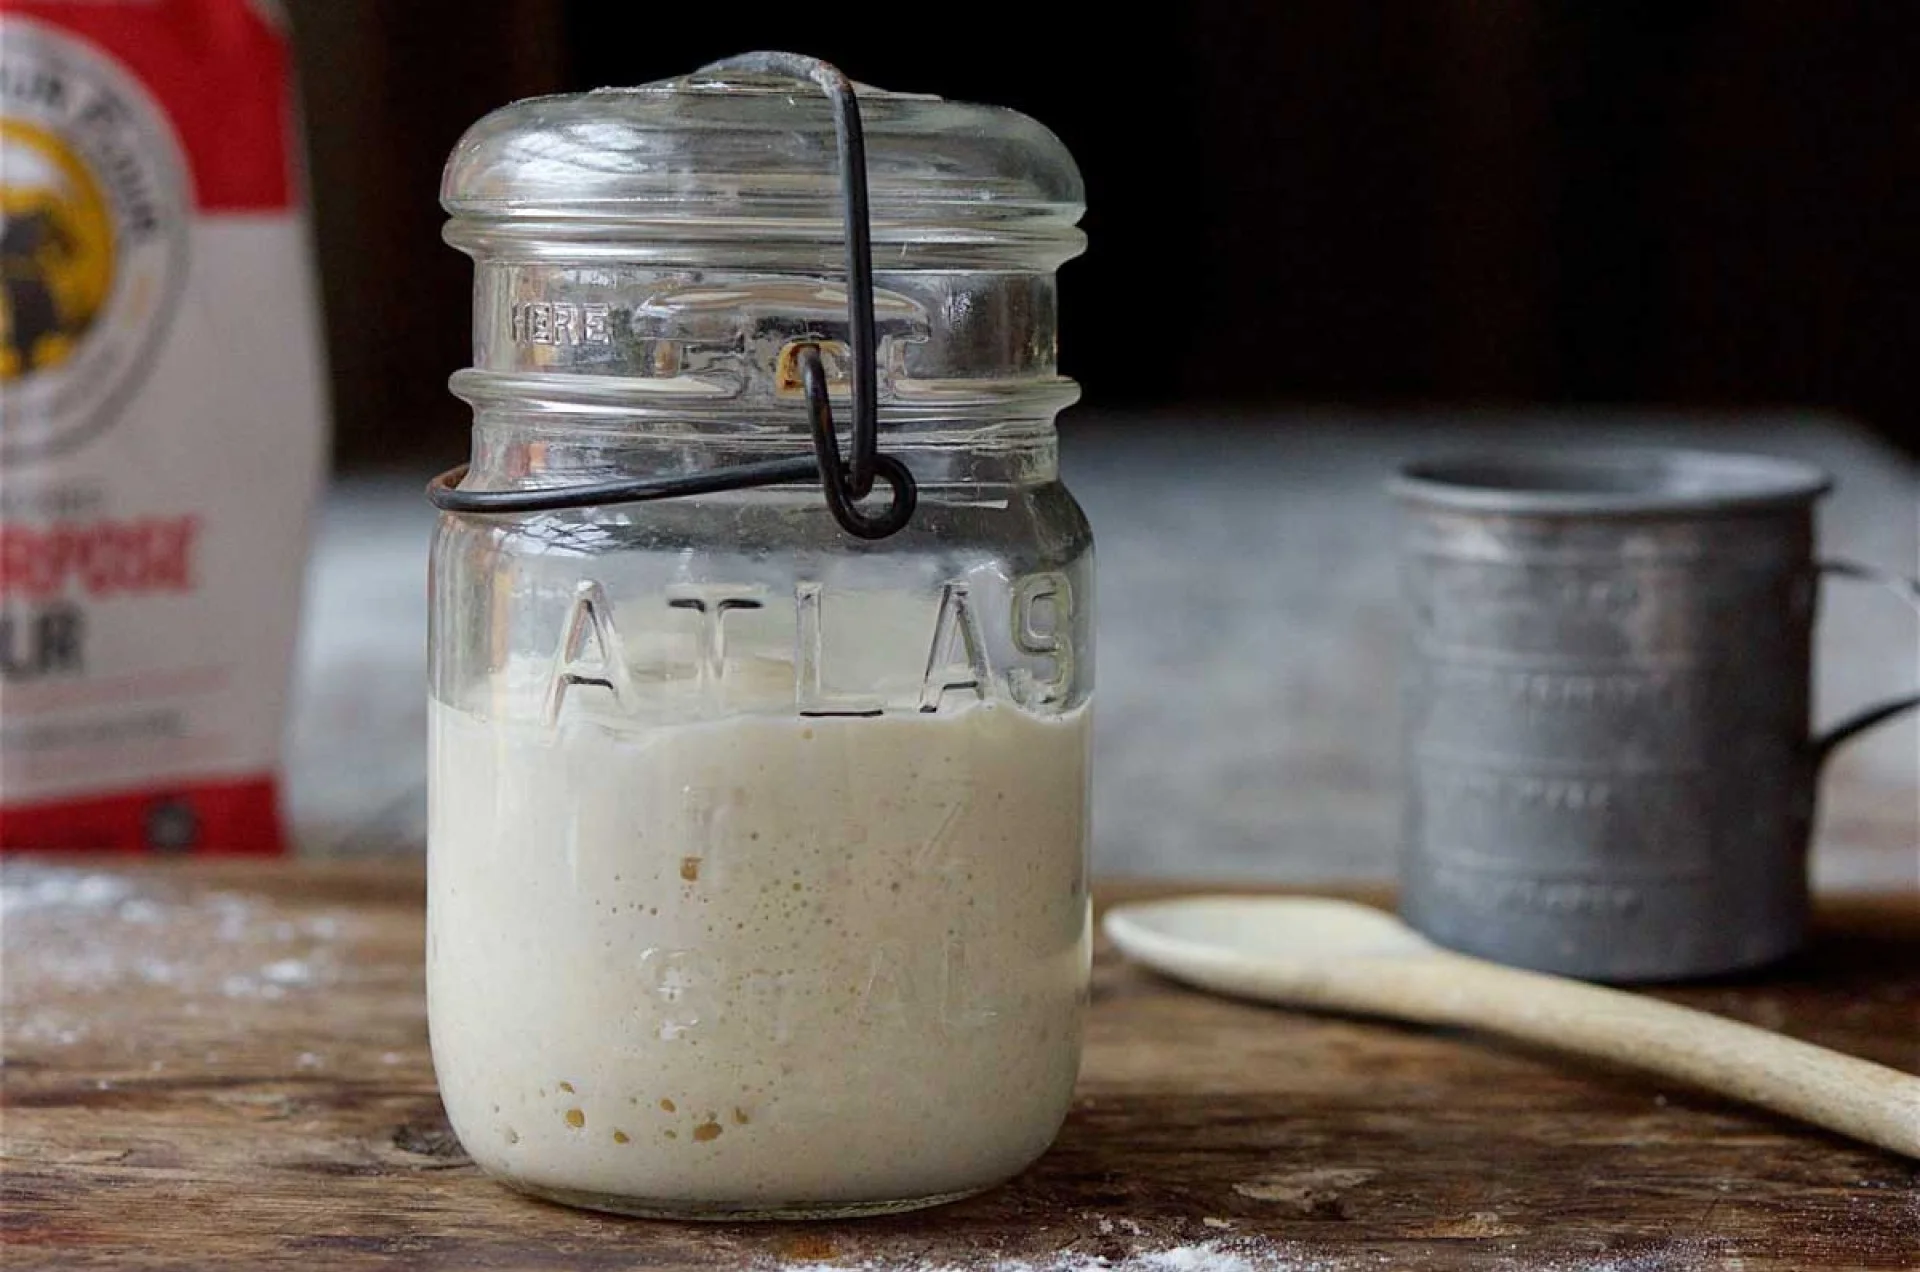
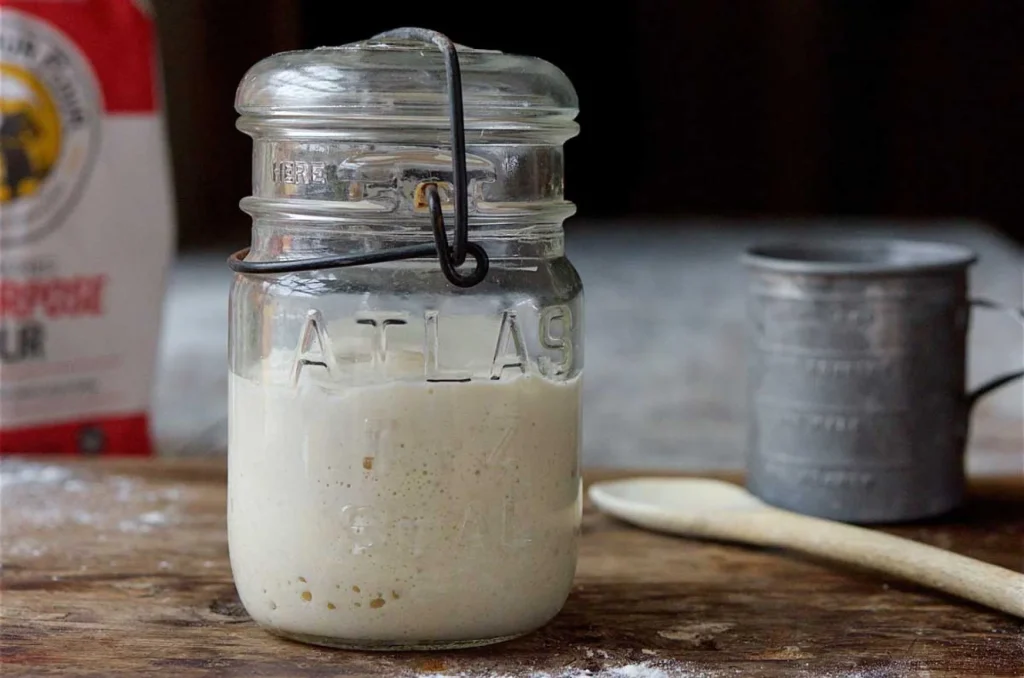
“Hooch” is the liquid that collects on the top of your starter when it hasn’t been fed in awhile. This liquid is the alcohol given off as wild yeast ferments. The presence of hooch isn’t a sign that your starter is in danger. However, it does indicate that your starter is hungry and needs to be fed.

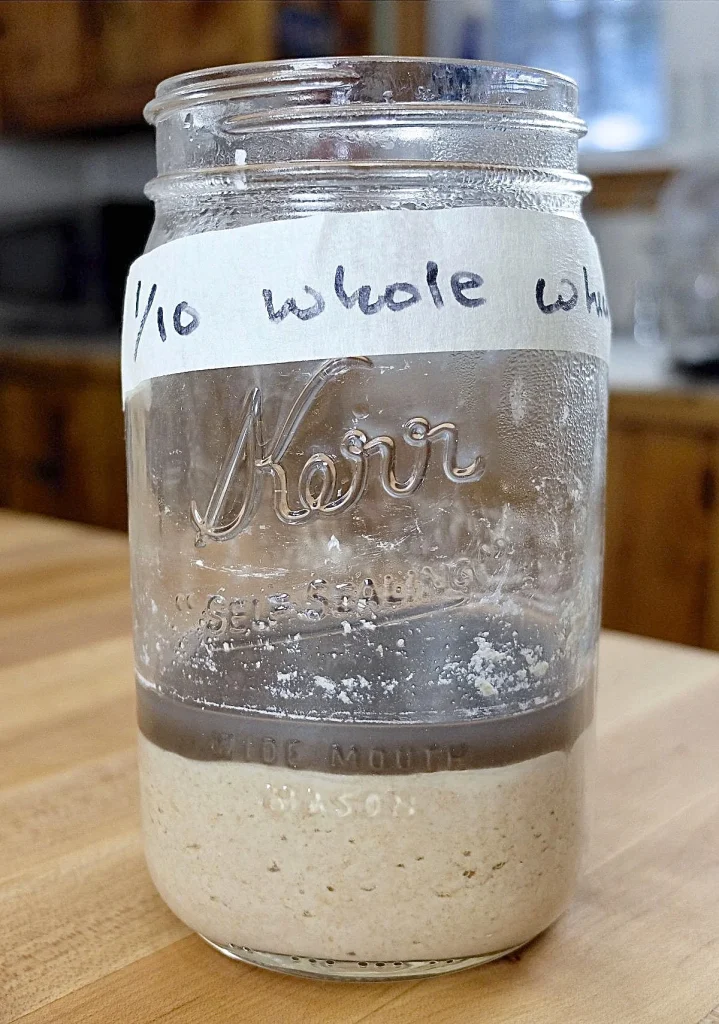
When your starter is neglected for an extended period, the hooch tends to turn from clear to dark-colored. We get lots of calls from sourdough bakers worried about the safety or danger of various hooch hues. Is gray bad? What about brown or black? Surprisingly, none of these colors indicate that your starter has spoiled.

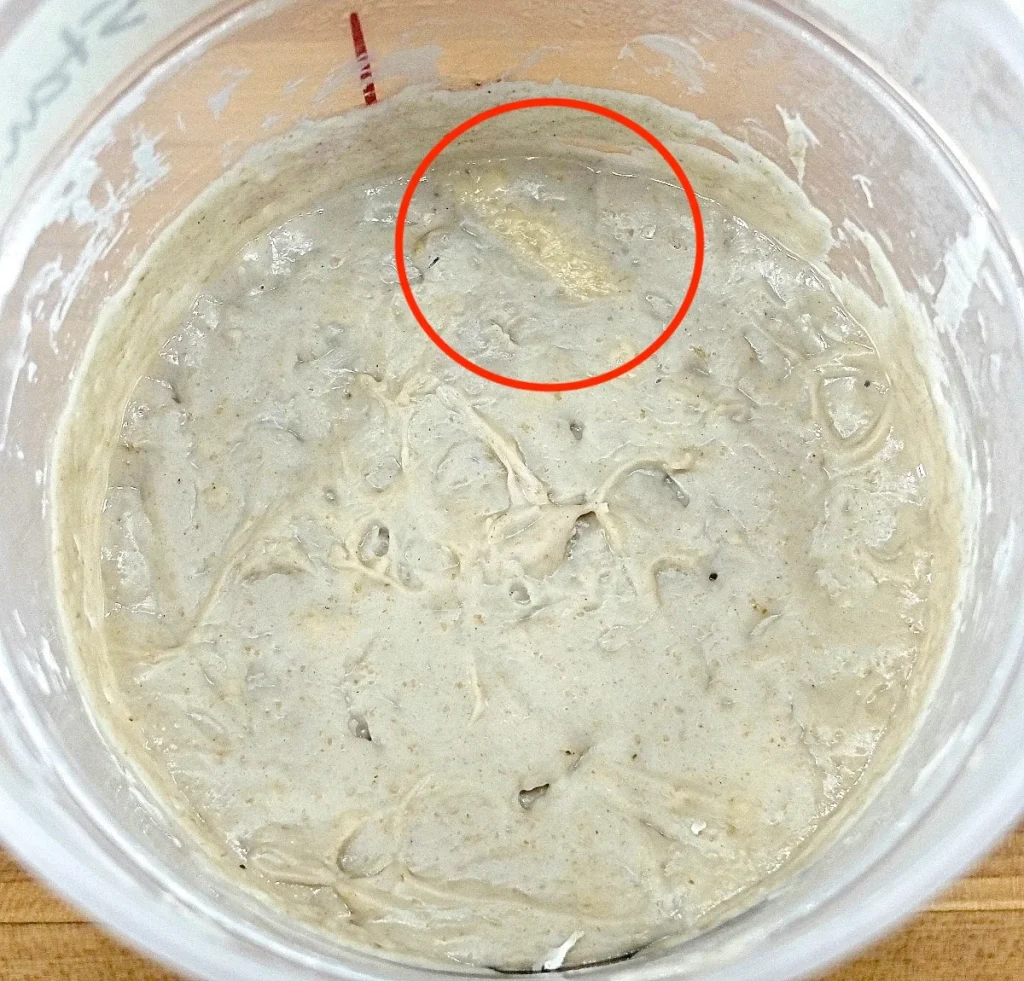
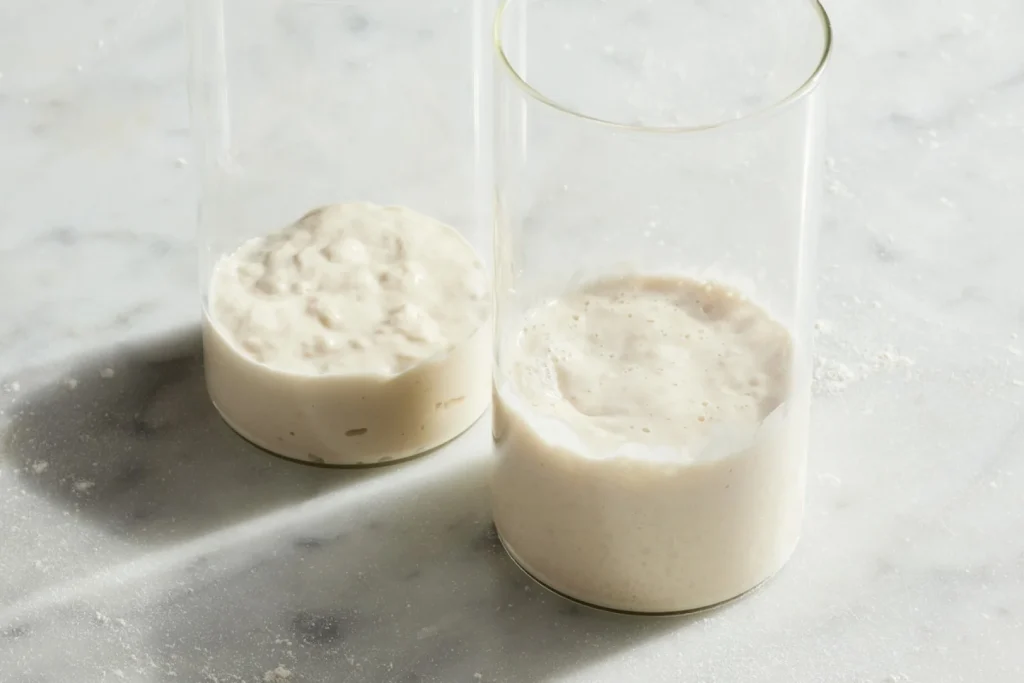
See the orange streak? This starter shouldn’t be saved.

However, if you see a pink or orange tint or streak, this is a sure sign that your sourdough starter has gone bad and should be discarded. The stiff starter above was left out at room temperature for two weeks. It’s definitely time to throw it out and start over.

Sourdough starter troubleshooting: points to remember

  1. Well-maintained mature sourdough starters are extremely hardy and resistant to invaders. It’s pretty darn hard to kill them.
  2. Throw out your starter and start over if it shows visible signs of mold, or an orange or pink tint/streak.

I hope you’ll share your own sourdough starter questions and discoveries below. There’s always more to learn when it comes to sourdough!

Posted on Leave a reply

10 tips for new sourdough bakers

10 tips for new sourdough bakers

By: RedmanShop | January 6, 2025

Sourdough baking seems like it should be easy, right?

After all, people have been baking naturally fermented bread for thousands of years, and it only requires three ingredients: flour, water, and salt. Well, it’s simple, but creating a starter and baking sourdough bread’s not easy — at least not until you develop your own personal process, something that works for both you and your starter.

Everything from the flour you use to the season of the year to whether you’re urban or rural plays into your sourdough bread success — or less-than-success. Talk about variables!

If you’re a new sourdough baker, you may be struggling just trying to get your starter going. The confusion, angst, and even despair that we hear among first-time sourdough bakers out there is truly distressing.

Are you having a rough time with your starter? Let us help. Here are 10 tips directed specifically at brand-new sourdough bakers that should clear up the confusion you’re feeling around not just the starter itself, but the various tools and recipes associated with sourdough baking.

1) My starter recipe says to begin with [X] flour. Can I use a different flour instead?

Sourdough starter is a combination of water and flour which, when mixed together, grows wild yeast, produces organic acids, and attracts friendly bacteria. All flours, from whole grain rye to all-purpose white, harbor wild yeast and will cultivate bacteria. But not all flours work the same: some are better right at the beginning of your starter’s life, while others have more to contribute farther along in the process.

Maybe you have a good supply of bread flour but your starter recipe calls for all-purpose (or vice versa). Perhaps the formula lists organic rye flour or golden whole wheat, and you simply don’t have them and can’t get them. No worries; just use what you have.

If your starter calls for all-purpose flour and all you have is bread flour, increase the water a bit; if it calls for bread flour and all you have is all-purpose, decrease the water a bit. And if it calls for whole wheat or rye and you have neither? Your starter may be a bit slower coming to life without the initial “kick” of a whole grain, but eventually it’ll work just fine. (Learn more about how whole grain flours affect starter in our post: Sluggish starter? Add a little whole grain flour.)

One caveat: Bleached flour may eventually yield a decent starter, but due to its natural flora having been killed by bleaching it’ll probably take a heck of a lot longer for a starter made with bleached flour to become fully active.

2) I read that you should never use a plastic bowl or metal spoon around sourdough starter. Is that true?

No, not at all. Our Baking School keeps its starter in food-safe plastic buckets and uses metal spoons or acrylic spatulas to mix it up after feeding. We wouldn’t recommend using a bowl that’ll react with sourdough’s acidity — for instance, don’t mix or store your starter in cast iron or uncoated aluminum — but other than that, glass, plastic, stoneware, acrylic, stainless steel — take your pick, all are acceptable.

3) Do I have to feed my starter with pure spring water or bottled water?

No. While chlorine and other chemicals in your treated tap water don’t create the friendliest environment for your starter, there’s no need to make a trip to the store for bottled water.

I’ve successfully used tap water in my starter for years. If your tap water is so heavily treated you can smell the chemicals, try filling an open container and leaving it at room temperature overnight. The next day your water should be good to go.

4) My new starter was very bubbly and doubling in size within 6 to 8 hours, but now it’s seemed to go dormant. Is it dead?

It’s certainly discouraging to see a starter that’s seemed perfectly happy suddenly turn into a lifeless blob. But it’s OK. As your new starter evolves, one set of bacteria gradually gives way to another; and during that transition, when neither is dominant, your starter will take a rest. Just keep feeding it; within a few days, it should show renewed signs of life.

5) Do I really have to throw away so much starter when I’m feeding it? It seems wasteful.

If you don’t remove some of your starter before feeding it, you’ll soon have gallons of the stuff filling your fridge. So yes, you do have to remove some starter; but you don’t necessarily have to throw it away. Here are your options:

  • Give your excess starter to a friend to start his or her own starter.
  • Turn it into something yummy. Within the first 4 or 5 days of your starter’s life, it won’t taste very good and probably shouldn’t be used for baking; but after that, there are many, many delicious ways to use it. See our collection of sourdough discard recipes for inspiration.
  • Substitute it for some of the flour and water in your non-sourdough recipe. For details, see adding sourdough to a recipe.
  • You also have the option of building and maintaining a much smaller starter, one that’s fed and discarded in tablespoons rather than cups. See our recipe for a smaller sourdough starter.

6) What’s the best container for storing my starter?

Something with a lid! Seriously, you can go two ways here. If you want to feed and store your starter in the same container, you want one that’s large enough to hold triple your volume of starter. If you’ll be feeding your starter in a bowl and then transferring it to a lidded container to store, the container only needs to be a bit larger than the starter itself. It’s handy to use a clear glass or translucent plastic container if you’ll be letting your starter rise in it, so you can track its progress. (Our glass sourdough crock is a preferred option.) Stoneware, plastic, stainless steel, and enameled metal are also suitable materials.

Whatever vessel you choose, the lid should fit securely, simply to prevent potential spillage if you knock the container over. But you don’t want anything airtight: it’s not necessary and could potentially result in a messy blowout.

7) My starter develops lots of small bubbles when I feed it, but it’s not really rising very well. Is that OK?

Not if you’re going to use it to leaven bread! A fed starter should double in size within 6 to 8 hours, or it probably won’t be strong enough to raise your dough.

Sometimes starter is so thin and liquid-y that there’s not enough structure for it to expand; bubbles simply rise and escape. If your starter seems thin (easily pourable rather than gloppy), try feeding it a bit more flour until it thickens up; alternatively, you can feed it with higher-protein (higher-absorption) bread flour. This might be just what it needs to start growing up, rather than fizzling out.

8) “I think I killed my starter!”

No, you almost certainly didn’t. While sourdough starter can die under extreme circumstances (e.g., having been fed with boiling water), it’s actually really hard to kill. It may be poky and slow; it may not look like you think it should. But it’s not dead. Keep feeding it on a regular schedule and eventually, it’ll start bubbling again.

Now, sourdough starter can very rarely become “infected” with mold or an evil bacteria, in which case you won’t want to bake with it. If your starter shows evident signs of mold or if it develops a pink/orange tinge, it’s time to discard it and start again.

When it comes to how your starter smells, it’s fairly common for a fledgling starter to go through a stinky period (think teenagers’ sneakers), but an established starter should never smell awful. That being said, if you’ve neglected your starter in the refrigerator longer than usual and it smells a little off, a few days of room-temperature feedings will likely restore it to its usual pleasant aroma.

For more on how to assess your starter’s health see our post, Sourdough starter troubleshooting.

9) I’m ready to bake bread. But do I really need to buy a banneton, rice flour, and a Dutch oven?

No. These all come under the heading of nice to have, but not necessary.

A banneton (a.k.a. brotform) is simply a round or oval basket that holds dough as it rises. The risen loaf is then turned out onto a baking stone, a baking sheet, or into a Dutch oven to bake. It’s useful for doughs that are quite soft and need support, keeping them from flattening out as they expand.

You can actually fashion your own rising vessel from a bowl and smooth dish towel, for soft dough. For a stiffer dough, simply allow the loaf to rise on a piece of parchment (which makes it easy to transfer to a hot baking stone); on the baking sheet on which you’ll bake it, or even in your Dutch oven if you decide not to preheat it first.

Rice flour is used to flour your banneton; it’s “slipperier” than regular all-purpose or bread flour and offers better release of the potentially sticky dough but again, not necessary.

A Dutch oven or other closed container is a real boon if you enjoy bread with excellent loft and supremely crusty crust. The container’s lid catches steam from the baking loaf, keeping its top crust soft and allowing it to expand fully. That same steam makes the crust crackly-crisp once the loaf has finished rising and the bread starts to brown.

Yes, a Dutch oven is great to have; see the details here: Bread baking in a Dutch oven. But you can certainly bake a lovely loaf without one.

10) Can you point me to a really simple recipe to get started?

Our Rustic Sourdough Bread is perfect for beginners. Since it includes a bit of commercial yeast as well as sourdough starter, you don’t have to worry about your starter being totally up to snuff: Call it the belt and suspenders approach. While sourdough purists will argue that using commercial yeast disqualifies your bread as “true” sourdough, hey, what’s in a name? If you enjoy a light-textured, crusty loaf with lovely tang, this one’s for you.

Our Naturally Leavened Sourdough Bread includes no commercial yeast, and relies entirely on a strong starter for its rise. So if you choose this recipe make sure your fed starter is very healthy and active, doubling in size within 6 to 8 hours of feeding. If your starter is ready to go, expect to make a loaf with great crust and chew, and deep, rich sourdough flavor.

The last word on sourdough baking

The wild yeast and friendly bacteria that bring sourdough starter to life are fickle, just like all living organisms. Sometimes they’re full of energy and ready to rise and shine; other times they need coddling and cajoling. It’s up to you to figure out what your starter needs — and when — in order to keep it happy and working for you.

It sounds daunting, but don’t be discouraged. Gradually, as you learn what works in your kitchen (rather than what works for that guy on YouTube or your best friend in Seattle) you’ll relax and realize that hey, sourdough bread’s not that complicated after all. It’s flour, water, salt, and time — both the hours it takes your loaves to rise, and the days you spend learning about this ancient craft through practice, practice, and more practice.

Now, take a deep breath and relax. Your ego should never be tied to how many Instagram likes your bread photo gets, nor should you be discouraged by bread bullies on Facebook dissing that loaf you were so proud of. Always remember: there are no baking police. Plain and simple, if you’re happy with the sourdough bread you bake, it’s a success.

Posted on Leave a reply

The beginner’s guide to sourdough baking

The beginner’s guide to sourdough baking

By: RedmanShop | January 3, 2025

Want to make sourdough bread, but not sure where to start? You’re in the right place.

We’ve pulled together our sourdough resources to create a guide that takes you from beginner to baker. Start by making (or buying!) a sourdough starter, learn how to feed and maintain it, then begin baking with our classic recipes. Don’t know the tools you actually need? Unsure what to do with all that discard? We’ve got you covered there, too. Let’s get baking.

If you want to make your own sourdough starter from scratch

To make your own sourdough starter, you only need three things: flour, water, and time. You’ll start by combining equal parts flour and water. Let that mixture rest at room temperature, and then regularly discard some of it and refresh with more flour and water. As the mixture sits over the course of several days, it will begin to cultivate a flourishing community of microorganisms (which is what makes your bread rise) and slowly become bubbly and vigorous.

You’ll keep up a regular schedule of refreshing (or “feeding”) the starter twice a day, every 12 hours, until it doubles in size within six to eight hours. This can take anywhere from five to 14 days, depending on conditions. (So if you’re not seeing much activity, just be patient! And feel free to call our Baker’s Hotline for troubleshooting and advice.) Once the starter has reached this point, you can start baking with it or keep maintaining it until ready to use. (See “How to maintain sourdough starter” below.)

Instead of taking days to make a starter from scratch, you can have one delivered in the mail. Our fresh sourdough starter is a mature, ready-to-use sourdough culture. You’ll just need to refresh it with flour and water (in other words, “feed” it) until it’s bubbly and doubles in size within six to eight hours. Then, it’s ready to bake, or to be stored and maintained until you want to use it. (See “How to maintain sourdough starter” below.)

Wait, did someone give you some of their starter? If someone gifts you some of their starter, the best thing to do is to feed it immediately. Combine equal parts (by weight) starter, flour, and water, and let sit at room temperature. Gauge how active the sourdough starter is: Did it double in volume in six to eight hours? If so, it’s ready to store and maintain for future use, or to bake with right now.

Did the starter not double in volume? Feed it again. Continue these maintenance feeds every 12 hours at room temperature until the starter doubles in size in six to eight hours. Then get baking, or store it according to your maintenance schedule.

How to maintain sourdough starter

Generally, there are two routines you may choose to maintain your sourdough starter. Depending on your choice, here’s how often to feed sourdough starter:

  • Twice daily at room temperature: If you’re a regular sourdough baker, the best way to have ripe starter when you need it is to keep your starter on the counter at room temperature and feed it twice daily, about every 12 hours.
  • Once a week in the fridge: If you’re a more casual sourdough baker, it’s easiest to keep your starter in the fridge and feed it once a week. (We recommend leaving it on the counter for a few hours after feeding to start fermenting before returning it to the fridge.) Then, a day or two before you want to bake, give it a couple of feedings at room temperature before using it to bake.

To feed sourdough starter, you simply discard some of the existing starter, then replace it with flour and water. Essentially, you’re giving the starter’s microorganisms food (in the form of flour) to keep them happy and healthy. Once fed, the starter will become active and bubbly again, doubling in volume before it exhausts itself and begins to sink back down.

Subscribe to our Newsletter Now

Get the latest recipes, products and classes available on RedManShop.